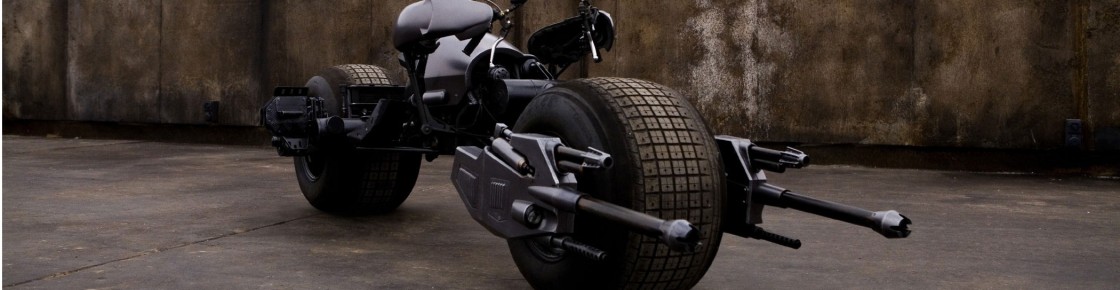
I had the Batpod at OMSI this past weekend, and a lot of kids sat on it, got their pictures taken, and checked it out. The monoshock is definitely too soft, and a little longer one would be nice, so need to start looking for one.
Here’s a little slideshow of how I got to this point so far.
It’s been a crazy week, I’m trying to finish the Batpod for the upcoming Mini Makers Faire at OMSI (Oregon Museum of Science and Industry). I even got a little air time on the local news to promote the event.
To install the front gun, and have the left side gun turn with the wheel, I made a UHMW bracket on the back of it, with a pivot bolt through the front end. In this video you can see the basic action, although I need a little tie-rod so that the actual tie-rod can actuate the gun pivot.
I also made one of the chain-guard/covers to protect the rider, and hide the chains. Still need to make one more for over the big sprocket. Then I threw everything together to be on TV.
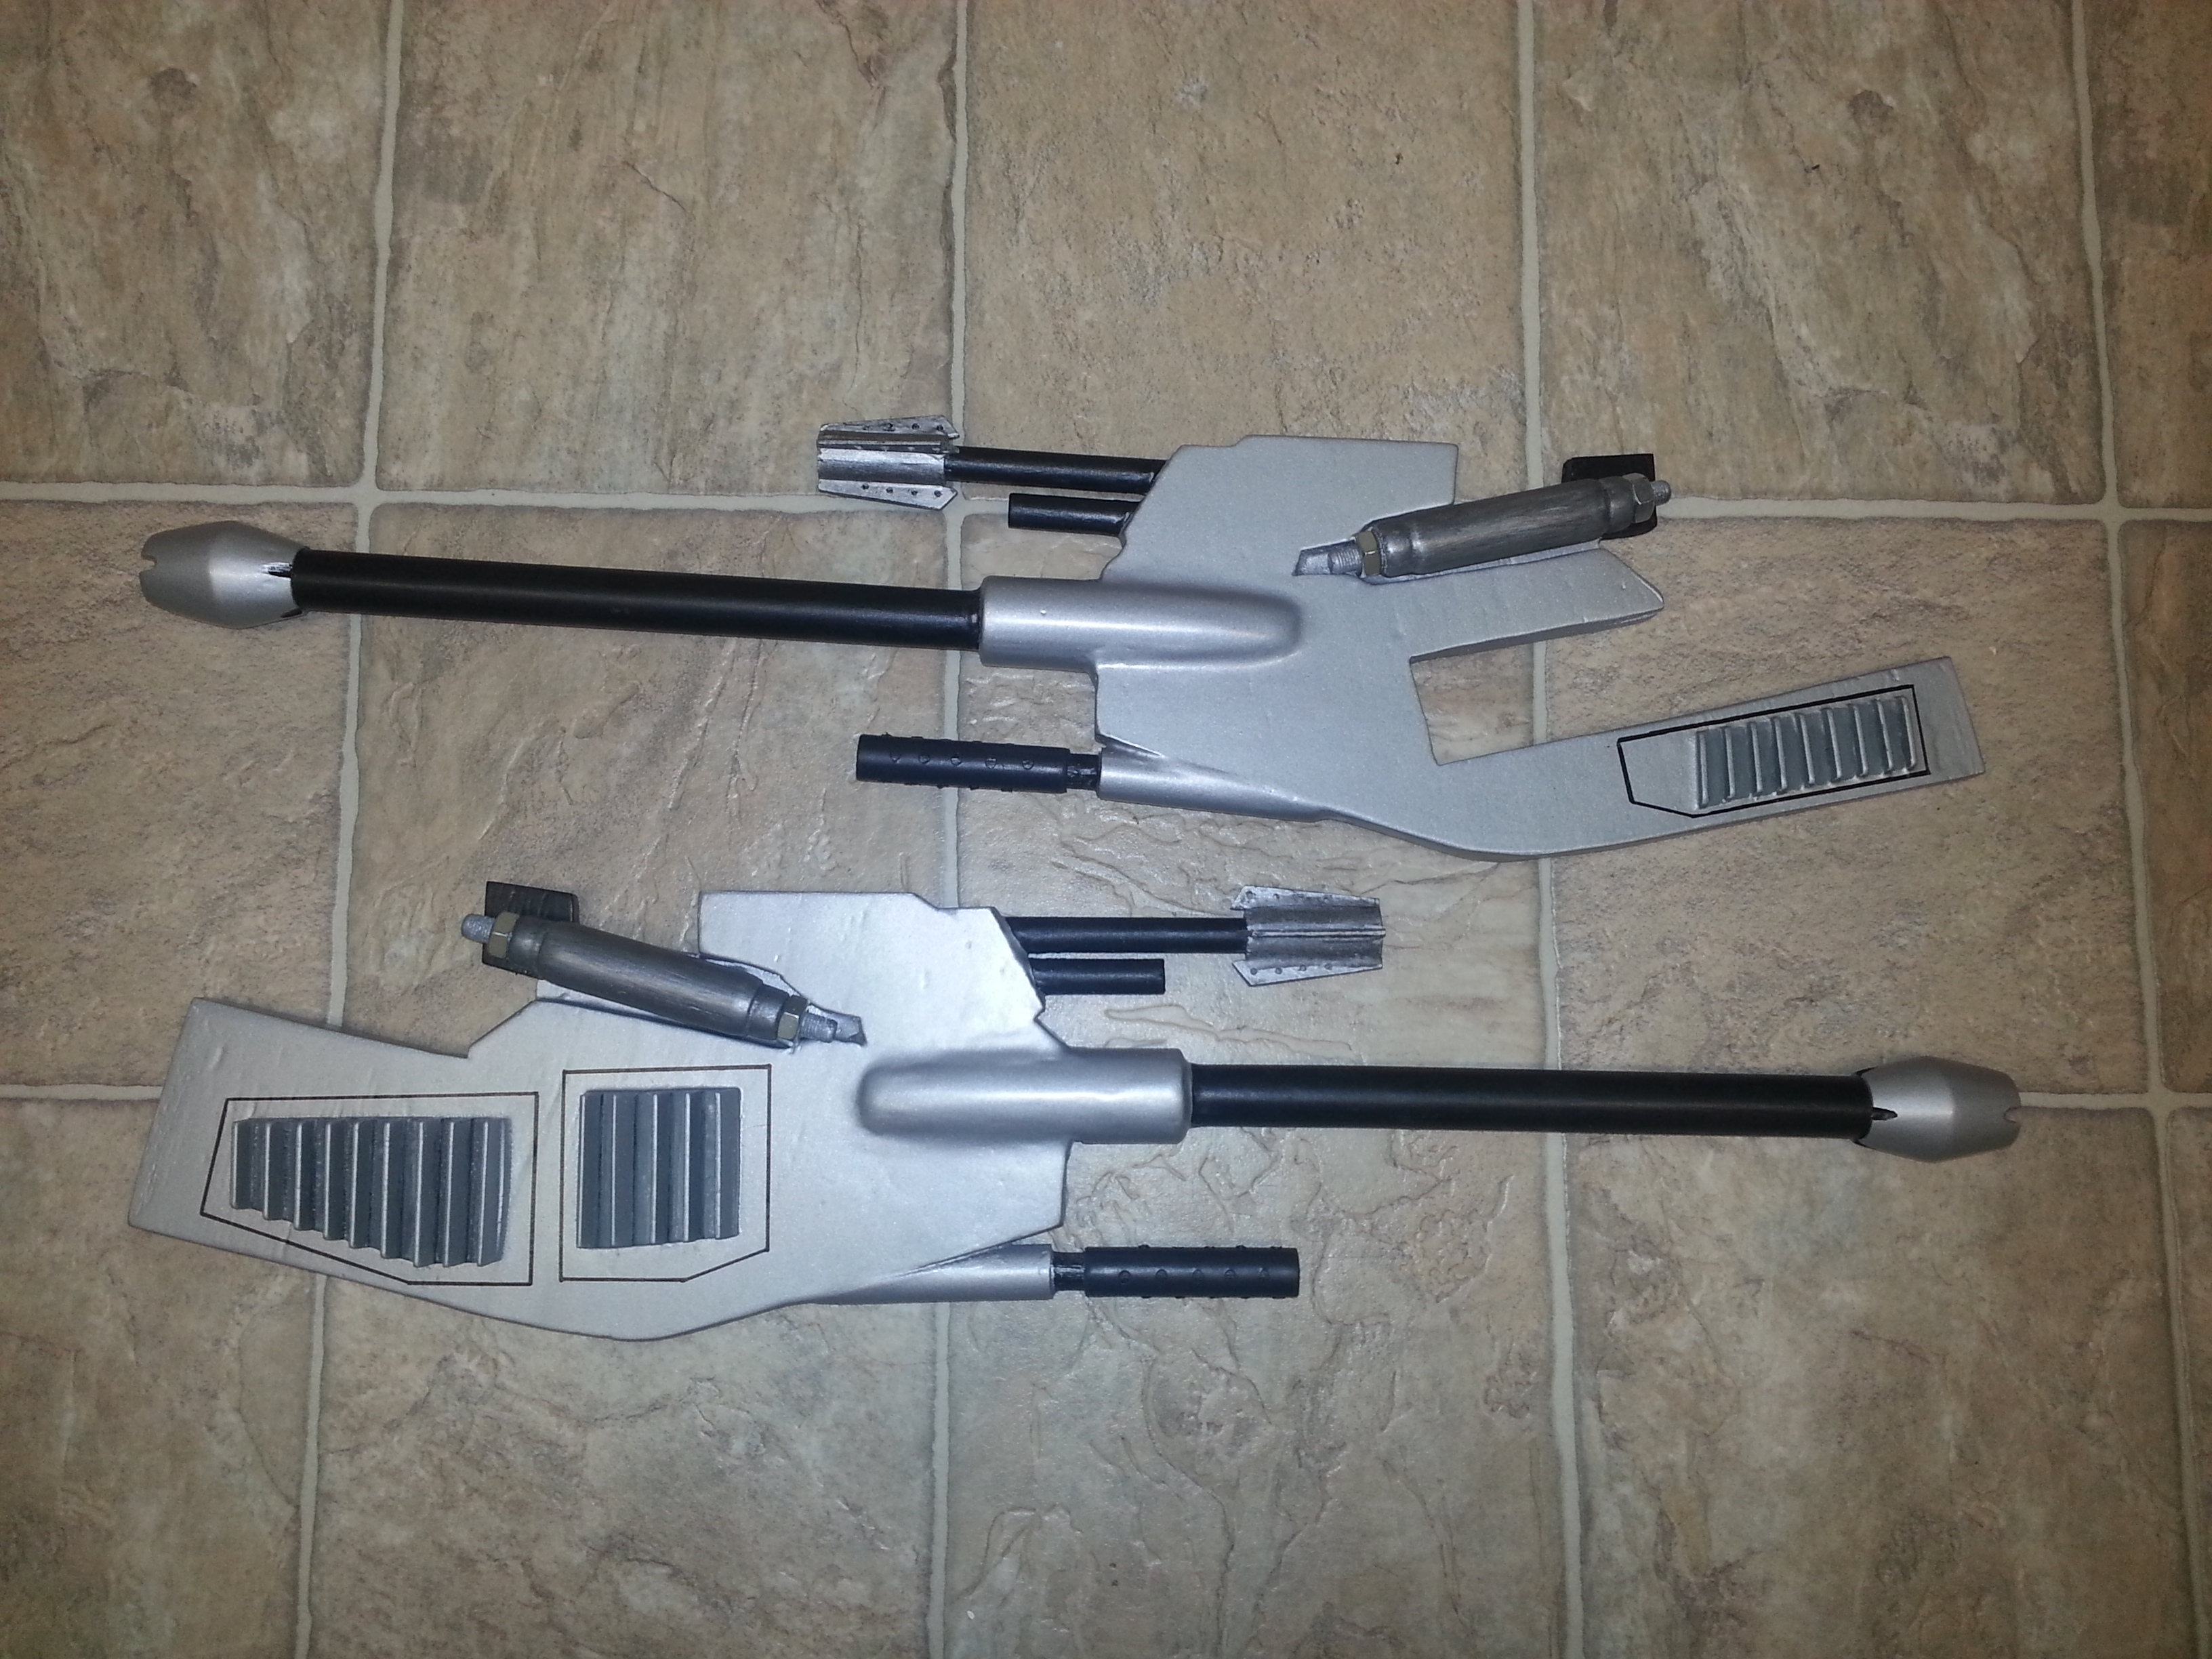
I pretty much finished up the front wheel guns, just have a couple more tiny details to finish, and get them installed on the pod.
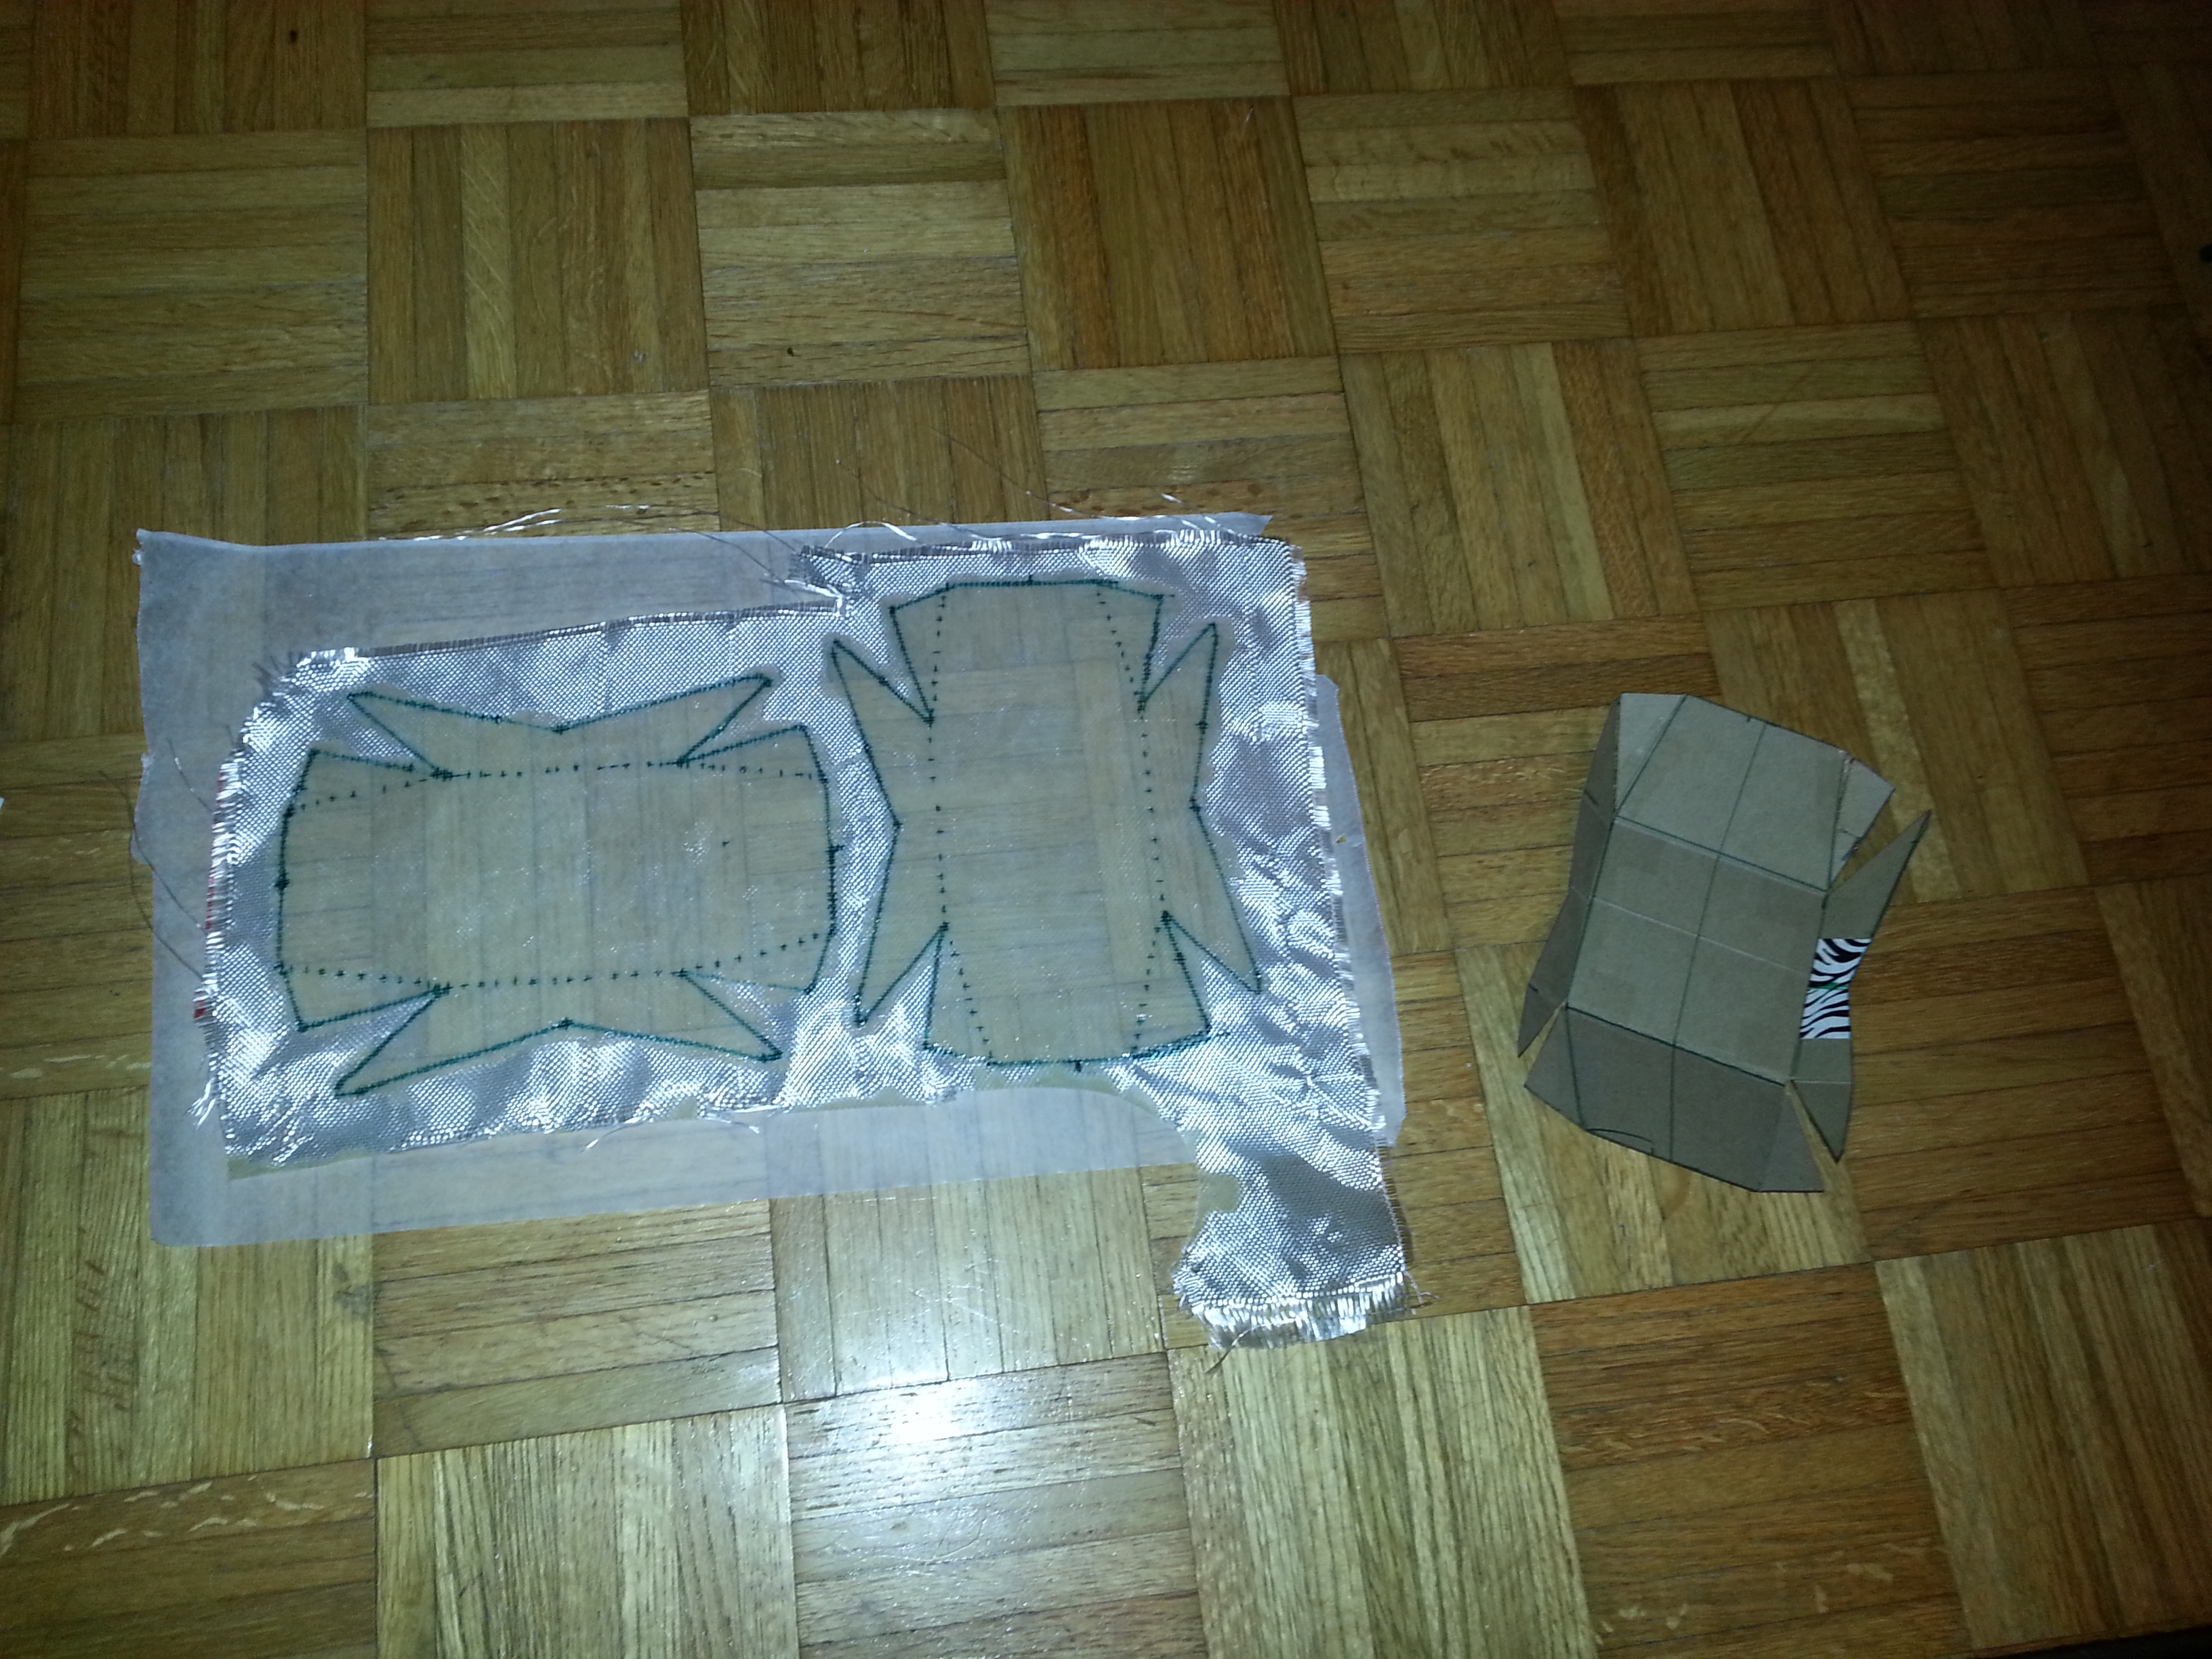
I did work on the knee rests. Need to do some more foam, then make the frame bars they attach to.
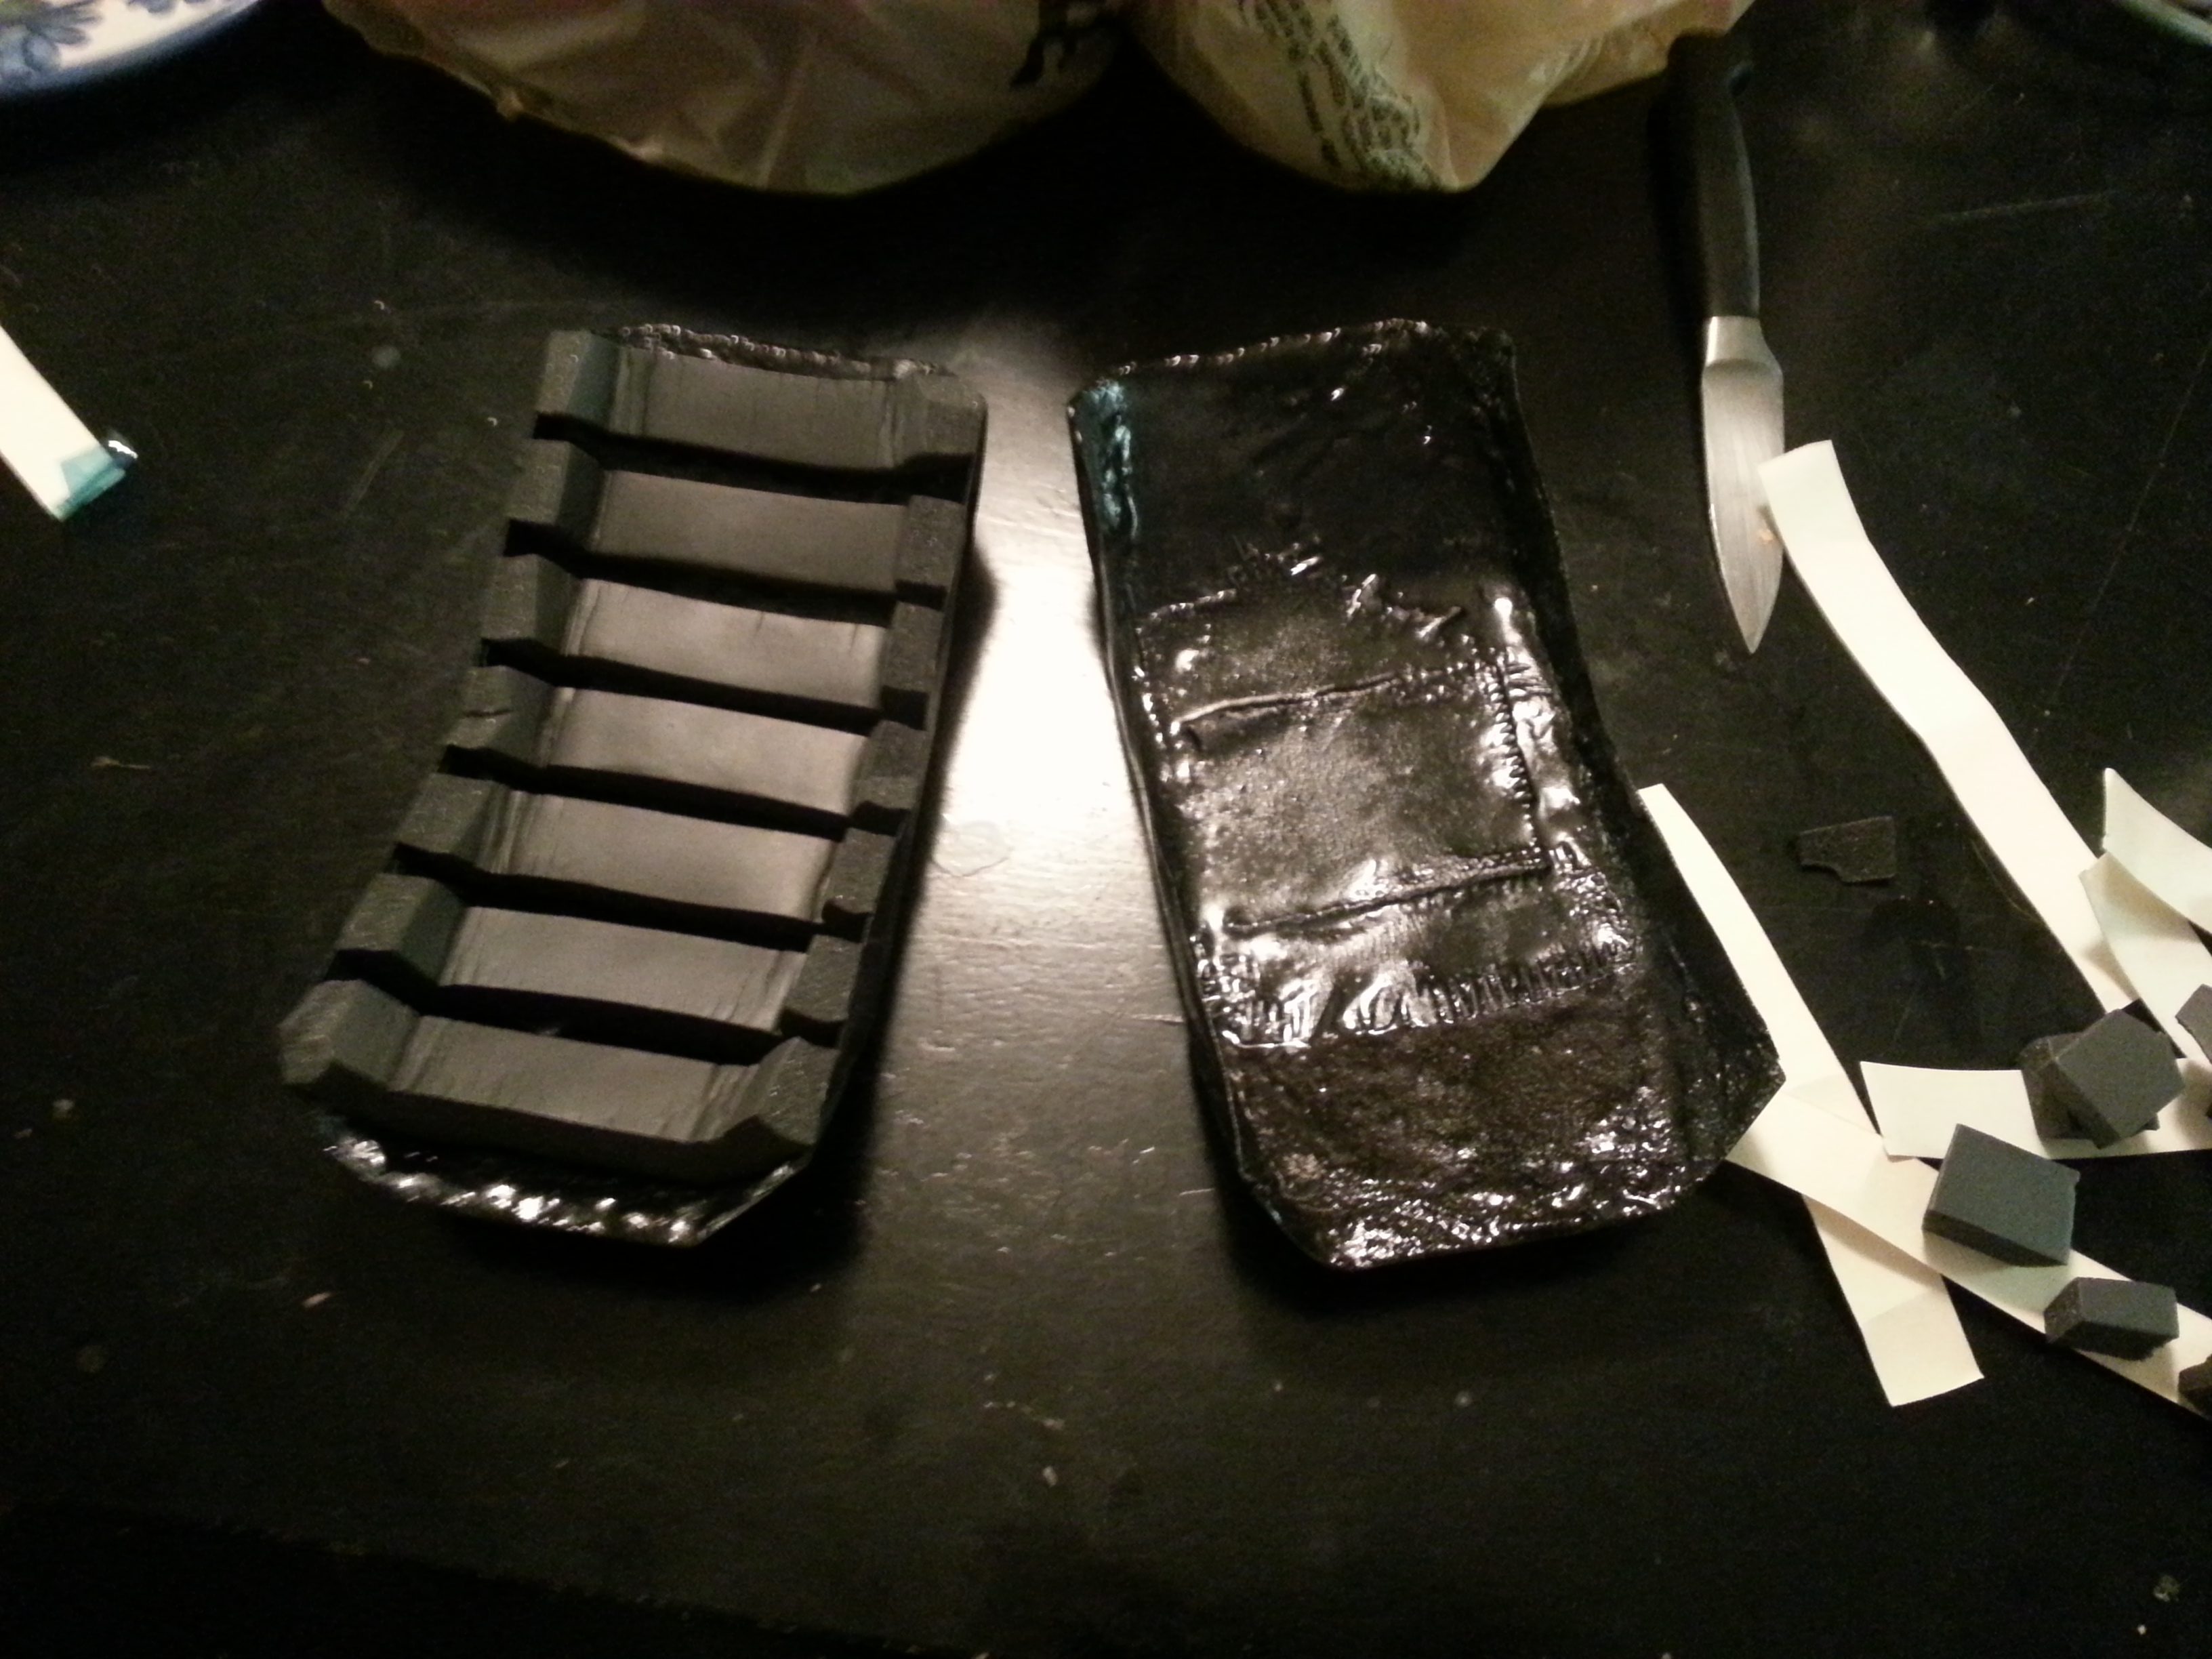
And finally, I started working on the rear brakes. This brake hub sort of thing will attach to the left side of the rear wheel. I took the rotor and this rotor mounting plate (black one with holes) from an electric scooter, which obviously is the side the brake rotor will attach to. The washer and black plate will be connected by a 1″ section of pipe welded between them. Then I’ll need to mount the caliper to the left side of the rear frame.