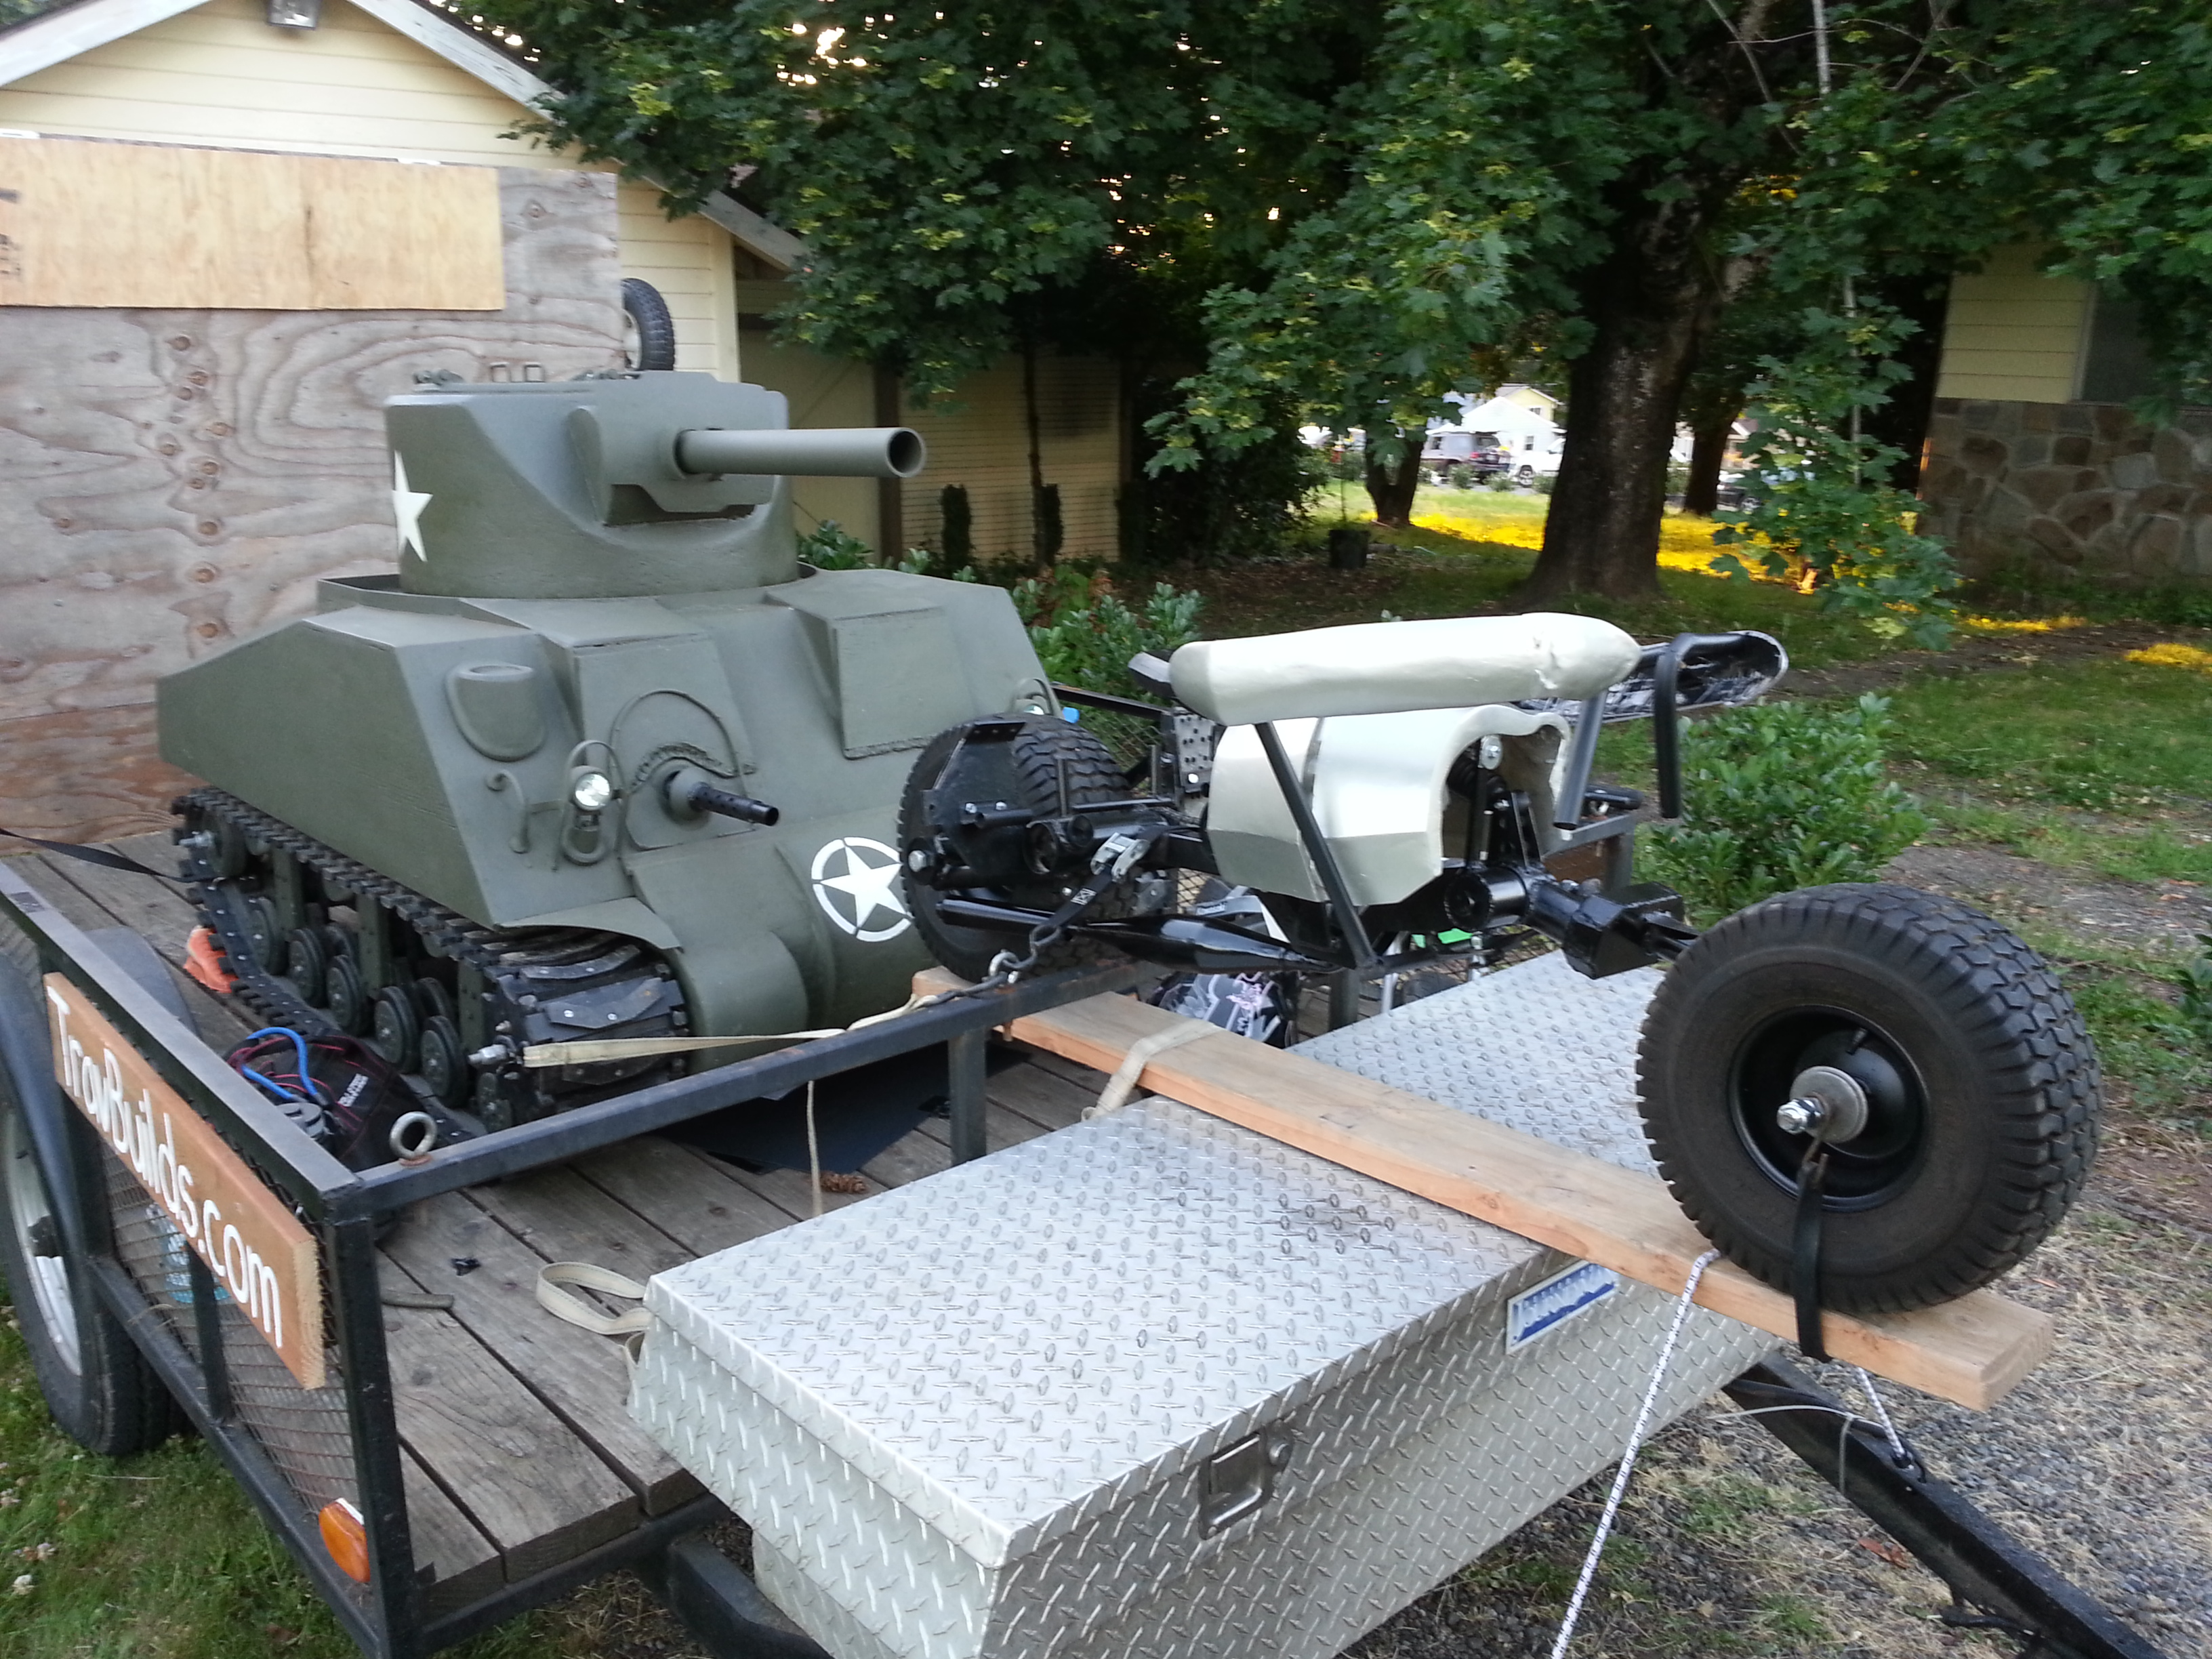
I had the Batpod at OMSI this past weekend, and a lot of kids sat on it, got their pictures taken, and checked it out. The monoshock is definitely too soft, and a little longer one would be nice, so need to start looking for one.
Here’s a little slideshow of how I got to this point so far.
It’s been a crazy week, I’m trying to finish the Batpod for the upcoming Mini Makers Faire at OMSI (Oregon Museum of Science and Industry). I even got a little air time on the local news to promote the event.
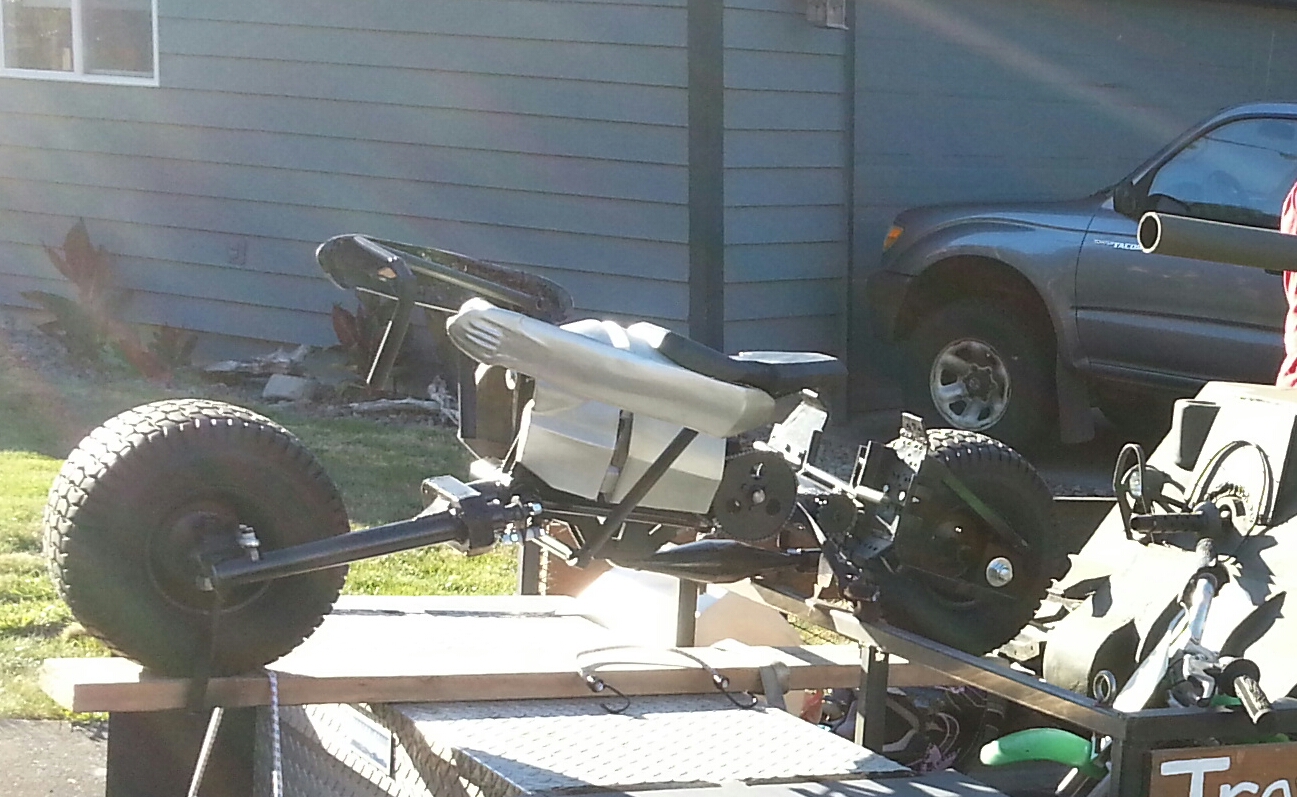
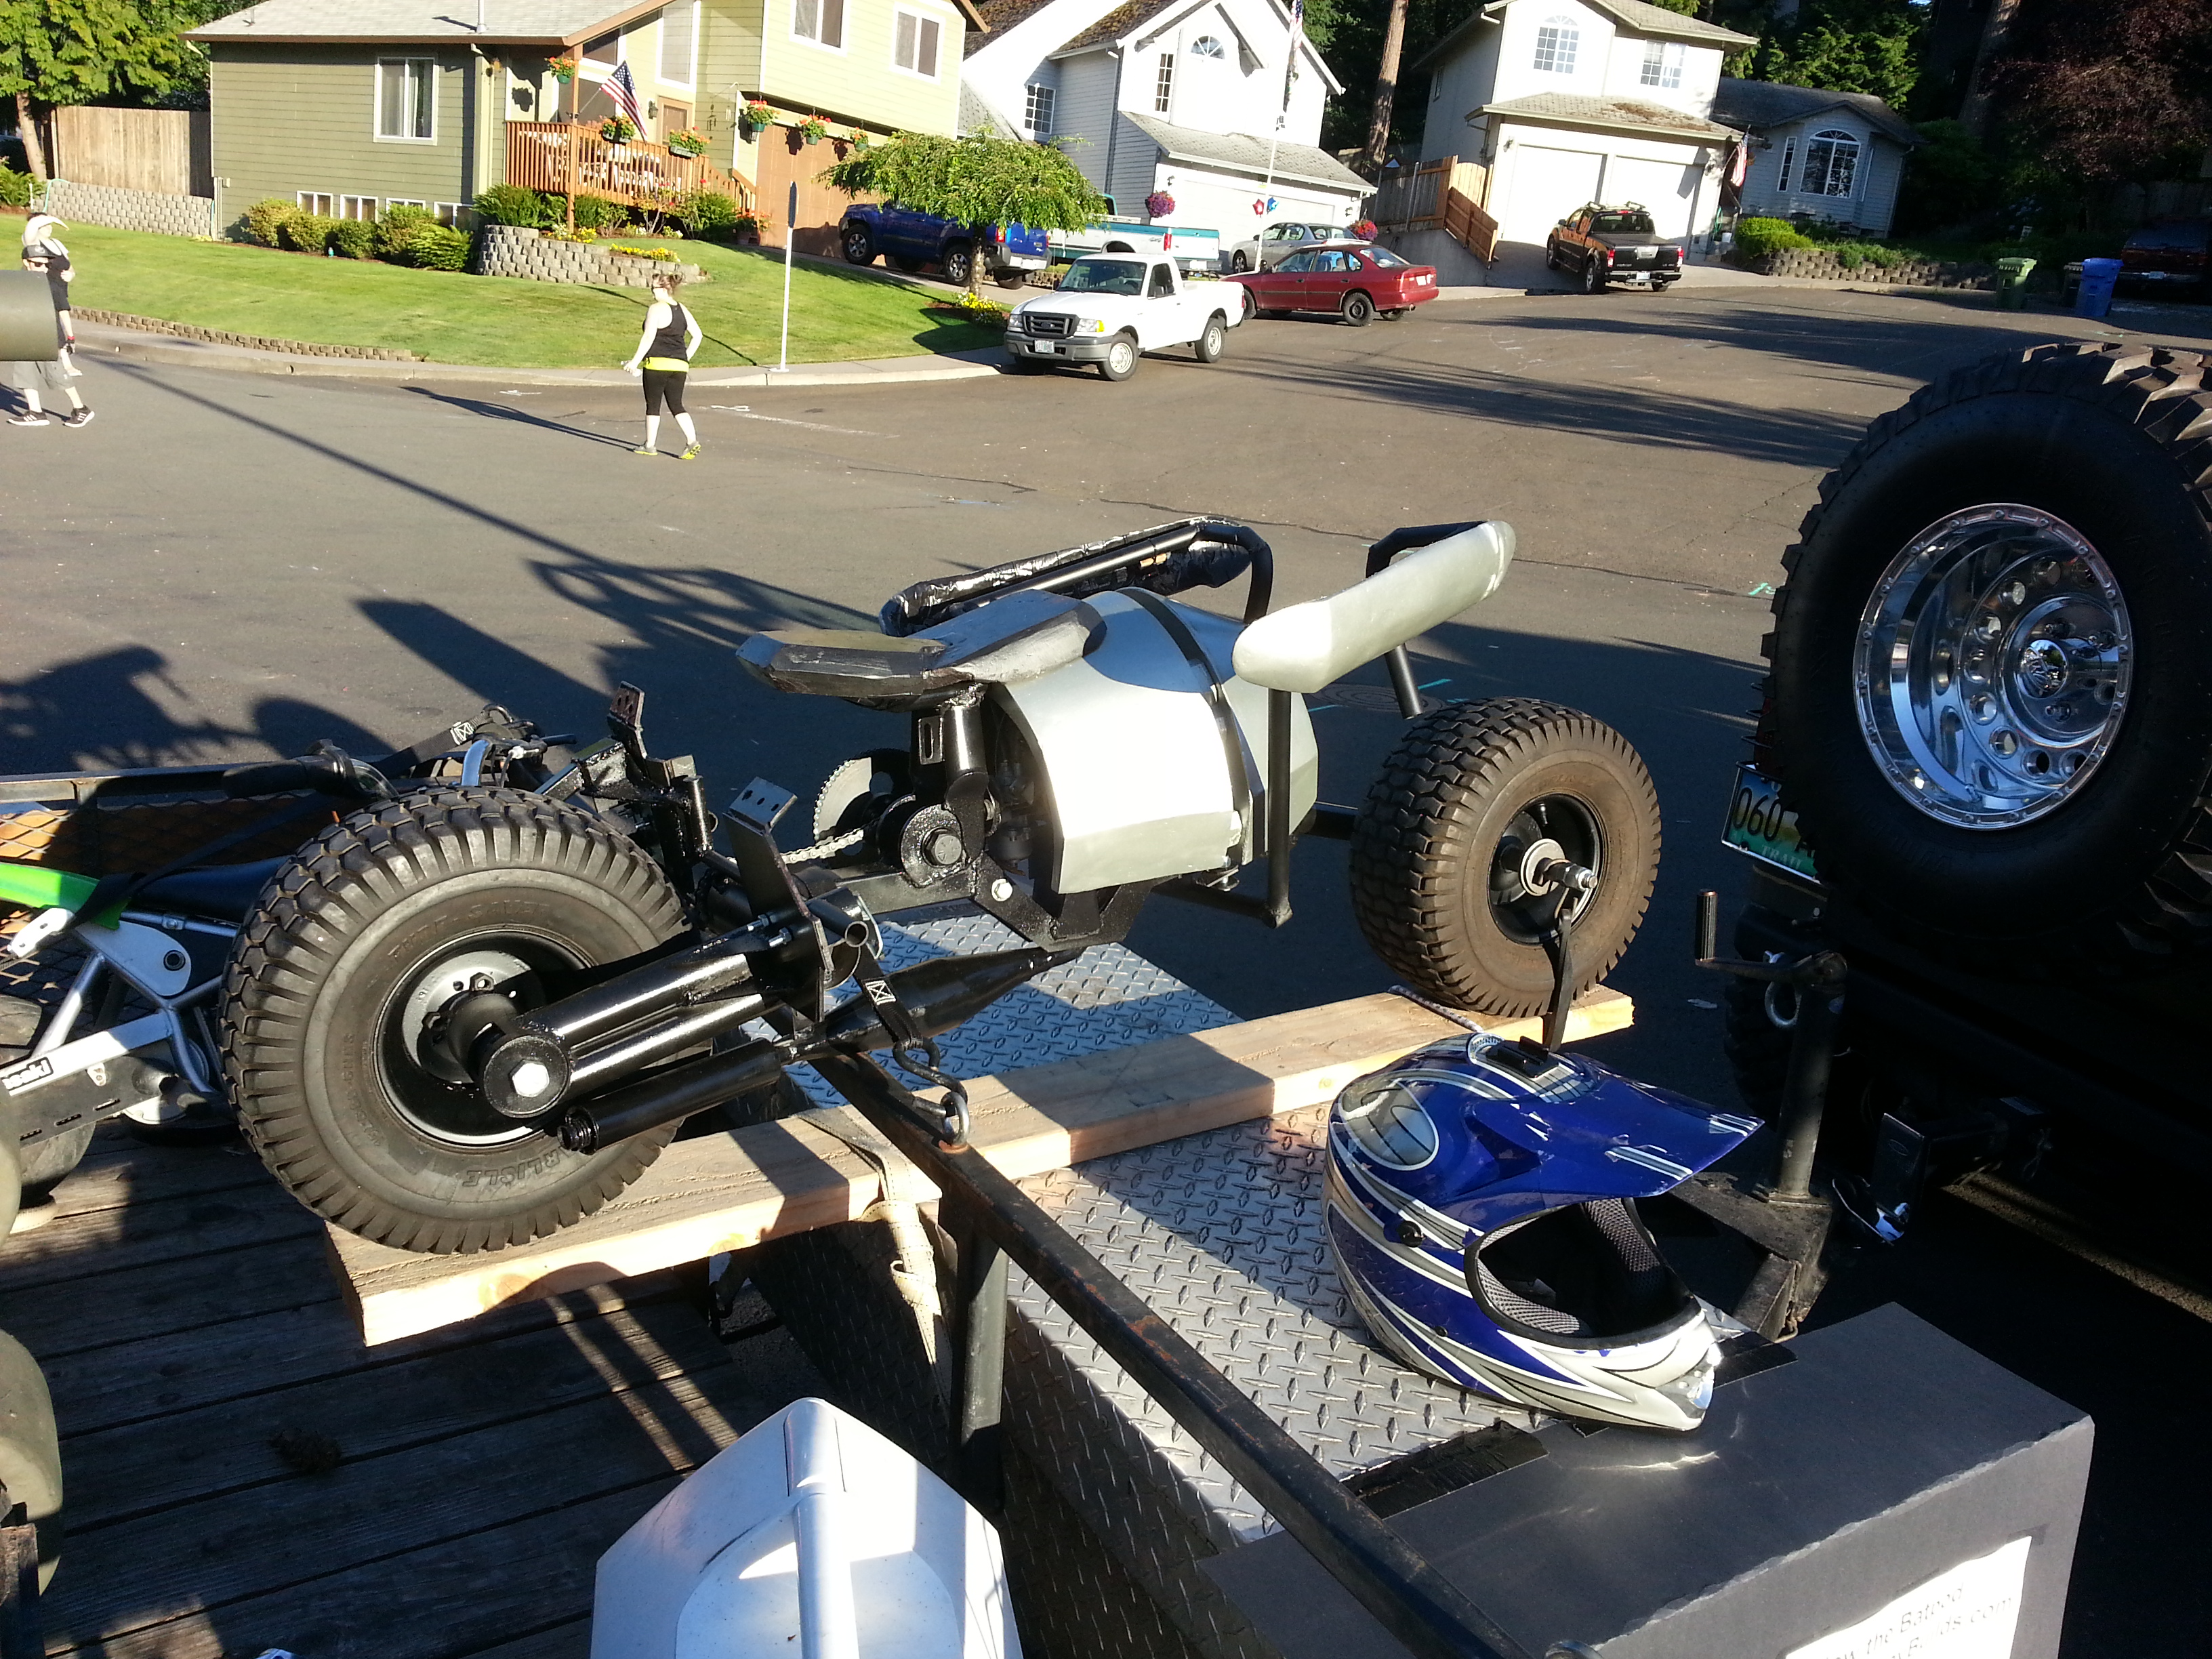
To install the front gun, and have the left side gun turn with the wheel, I made a UHMW bracket on the back of it, with a pivot bolt through the front end. In this video you can see the basic action, although I need a little tie-rod so that the actual tie-rod can actuate the gun pivot.
I also made one of the chain-guard/covers to protect the rider, and hide the chains. Still need to make one more for over the big sprocket. Then I threw everything together to be on TV.
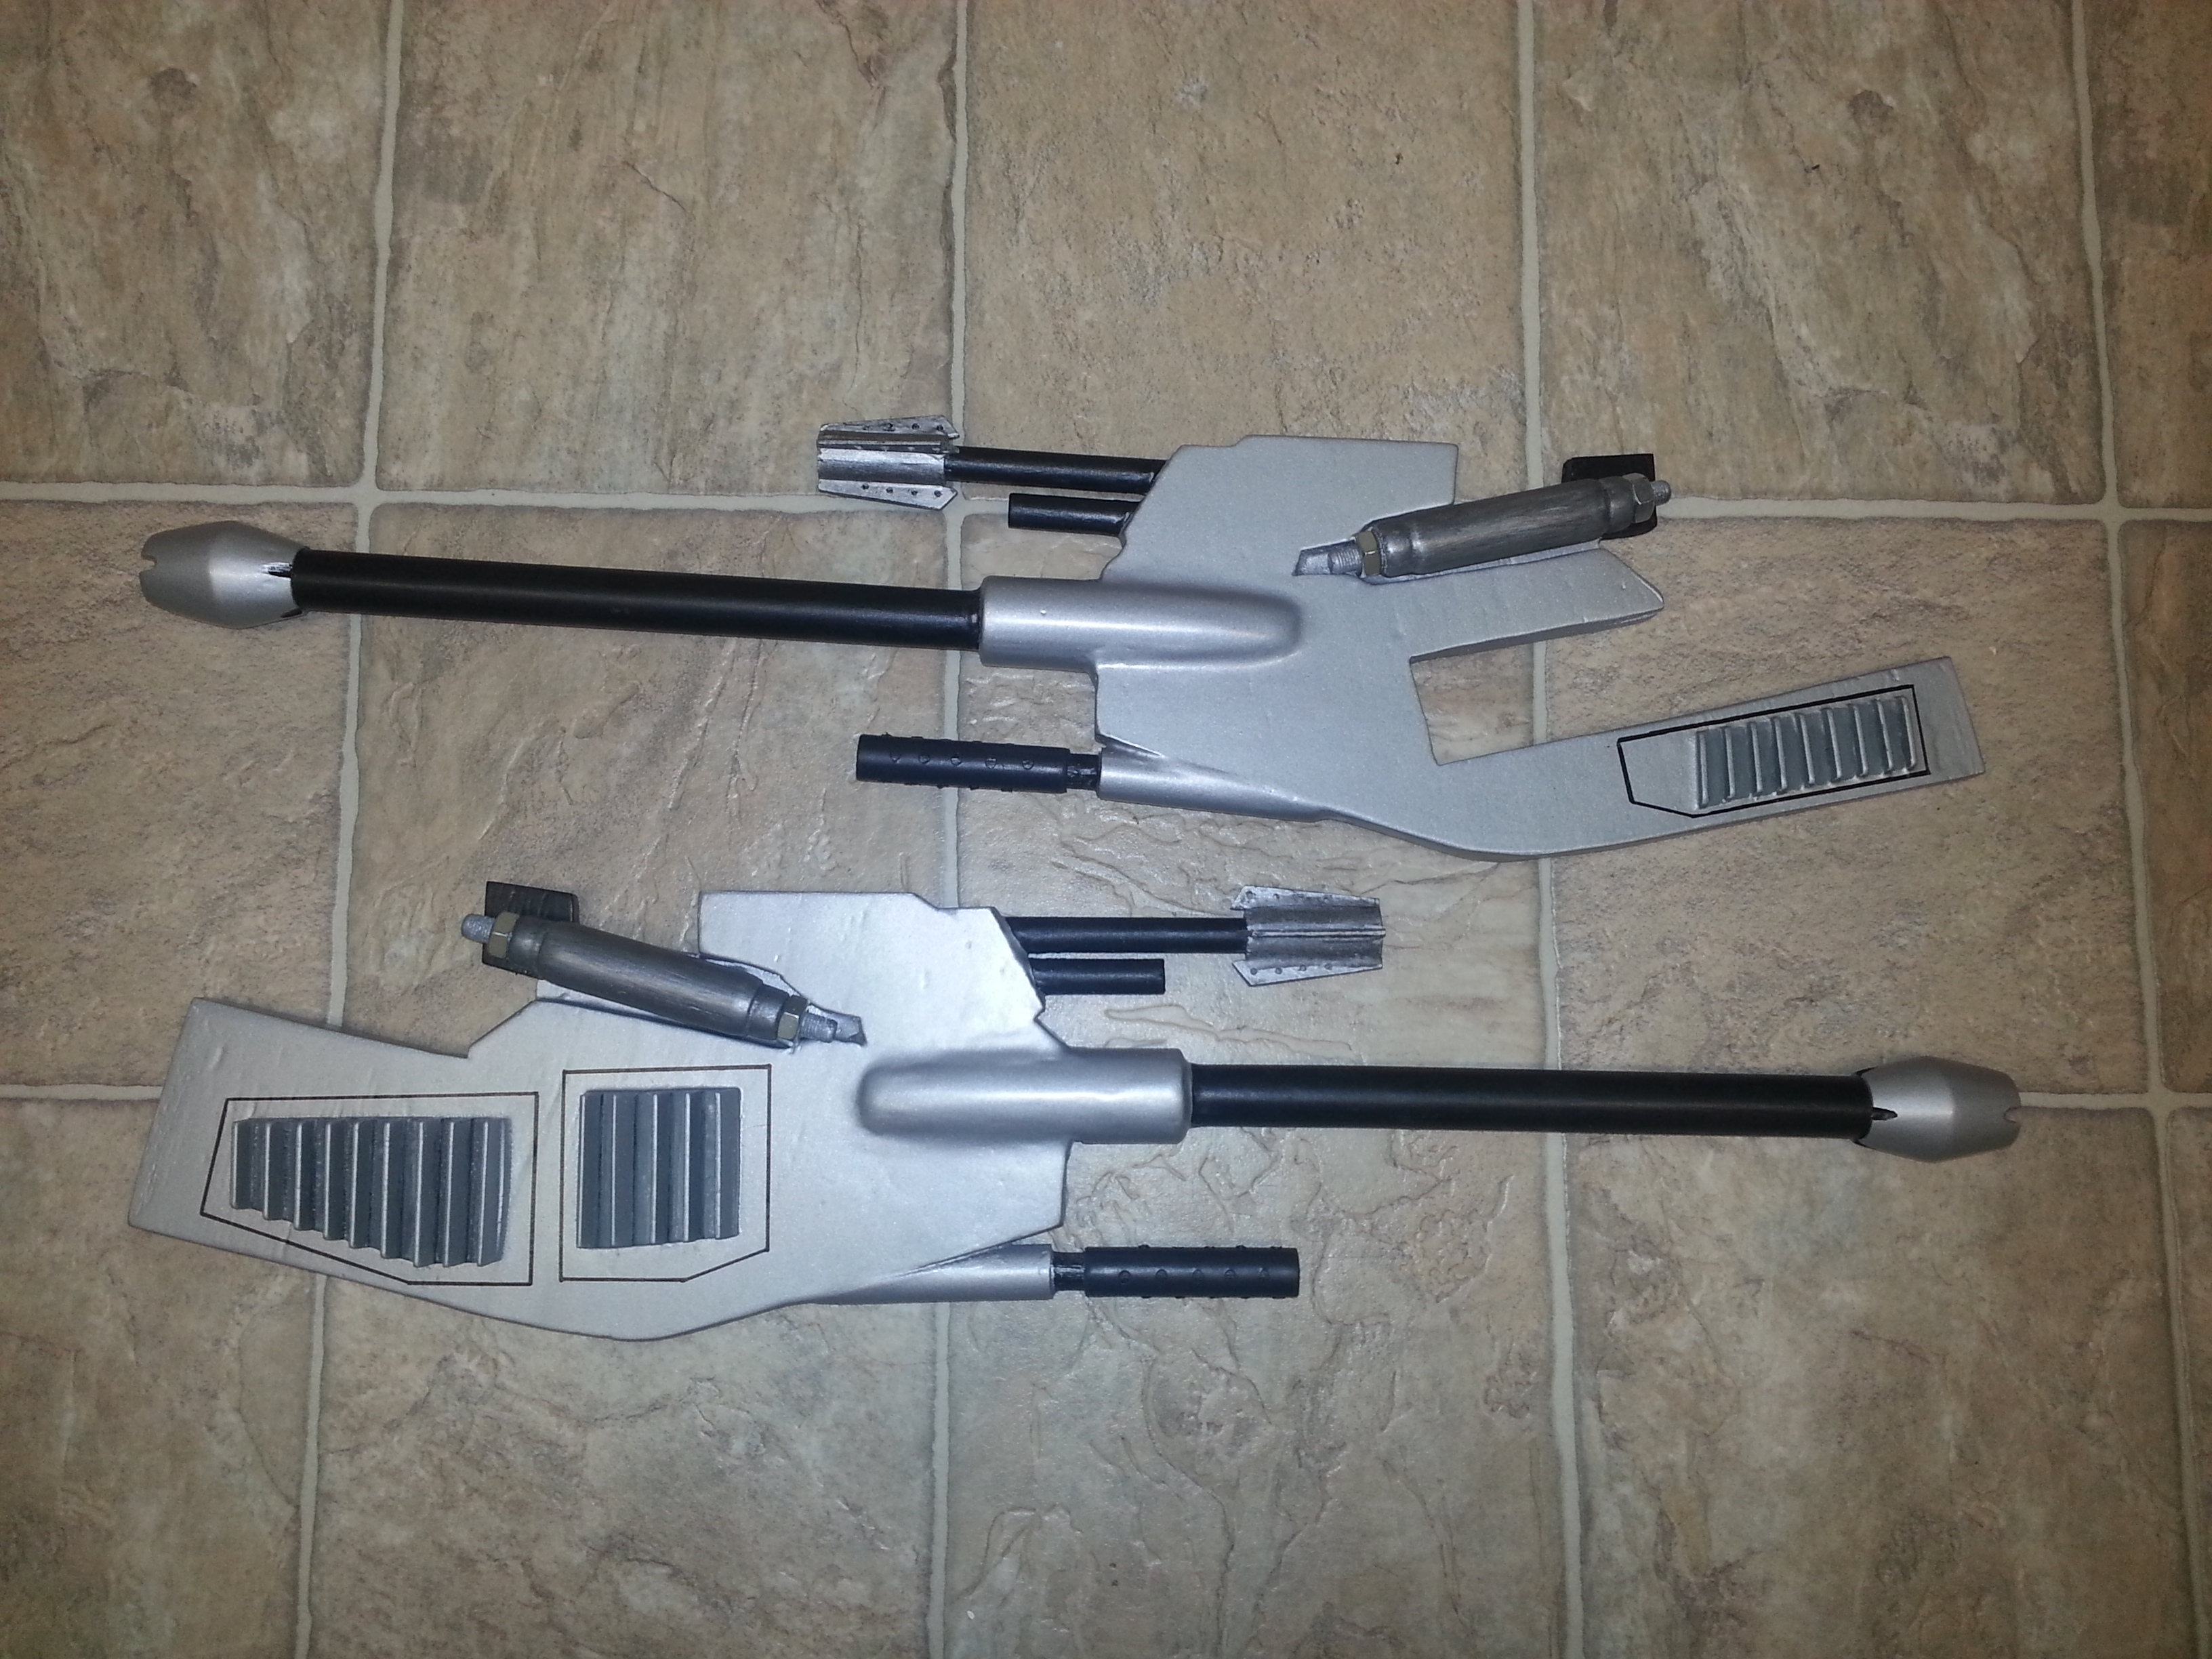
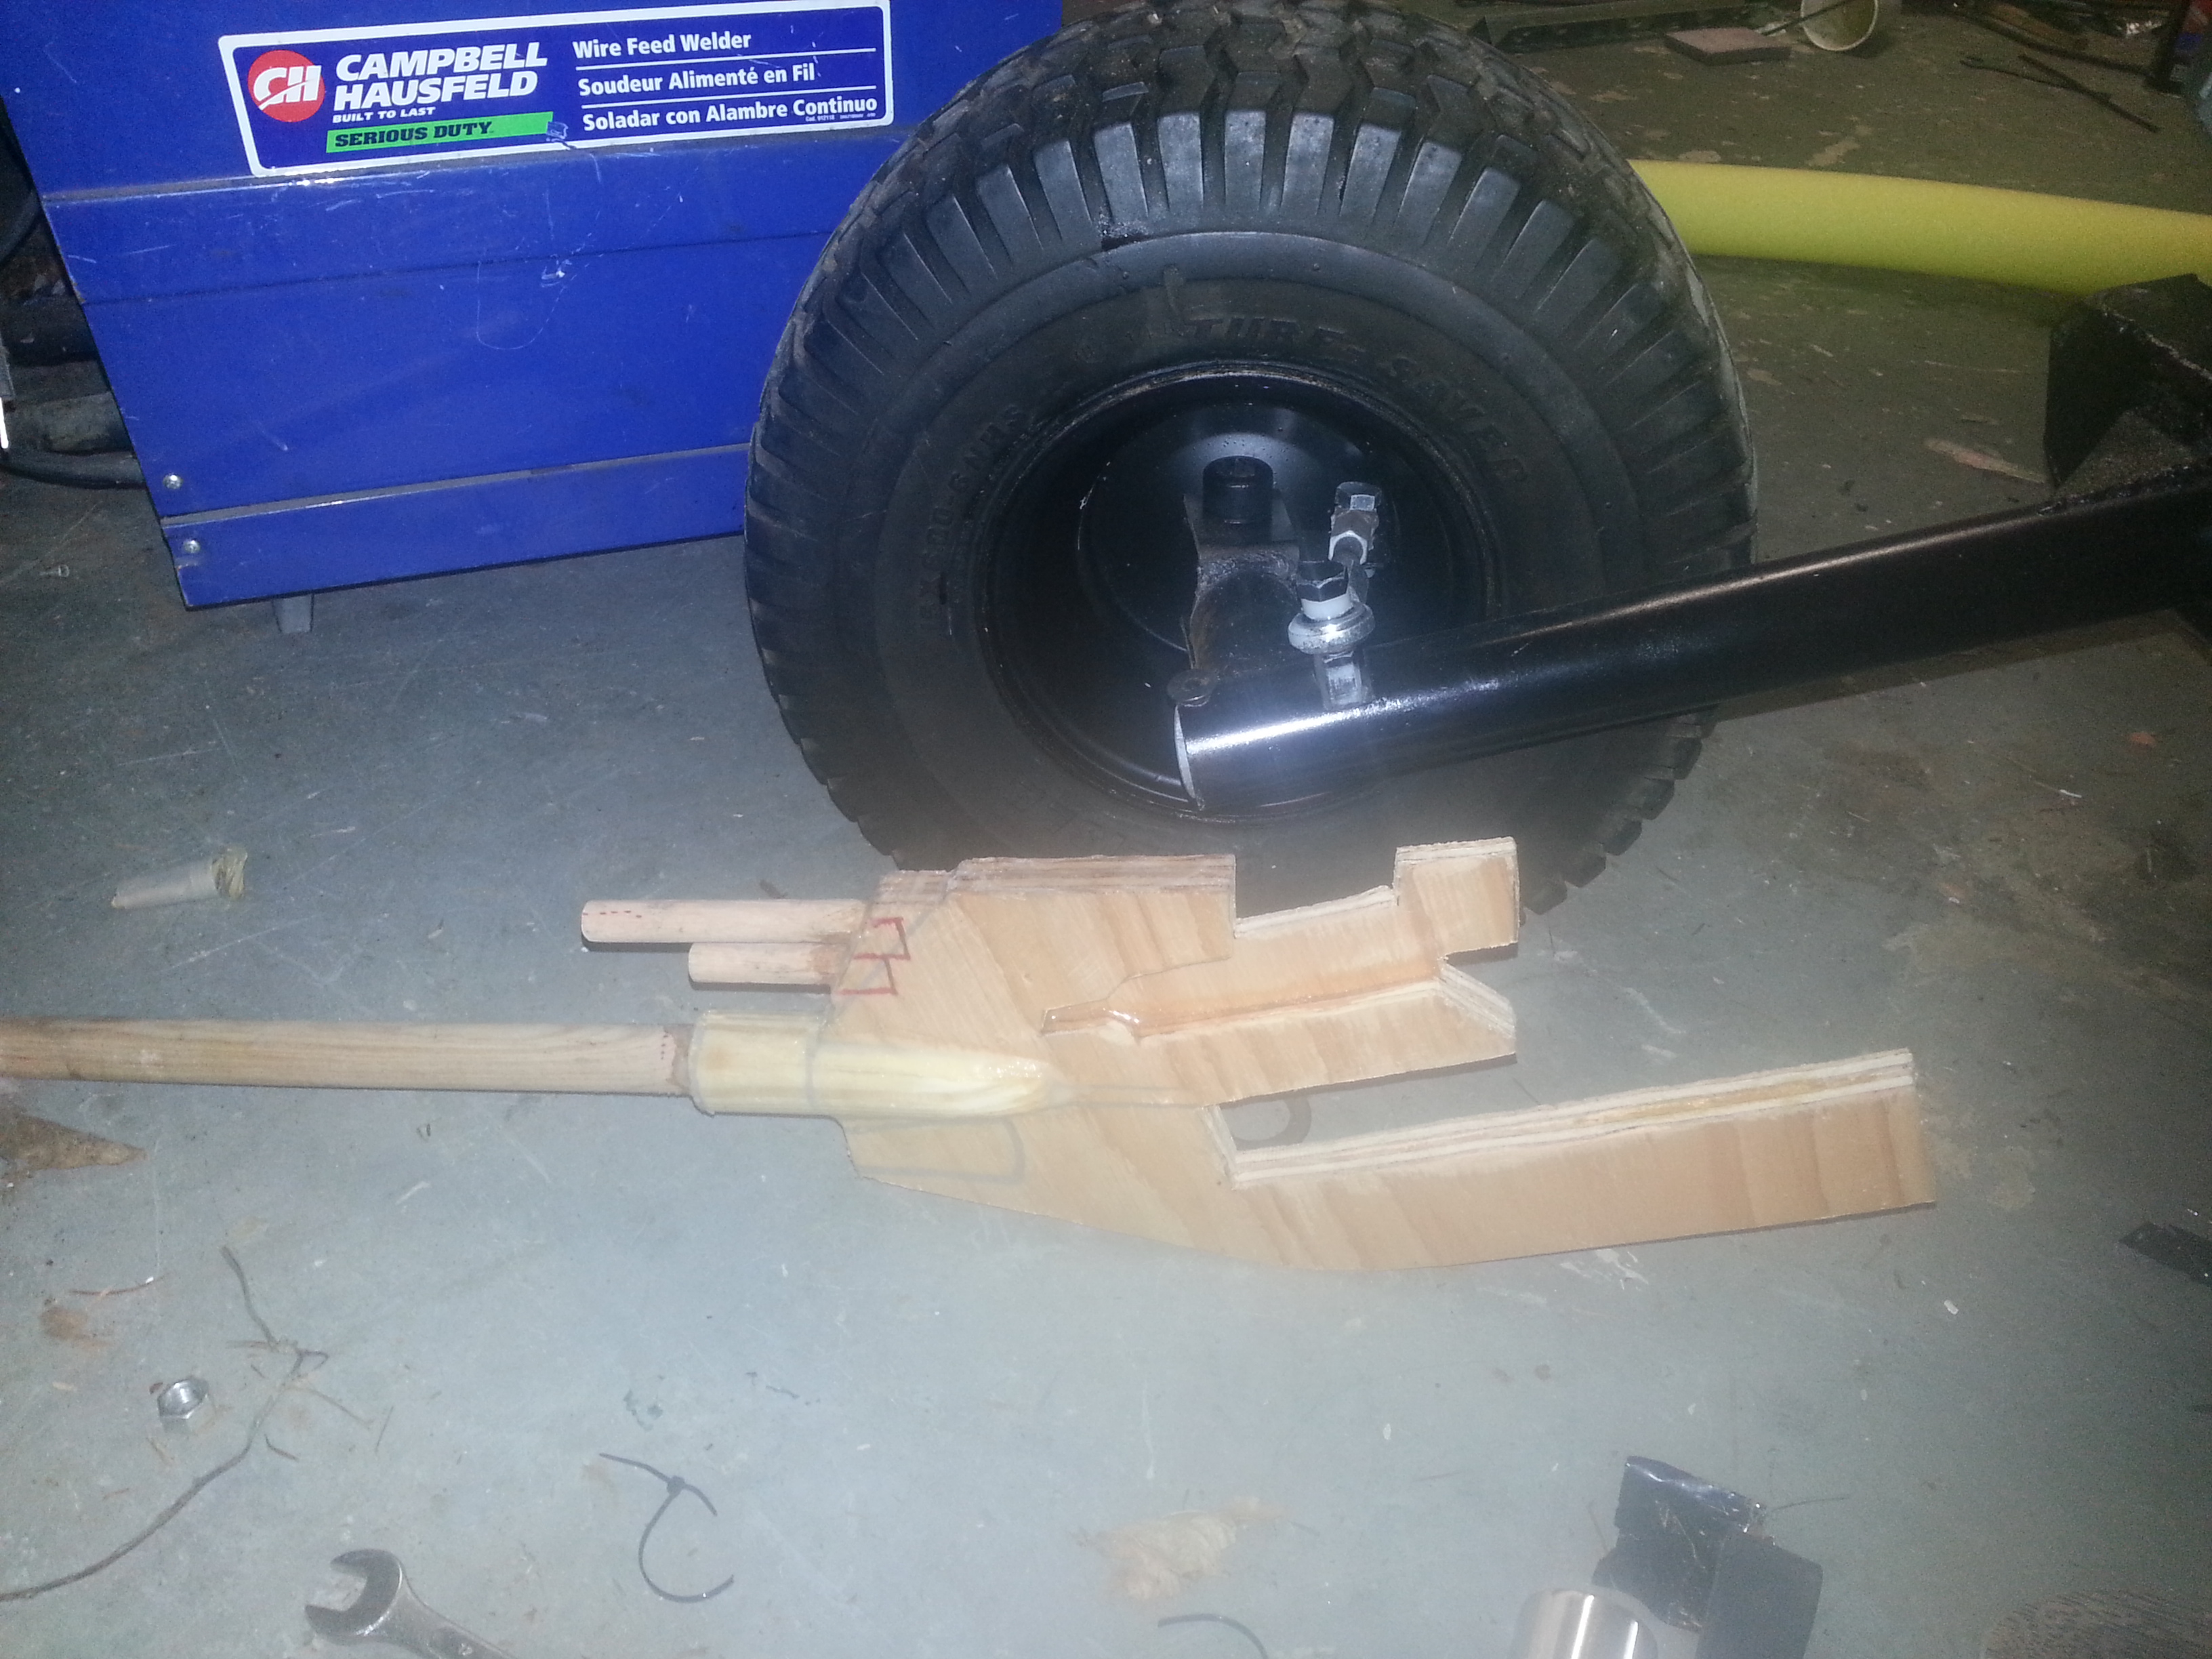
I pretty much finished up the front wheel guns, just have a couple more tiny details to finish, and get them installed on the pod.
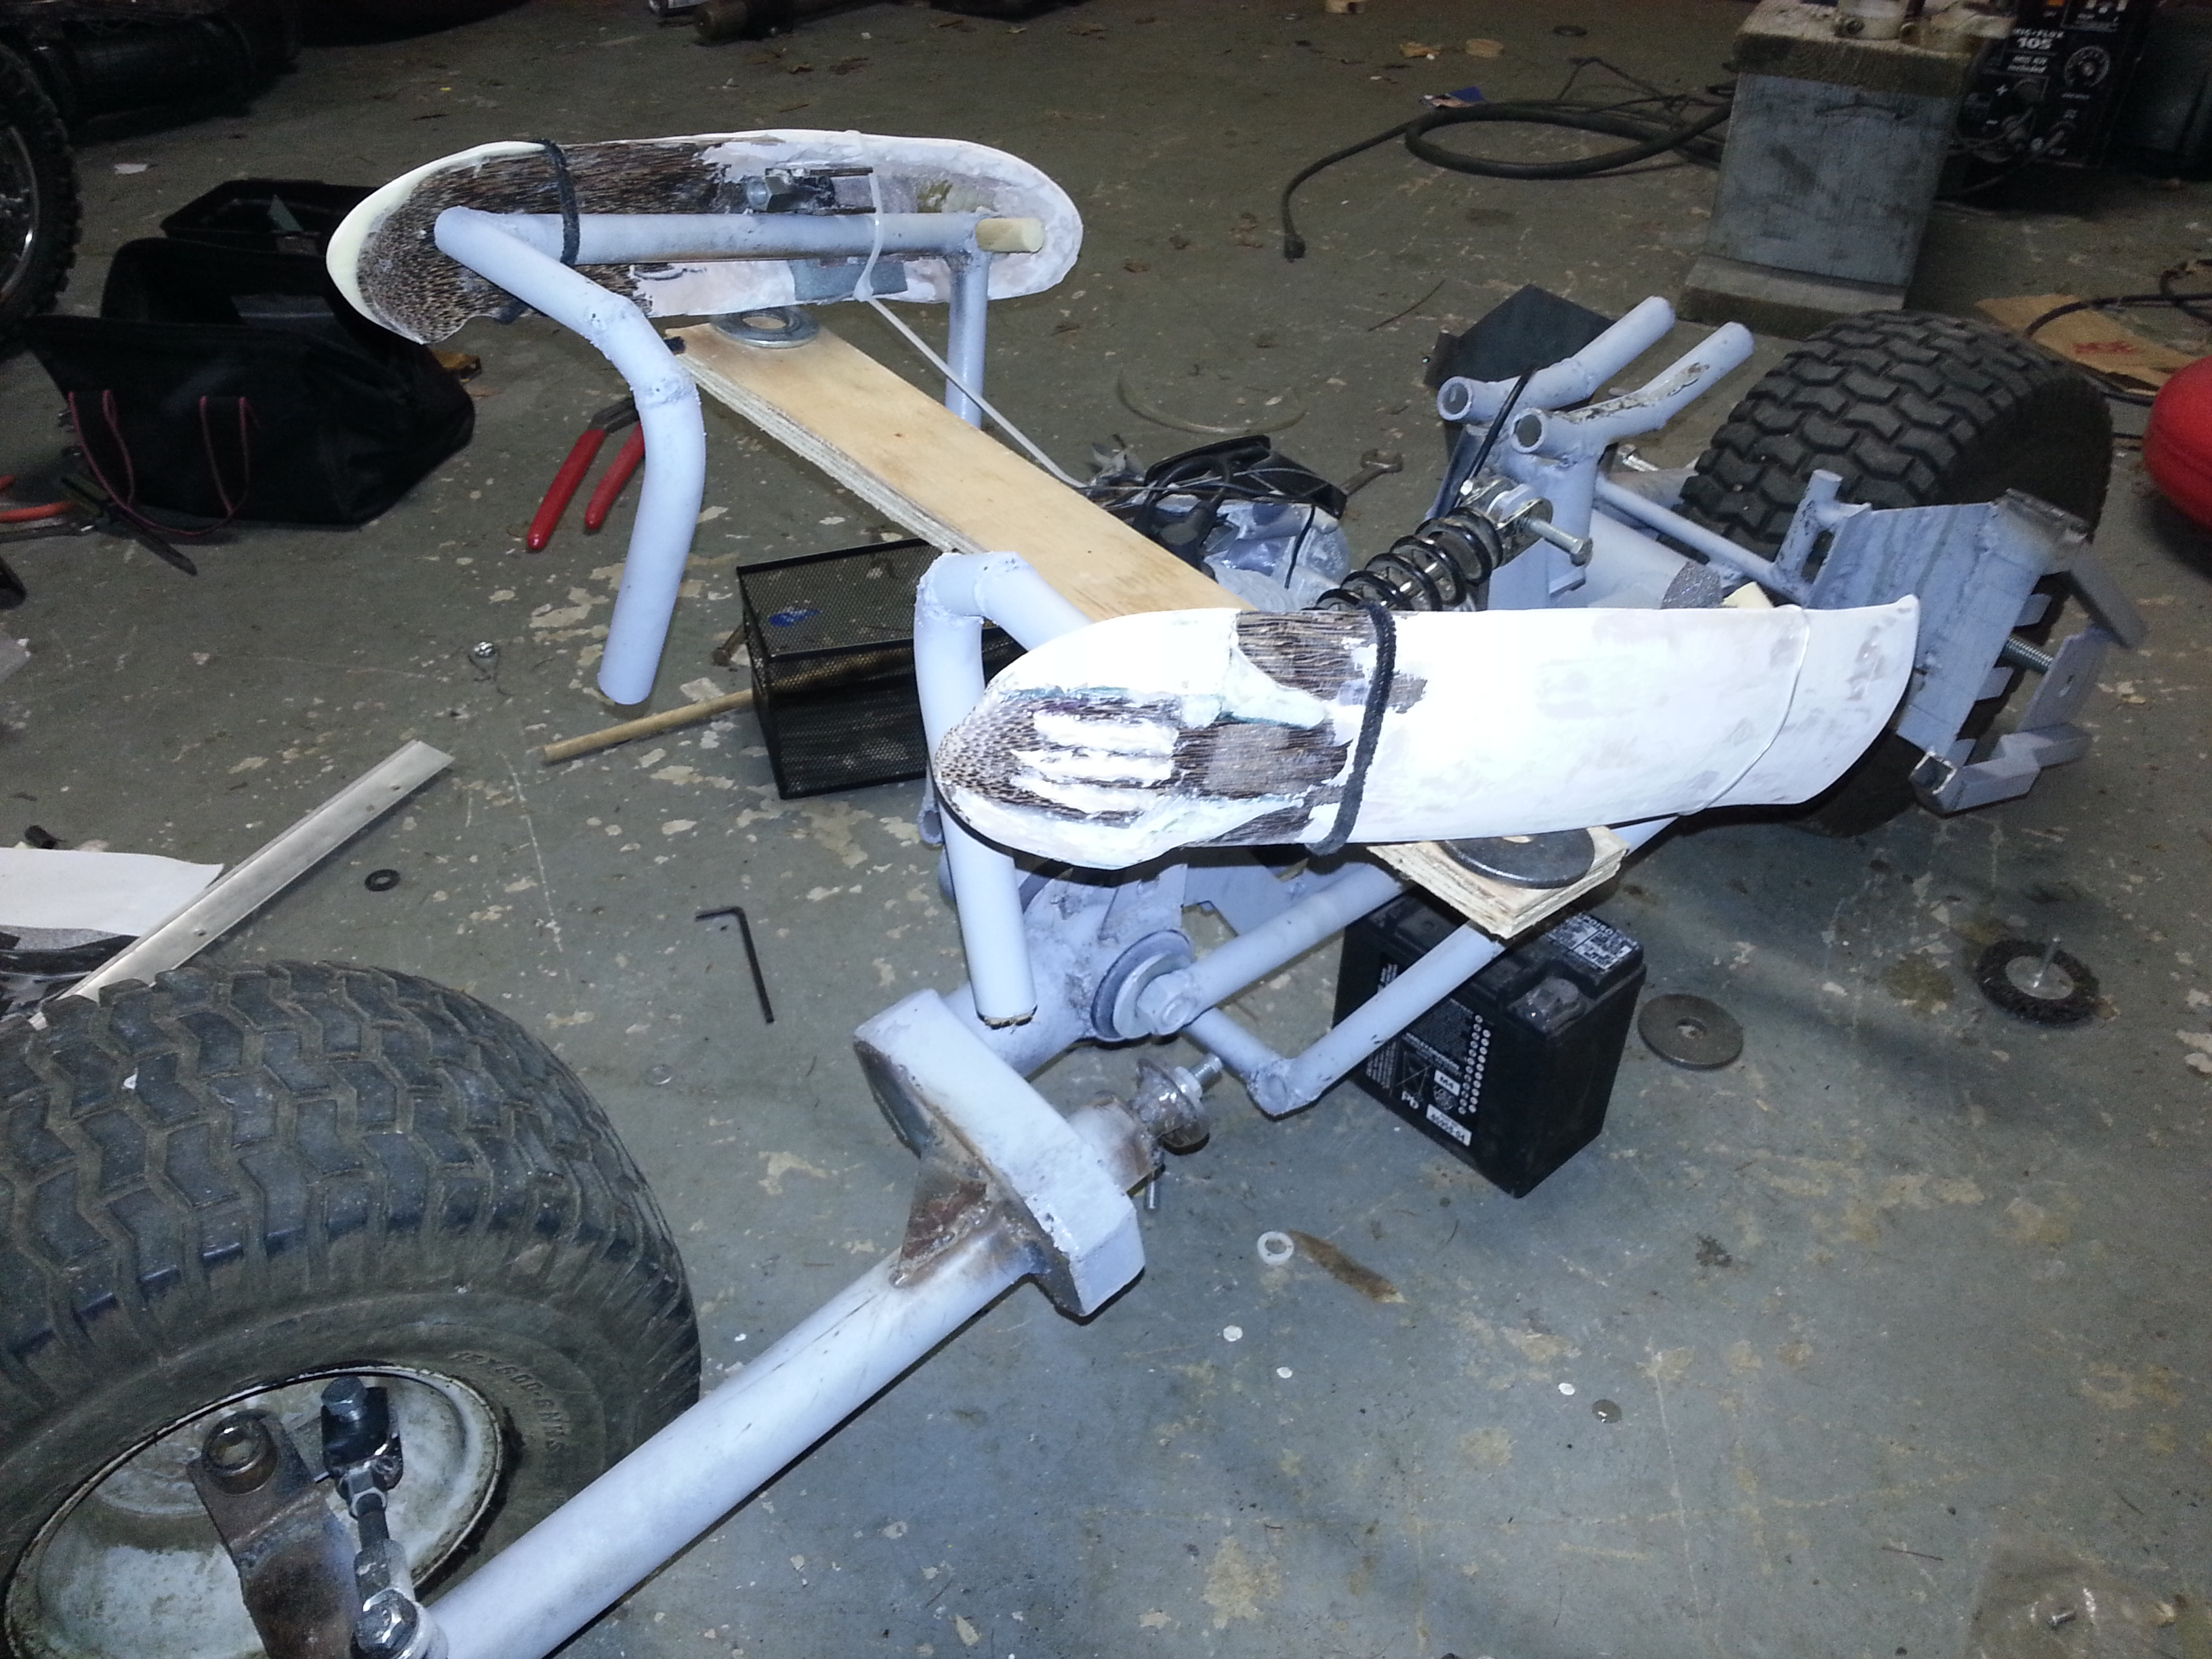
I did work on the knee rests. Need to do some more foam, then make the frame bars they attach to.
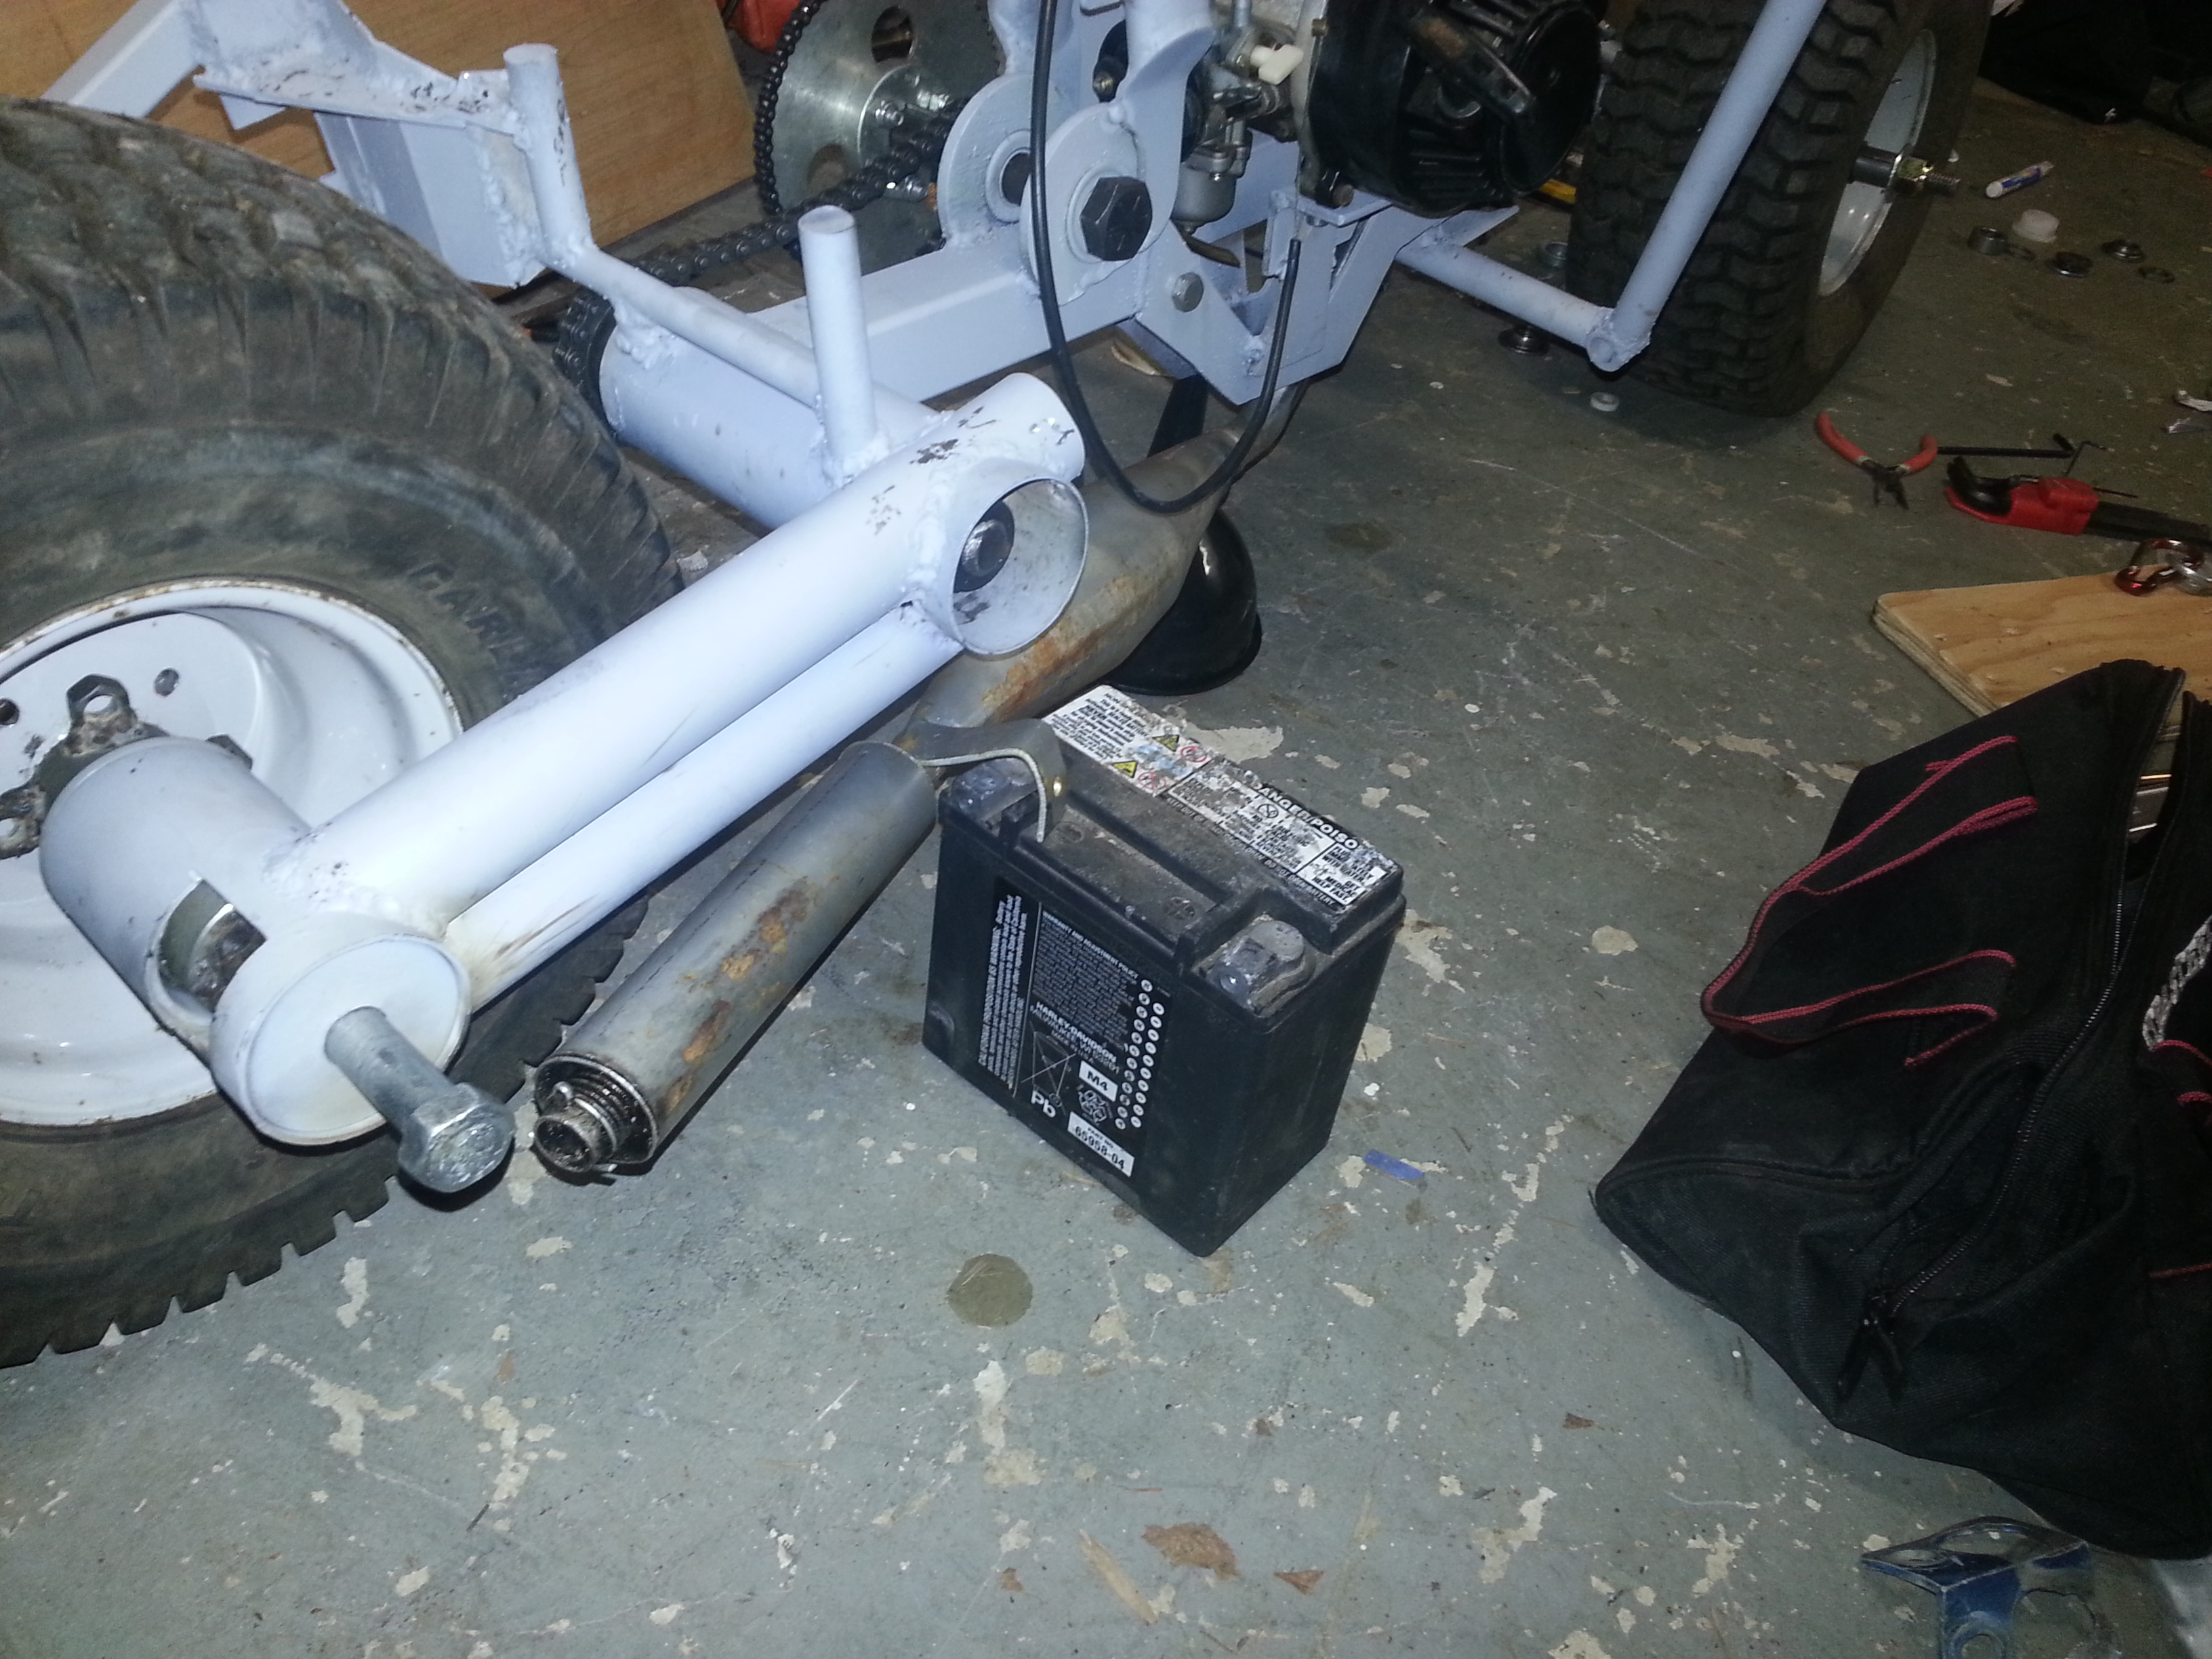
And finally, I started working on the rear brakes. This brake hub sort of thing will attach to the left side of the rear wheel. I took the rotor and this rotor mounting plate (black one with holes) from an electric scooter, which obviously is the side the brake rotor will attach to. The washer and black plate will be connected by a 1″ section of pipe welded between them. Then I’ll need to mount the caliper to the left side of the rear frame.
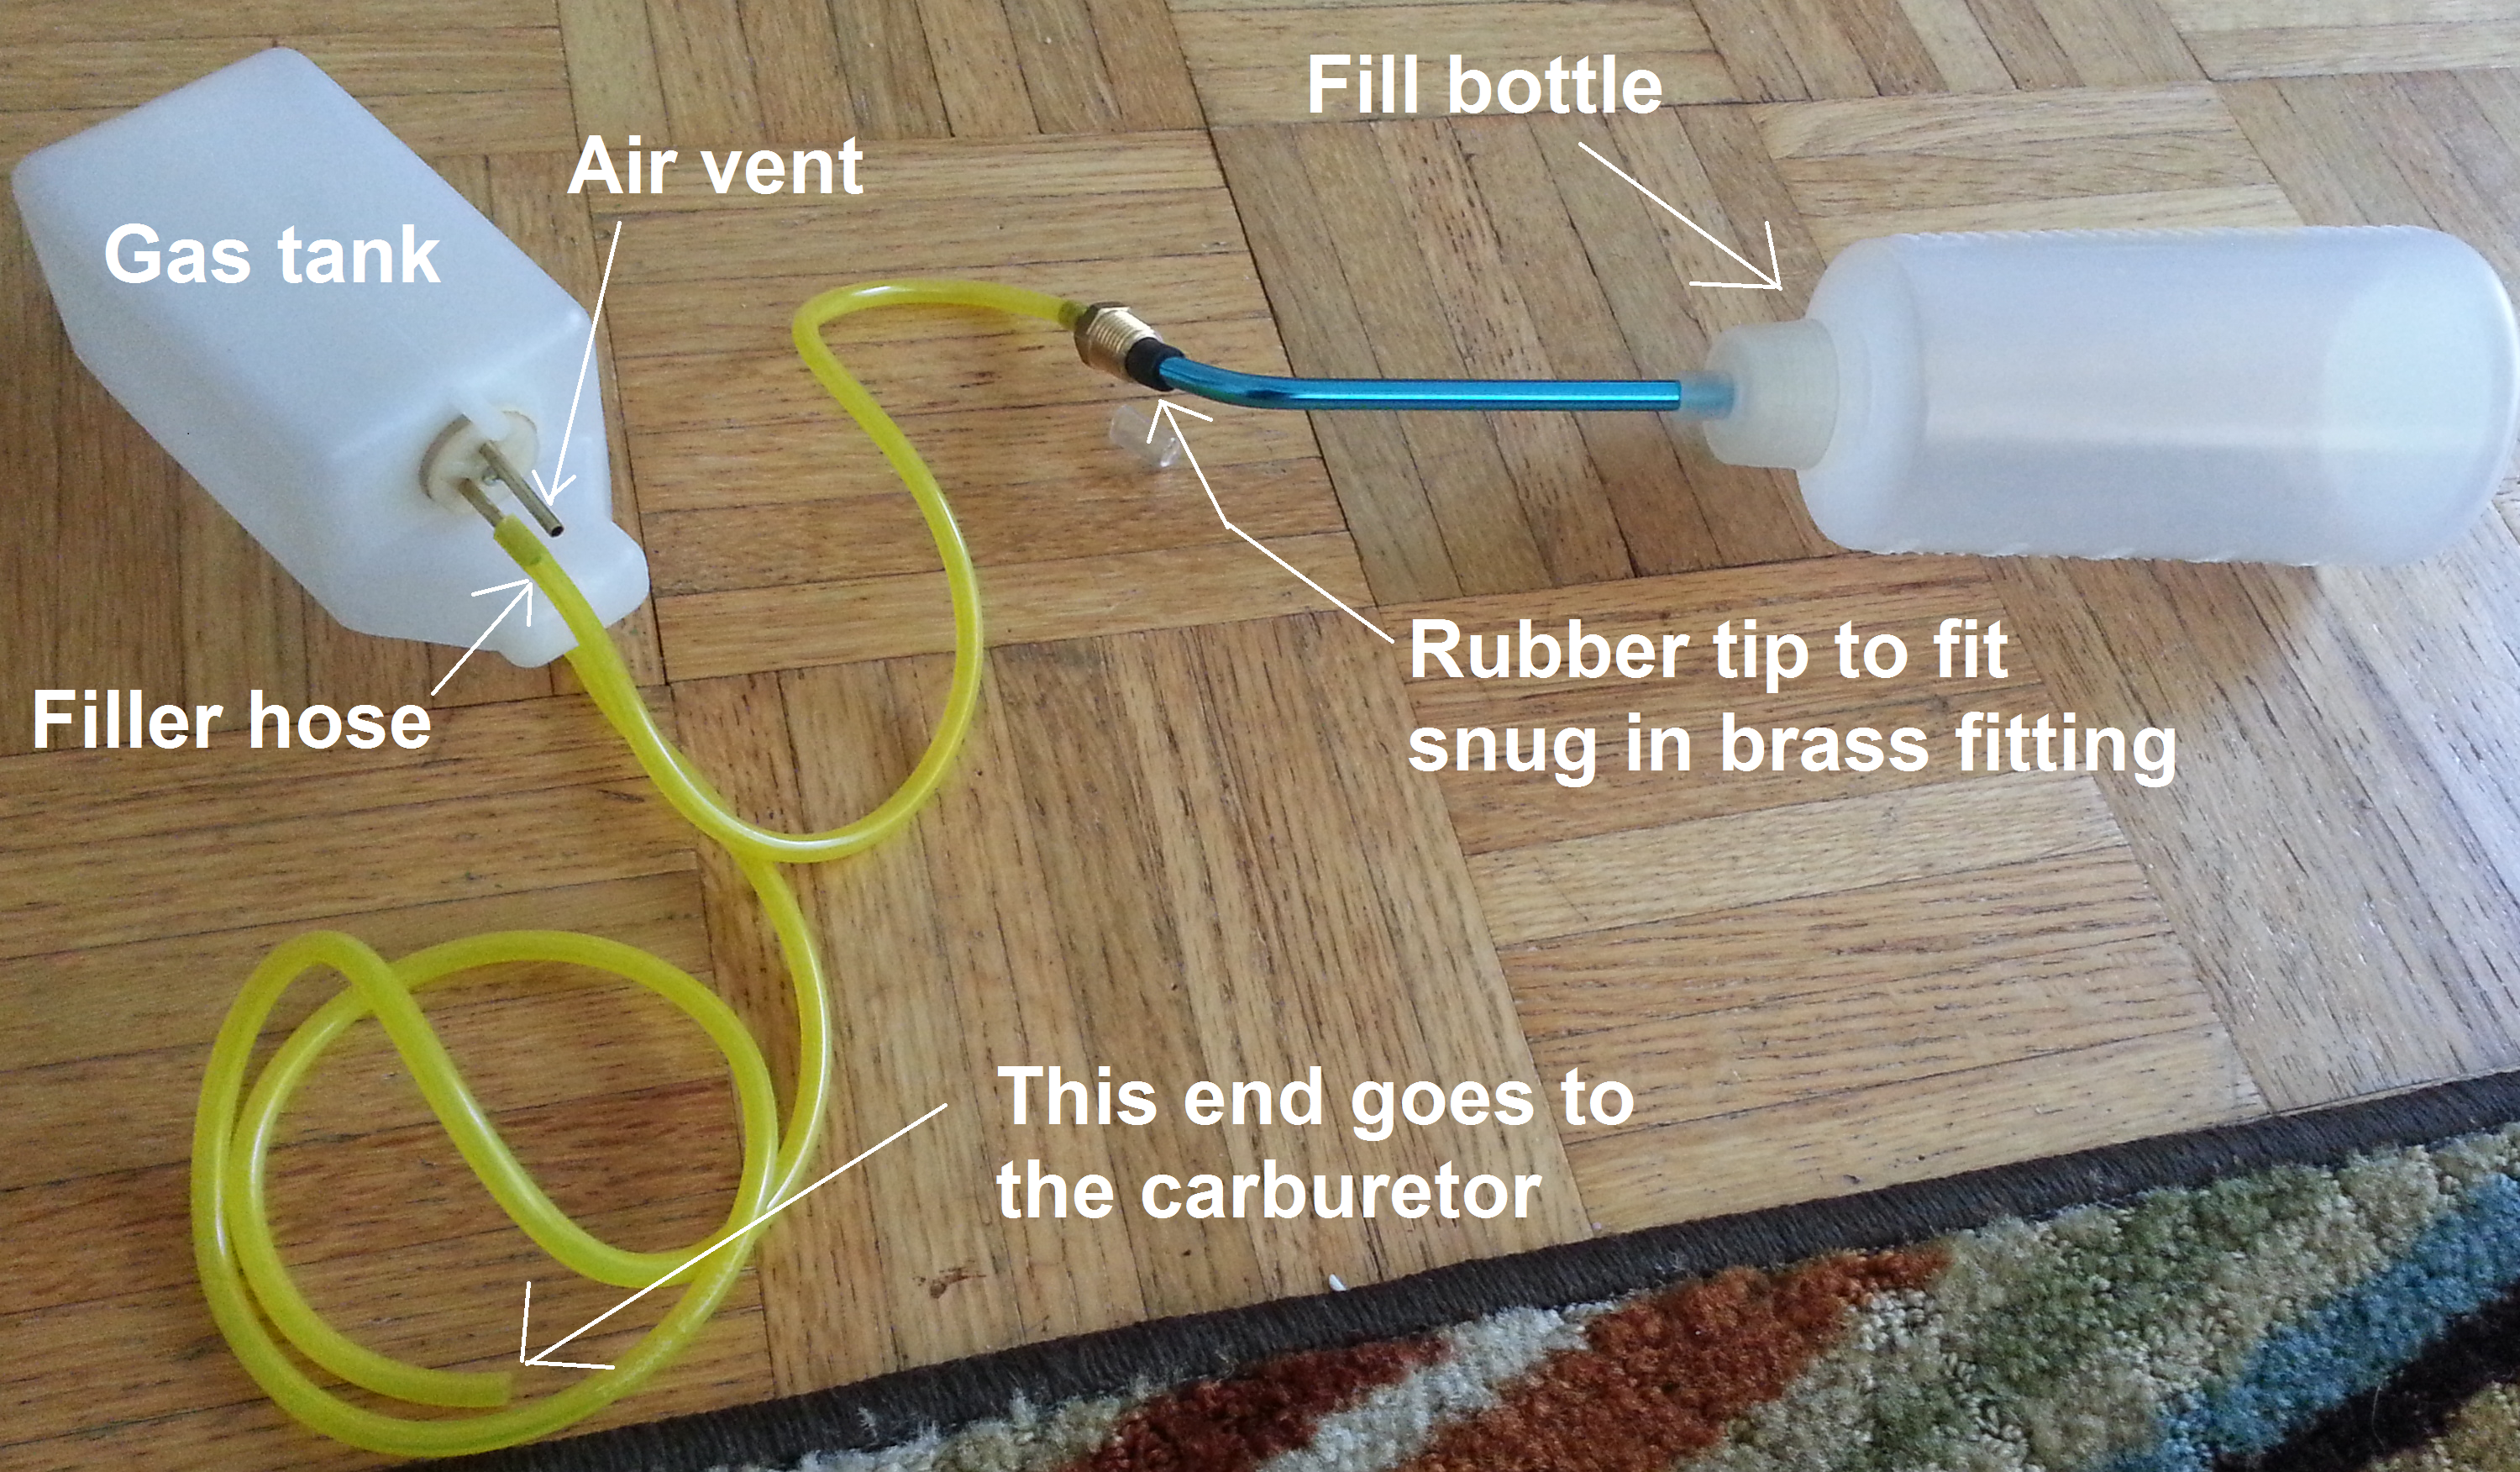
I got a gas tank from an RC airplane, and ran the lines as shown, it’s an 11oz tank, that you can quickly refill with the fill bottle:
Here is where the tank goes, very tight fit under the engine cover, you can sorta see here, hard to get a clear view of it.
And once the gas tank was hooked up, it was time to fill it with gas, and fire up the motor. For testing pruposes the engine cover was just set in place. Also note that the twist throttle and kill switch are installed.
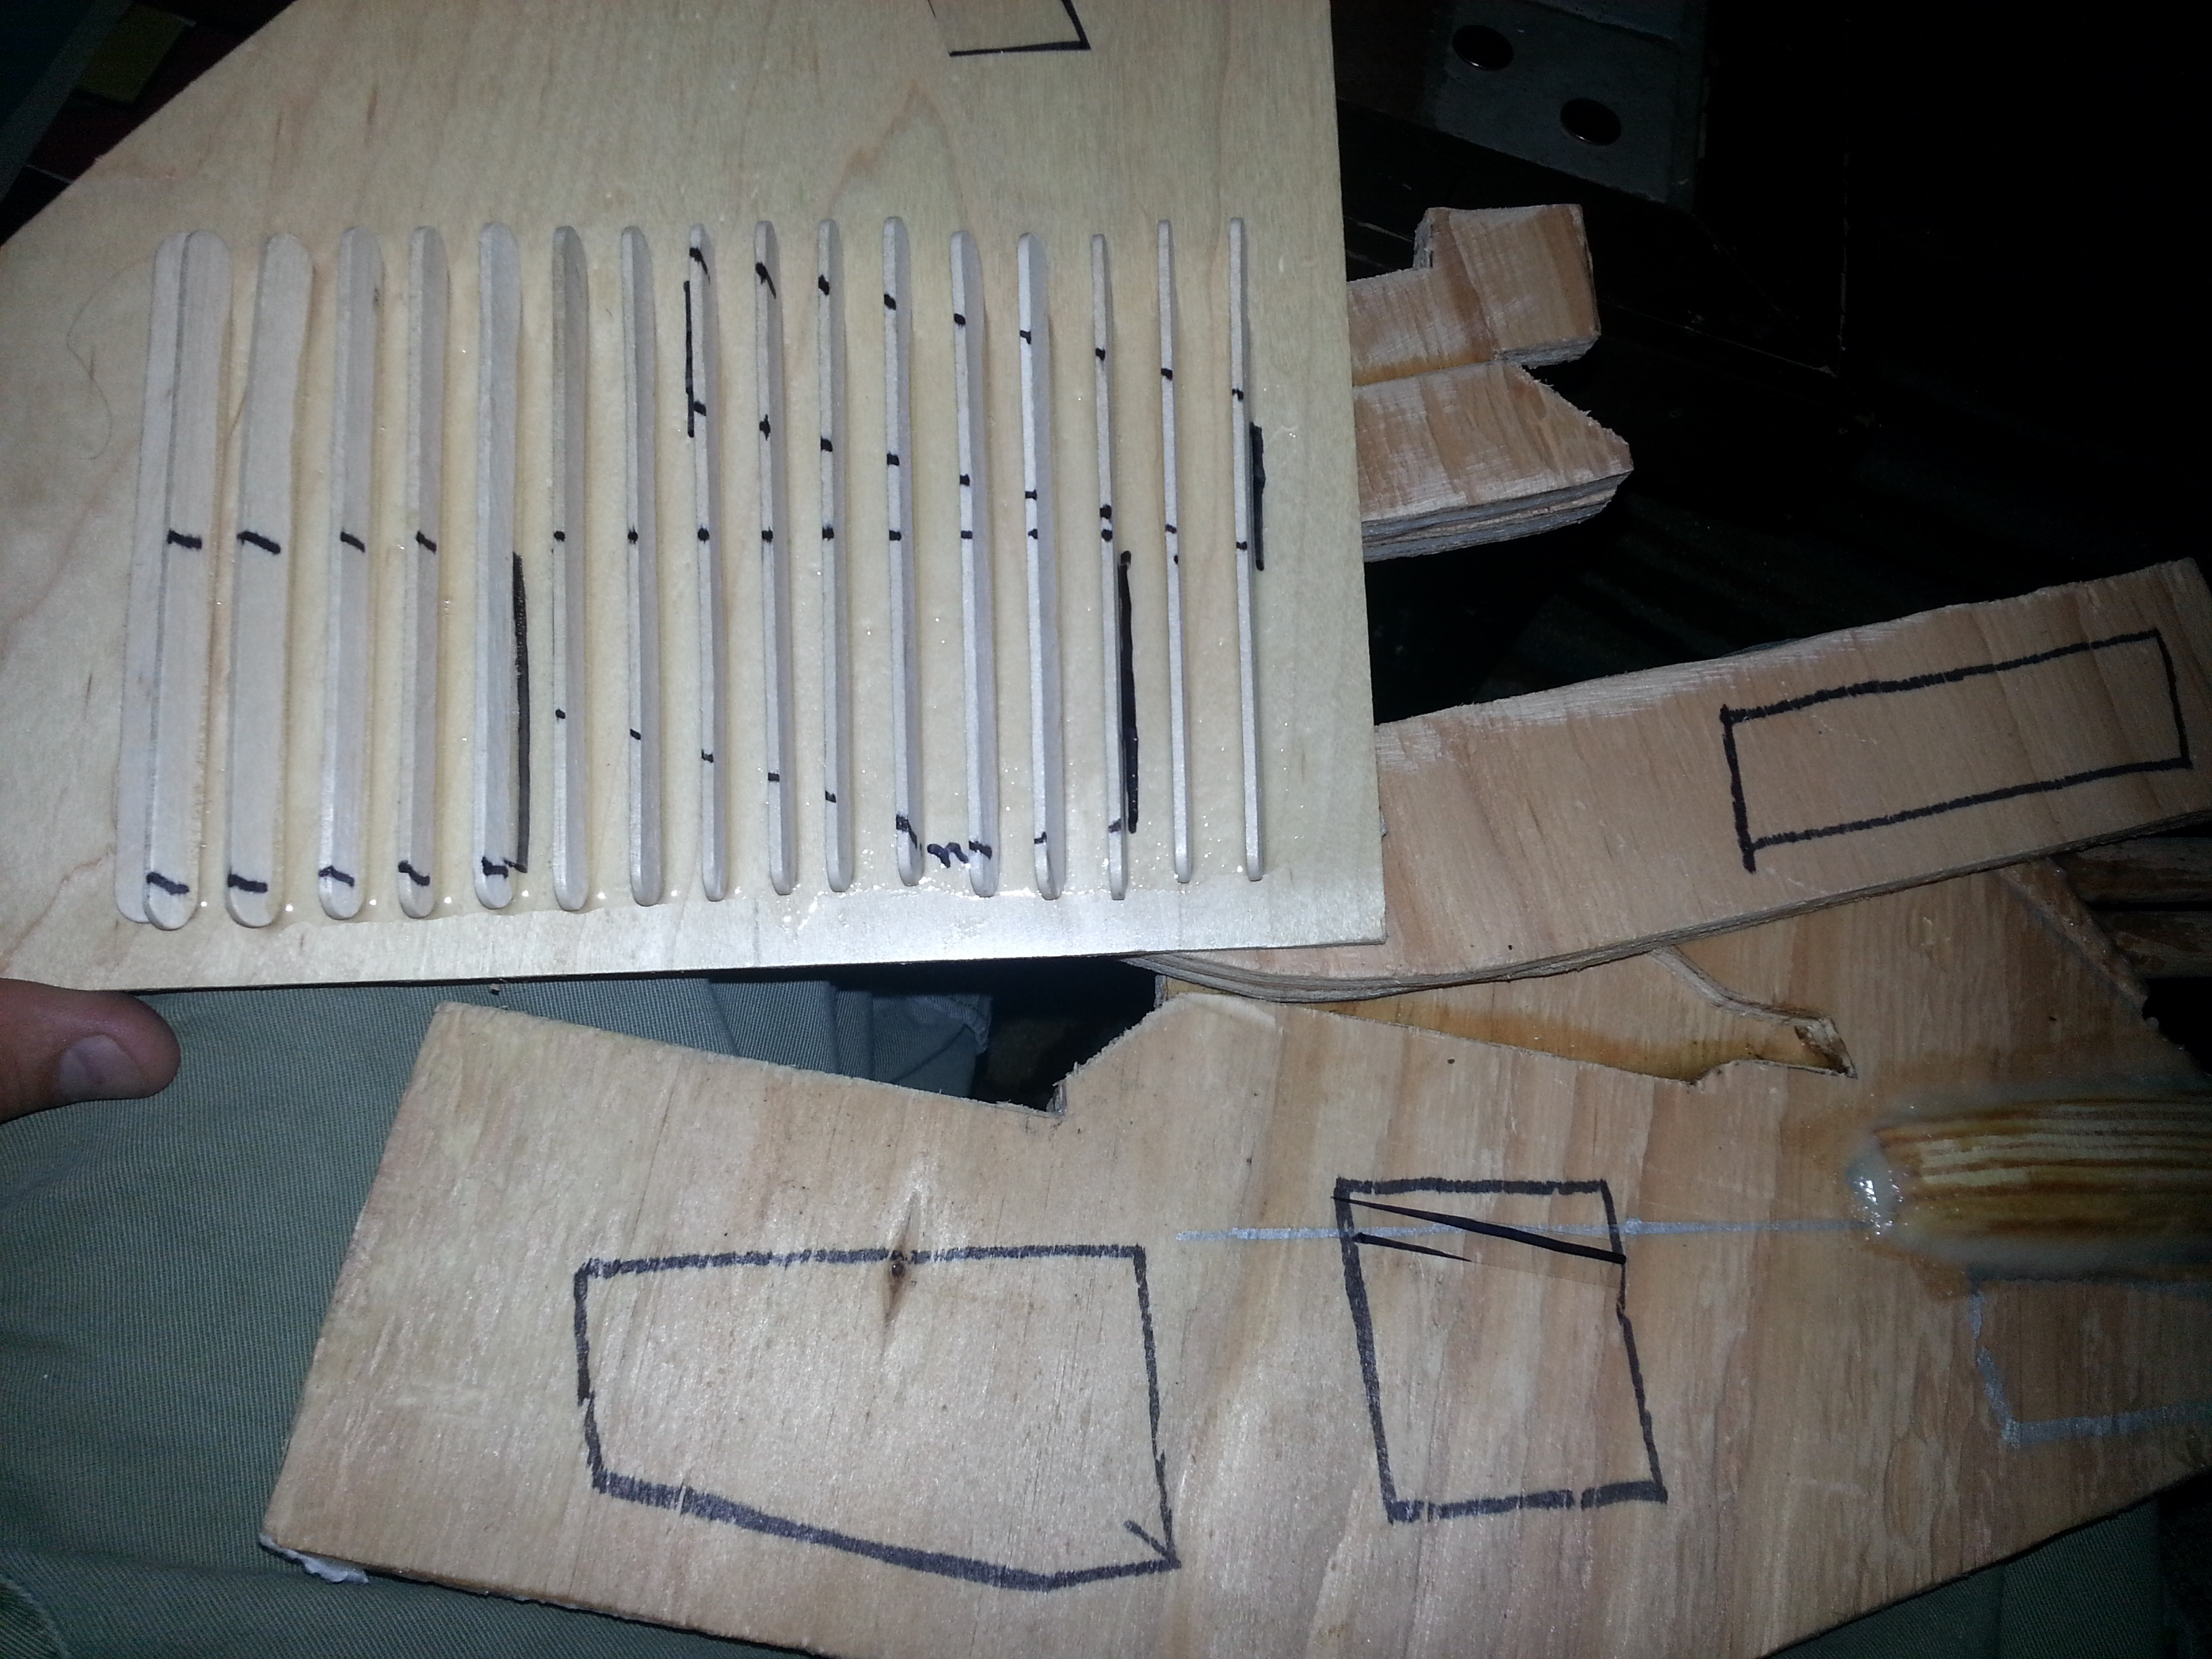
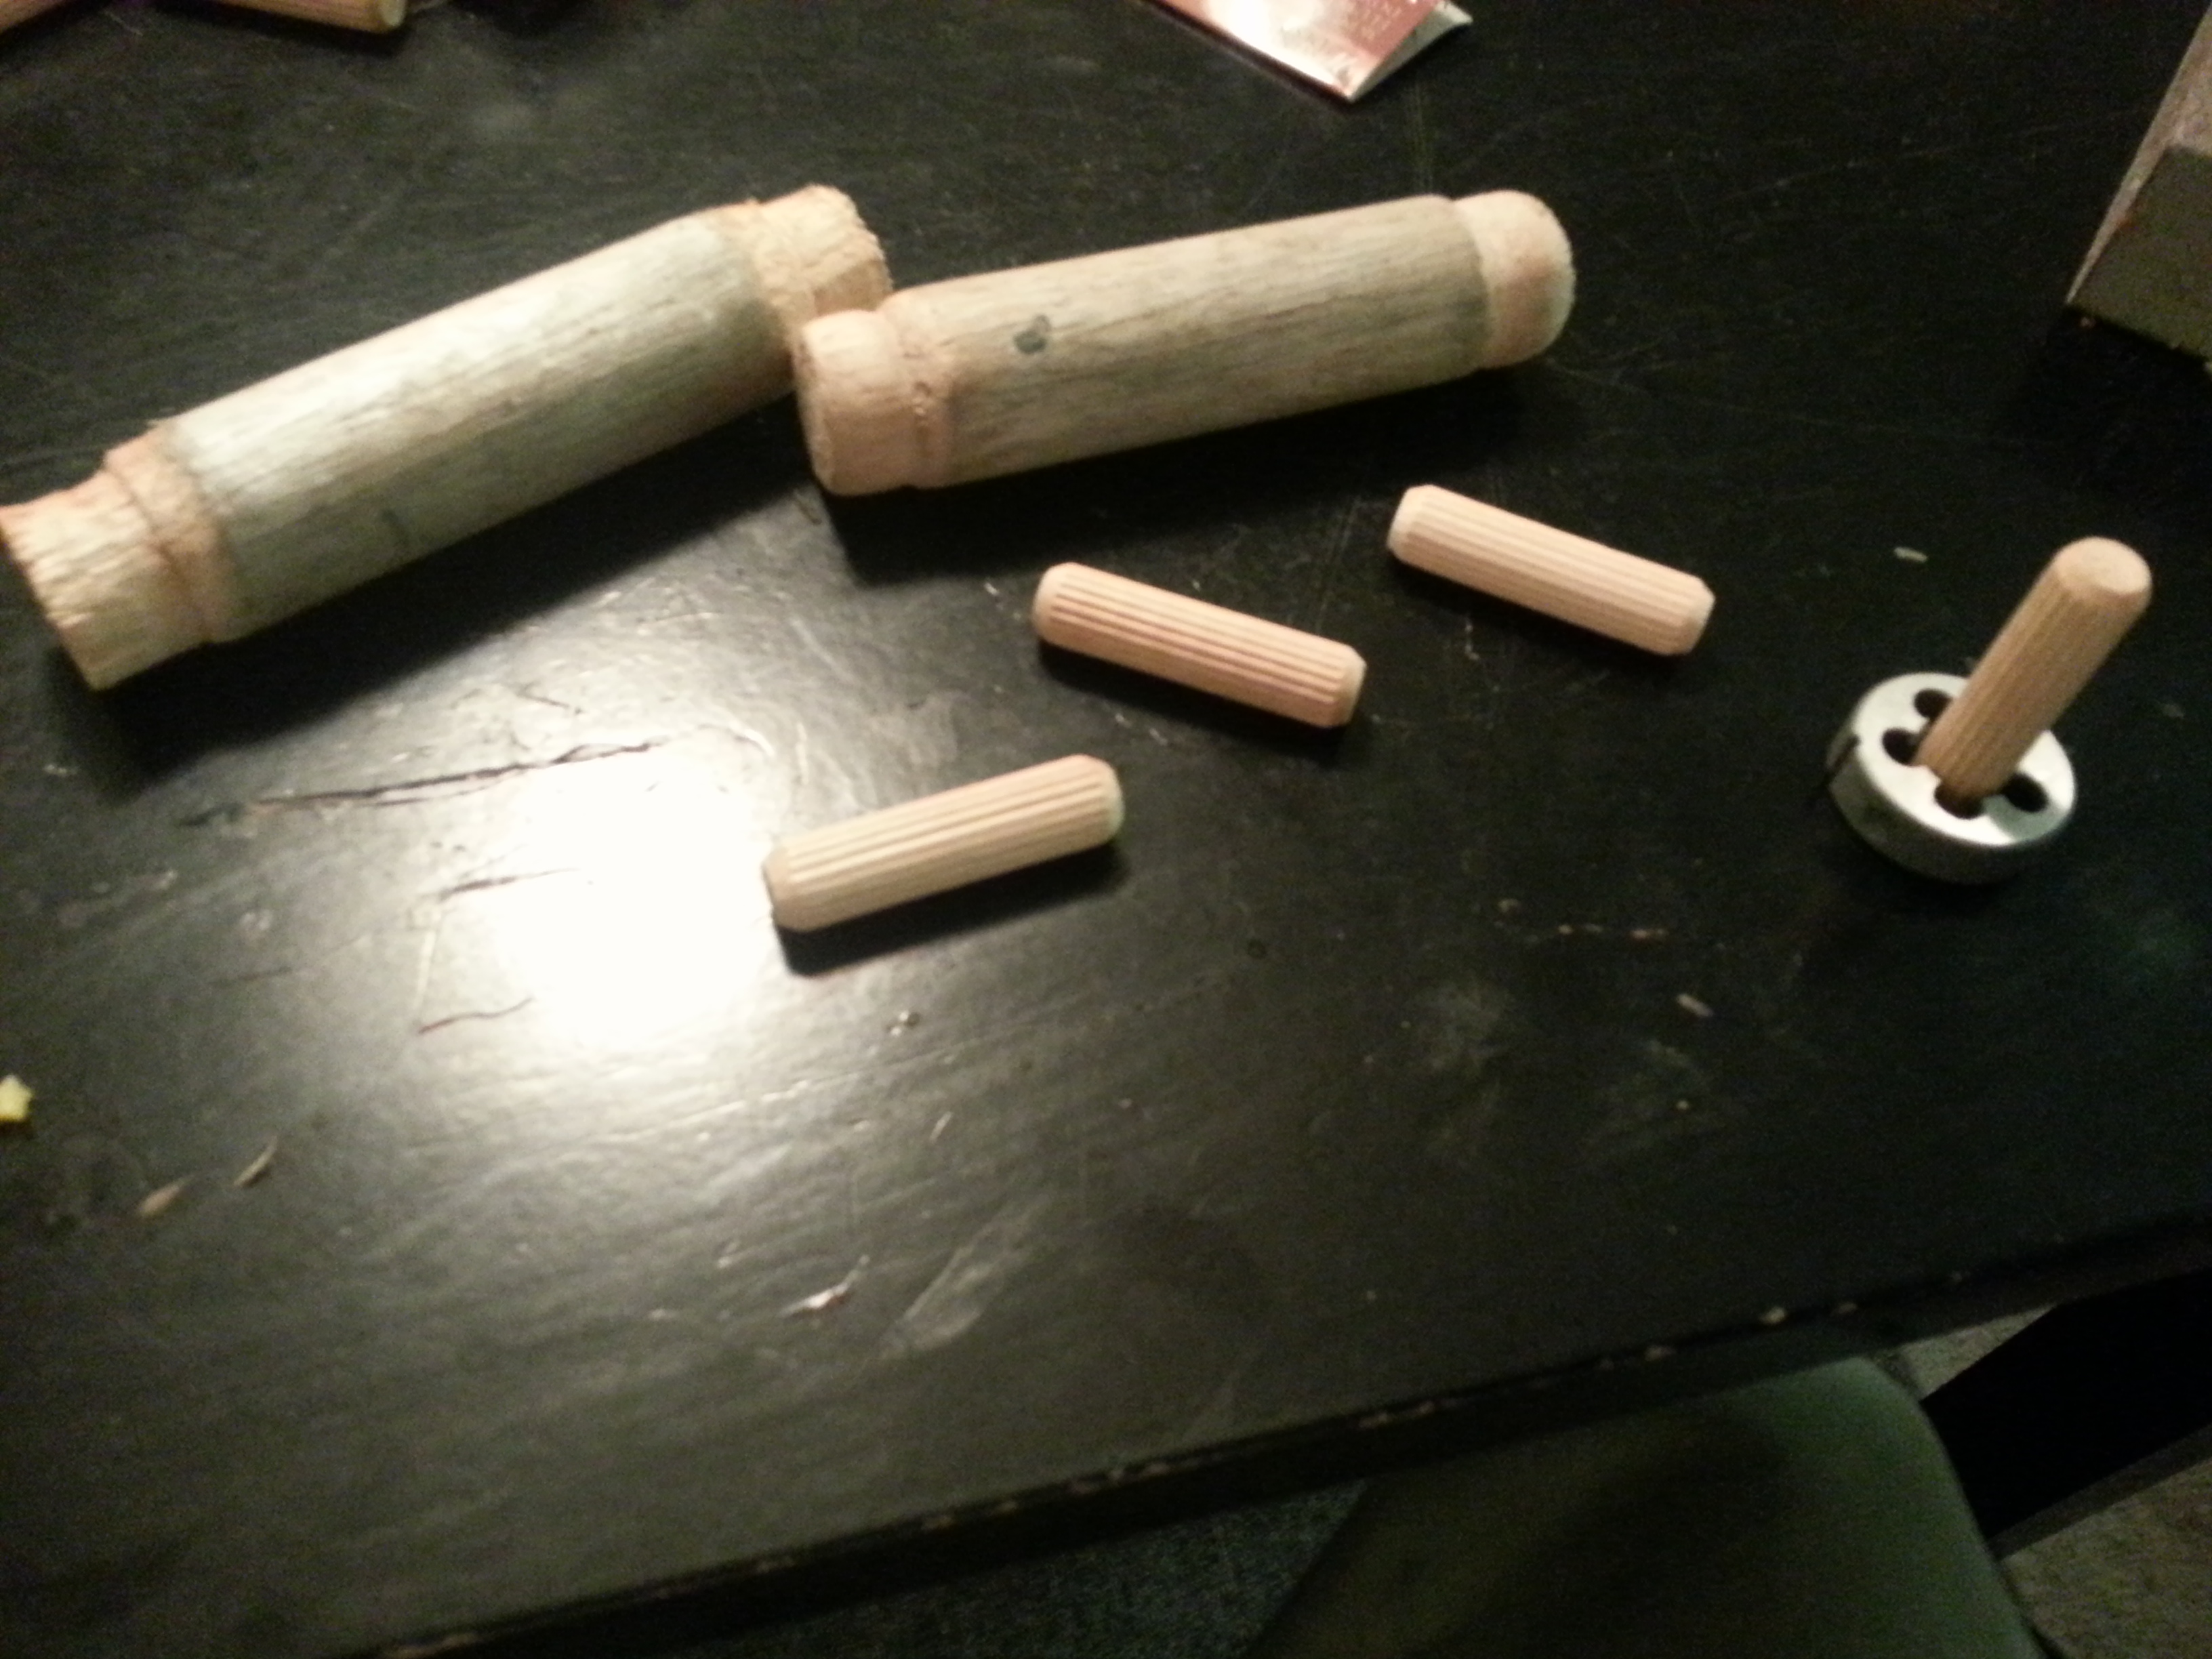
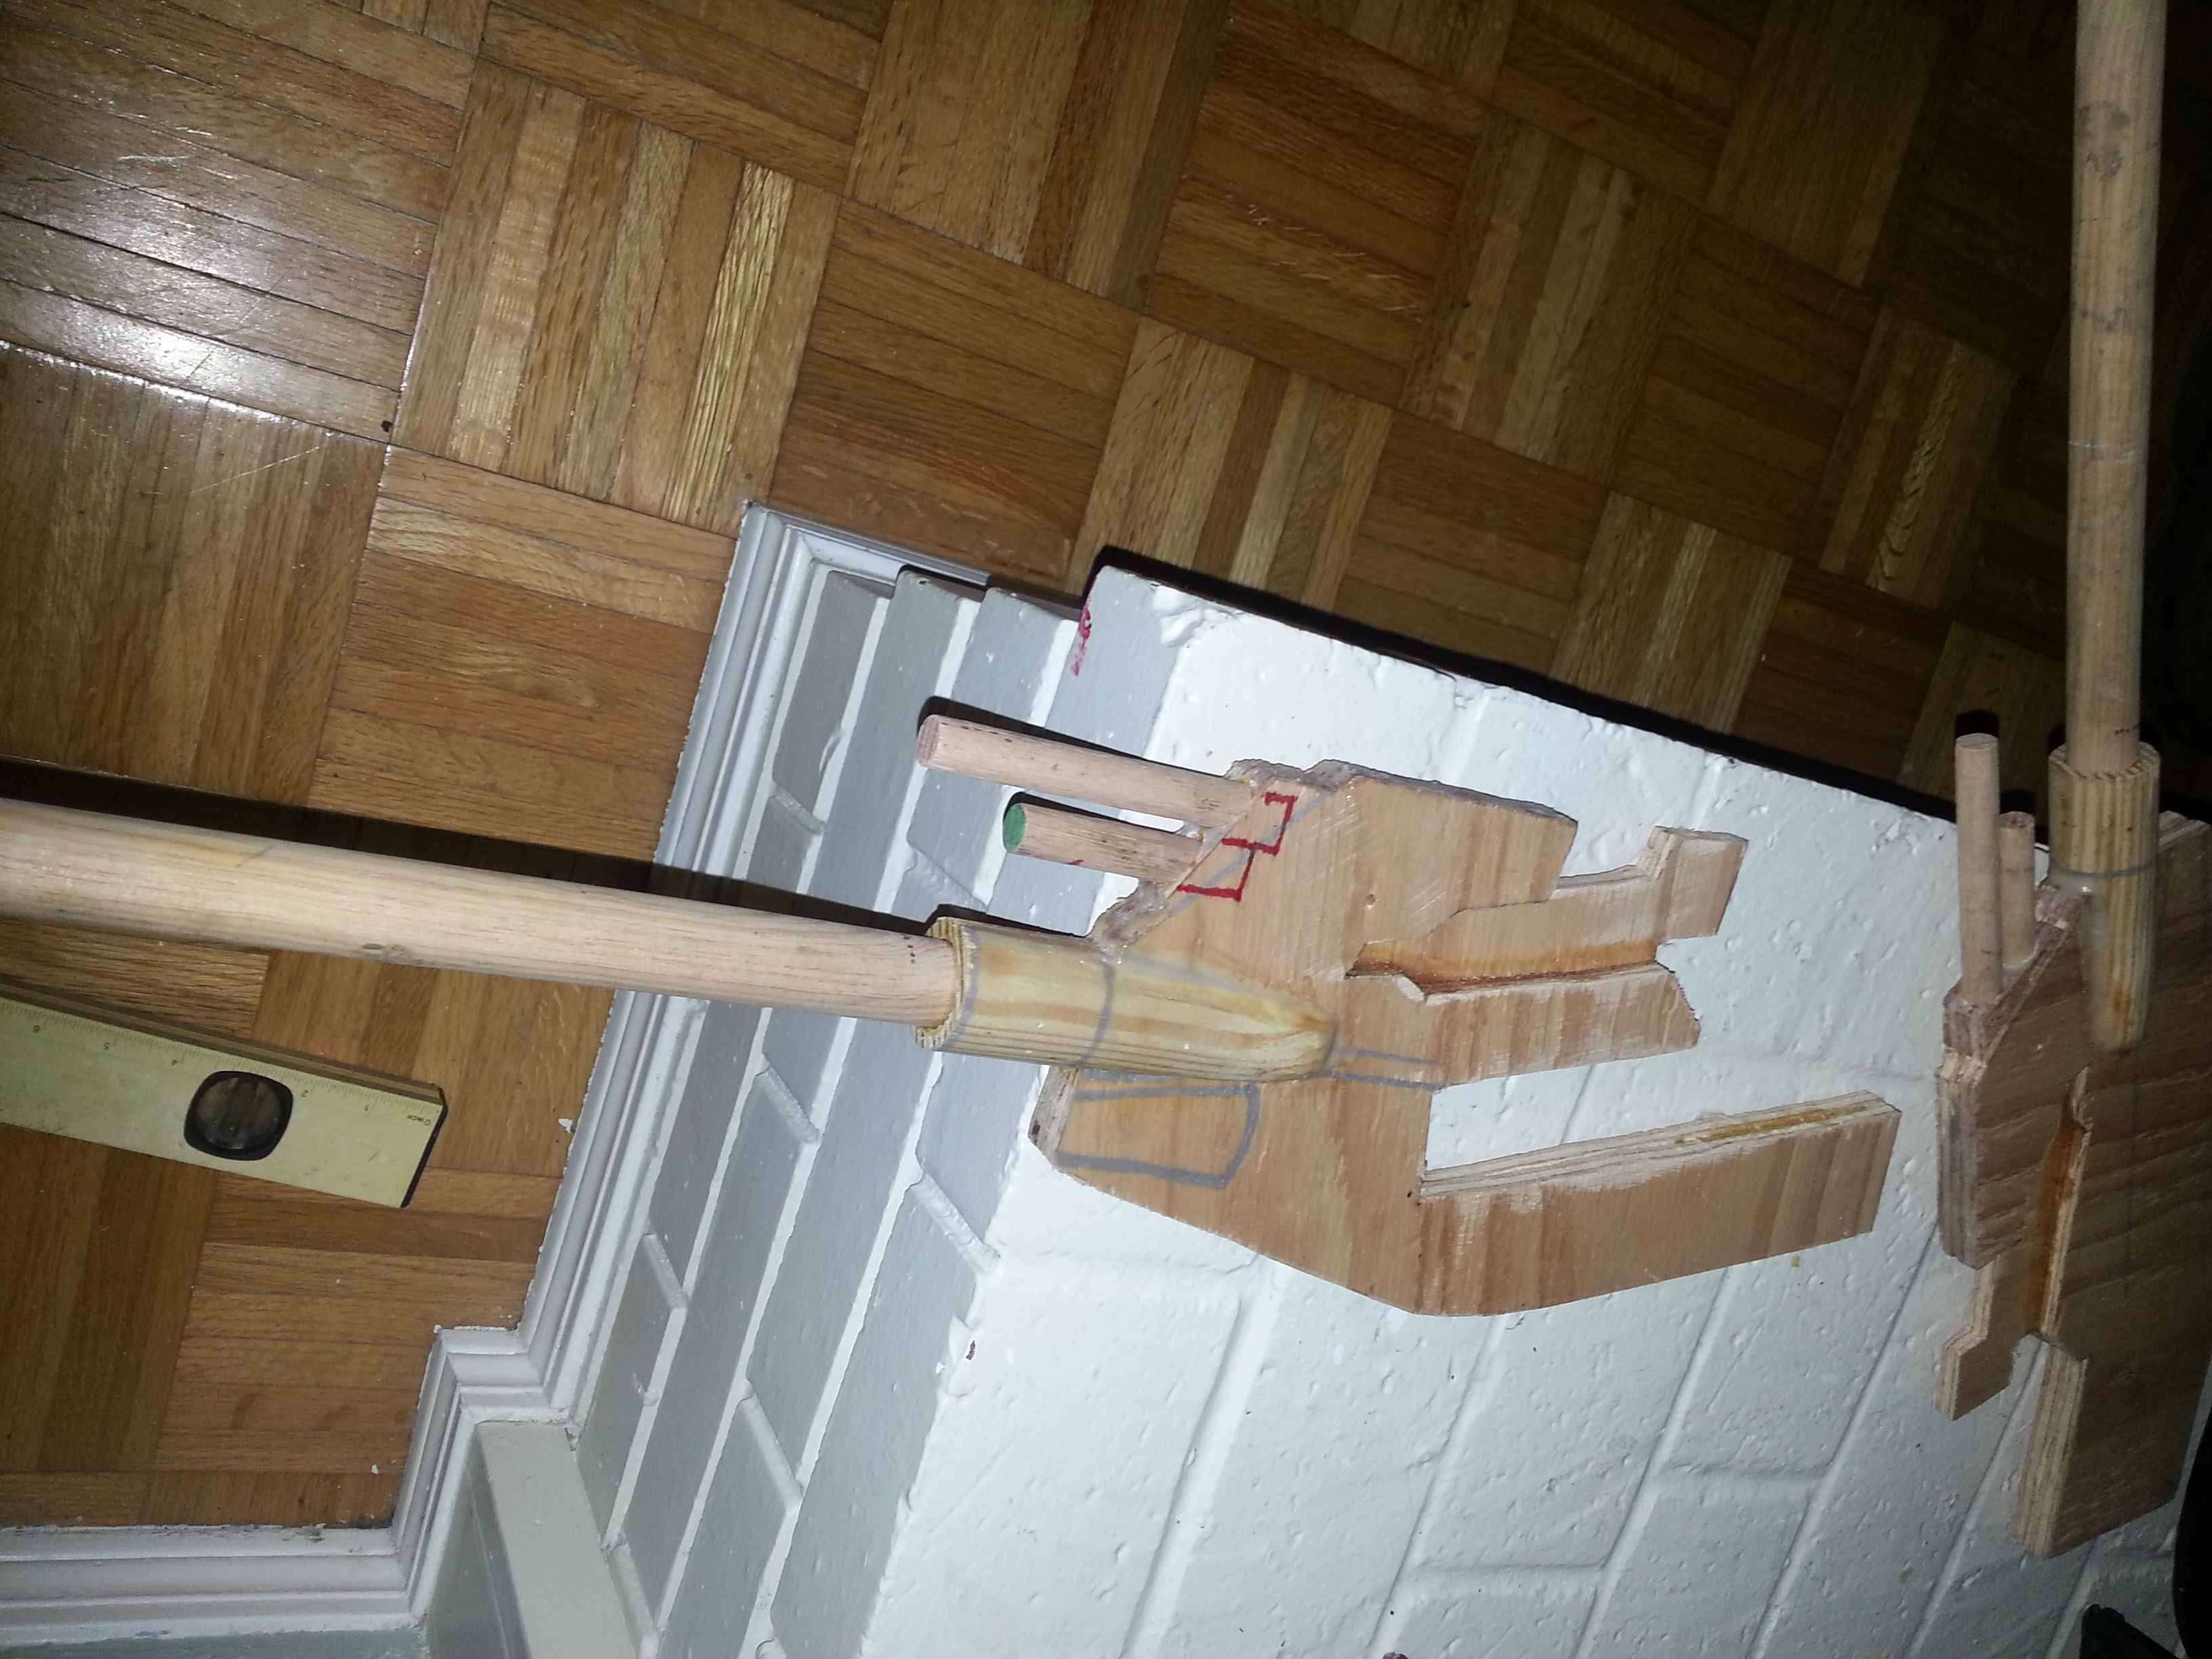
I made the louvered sections out of Popsicle sticks, for the sides of the guns. Made the shocks out of dowel, and cut threads into some dowel pins for the ends.
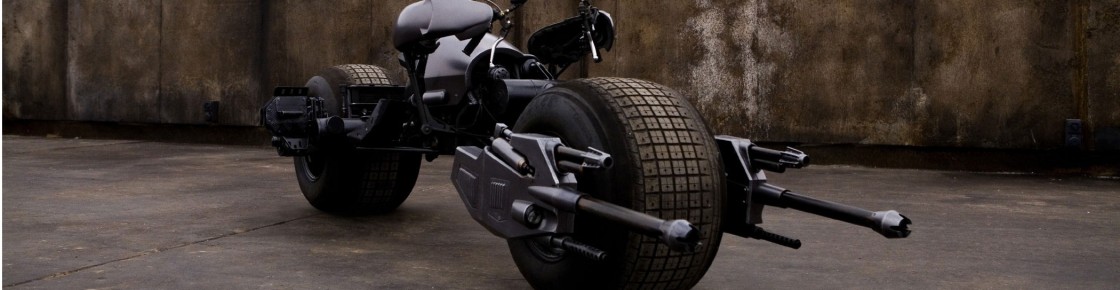
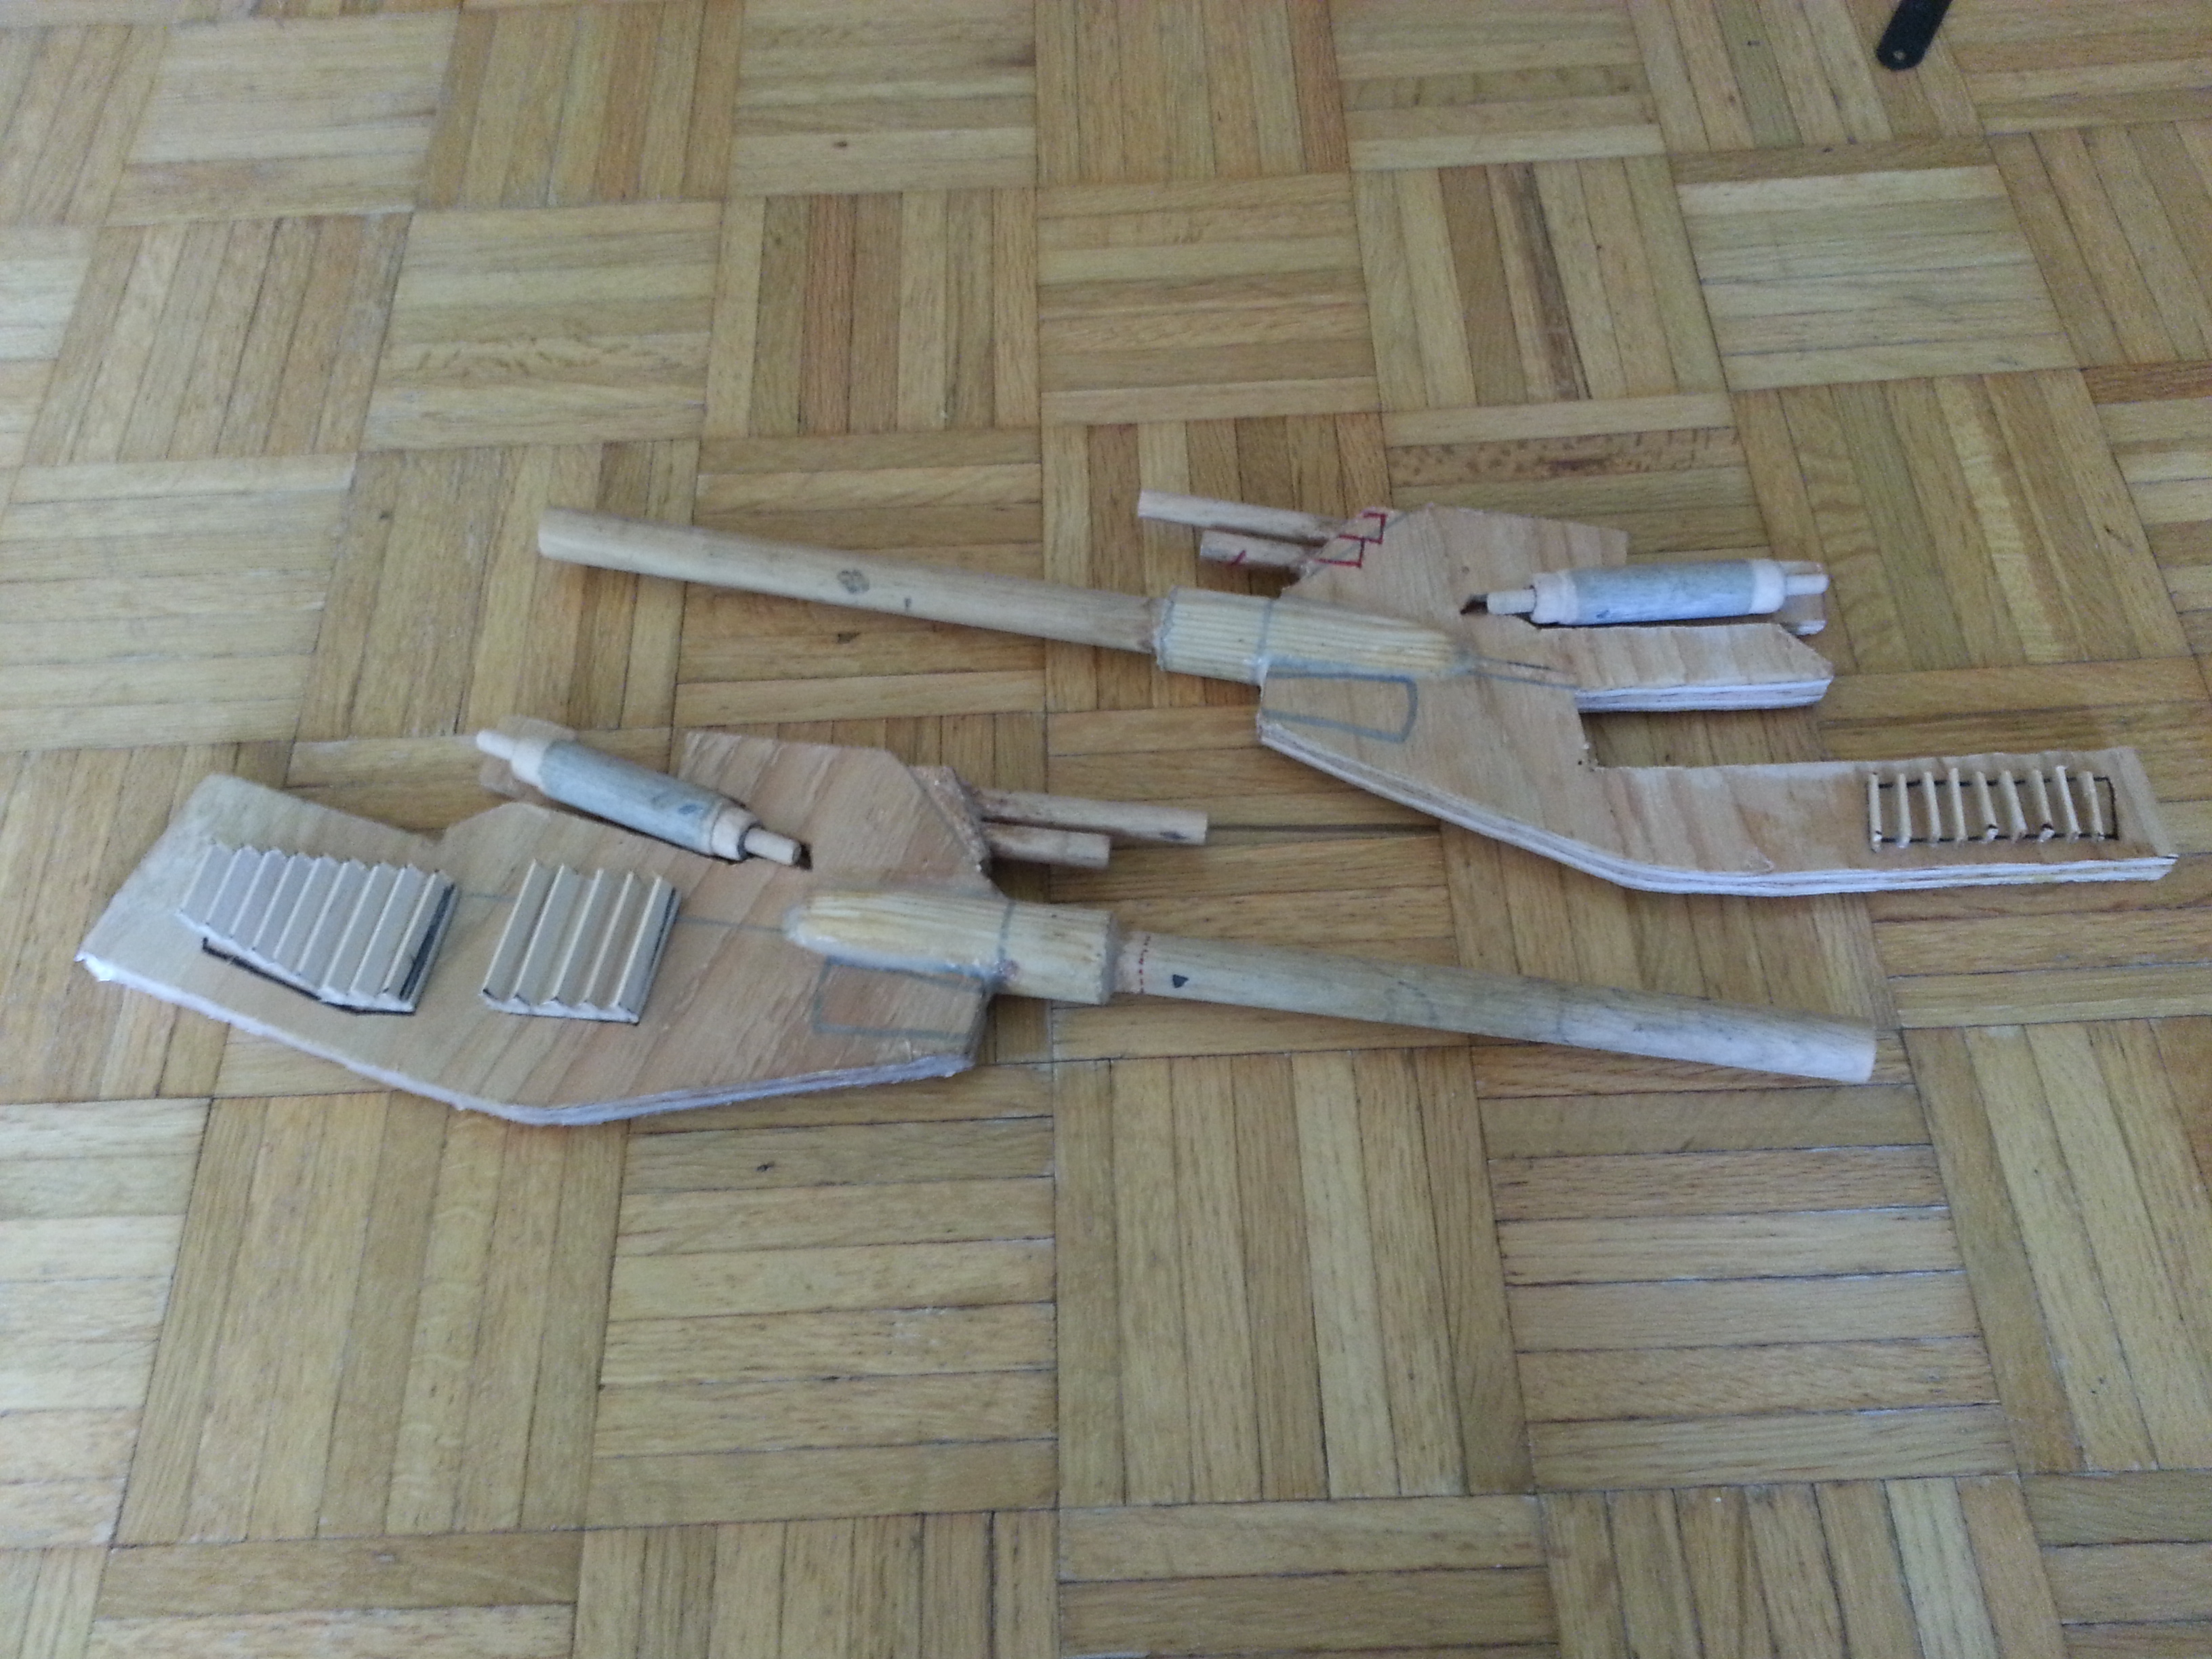
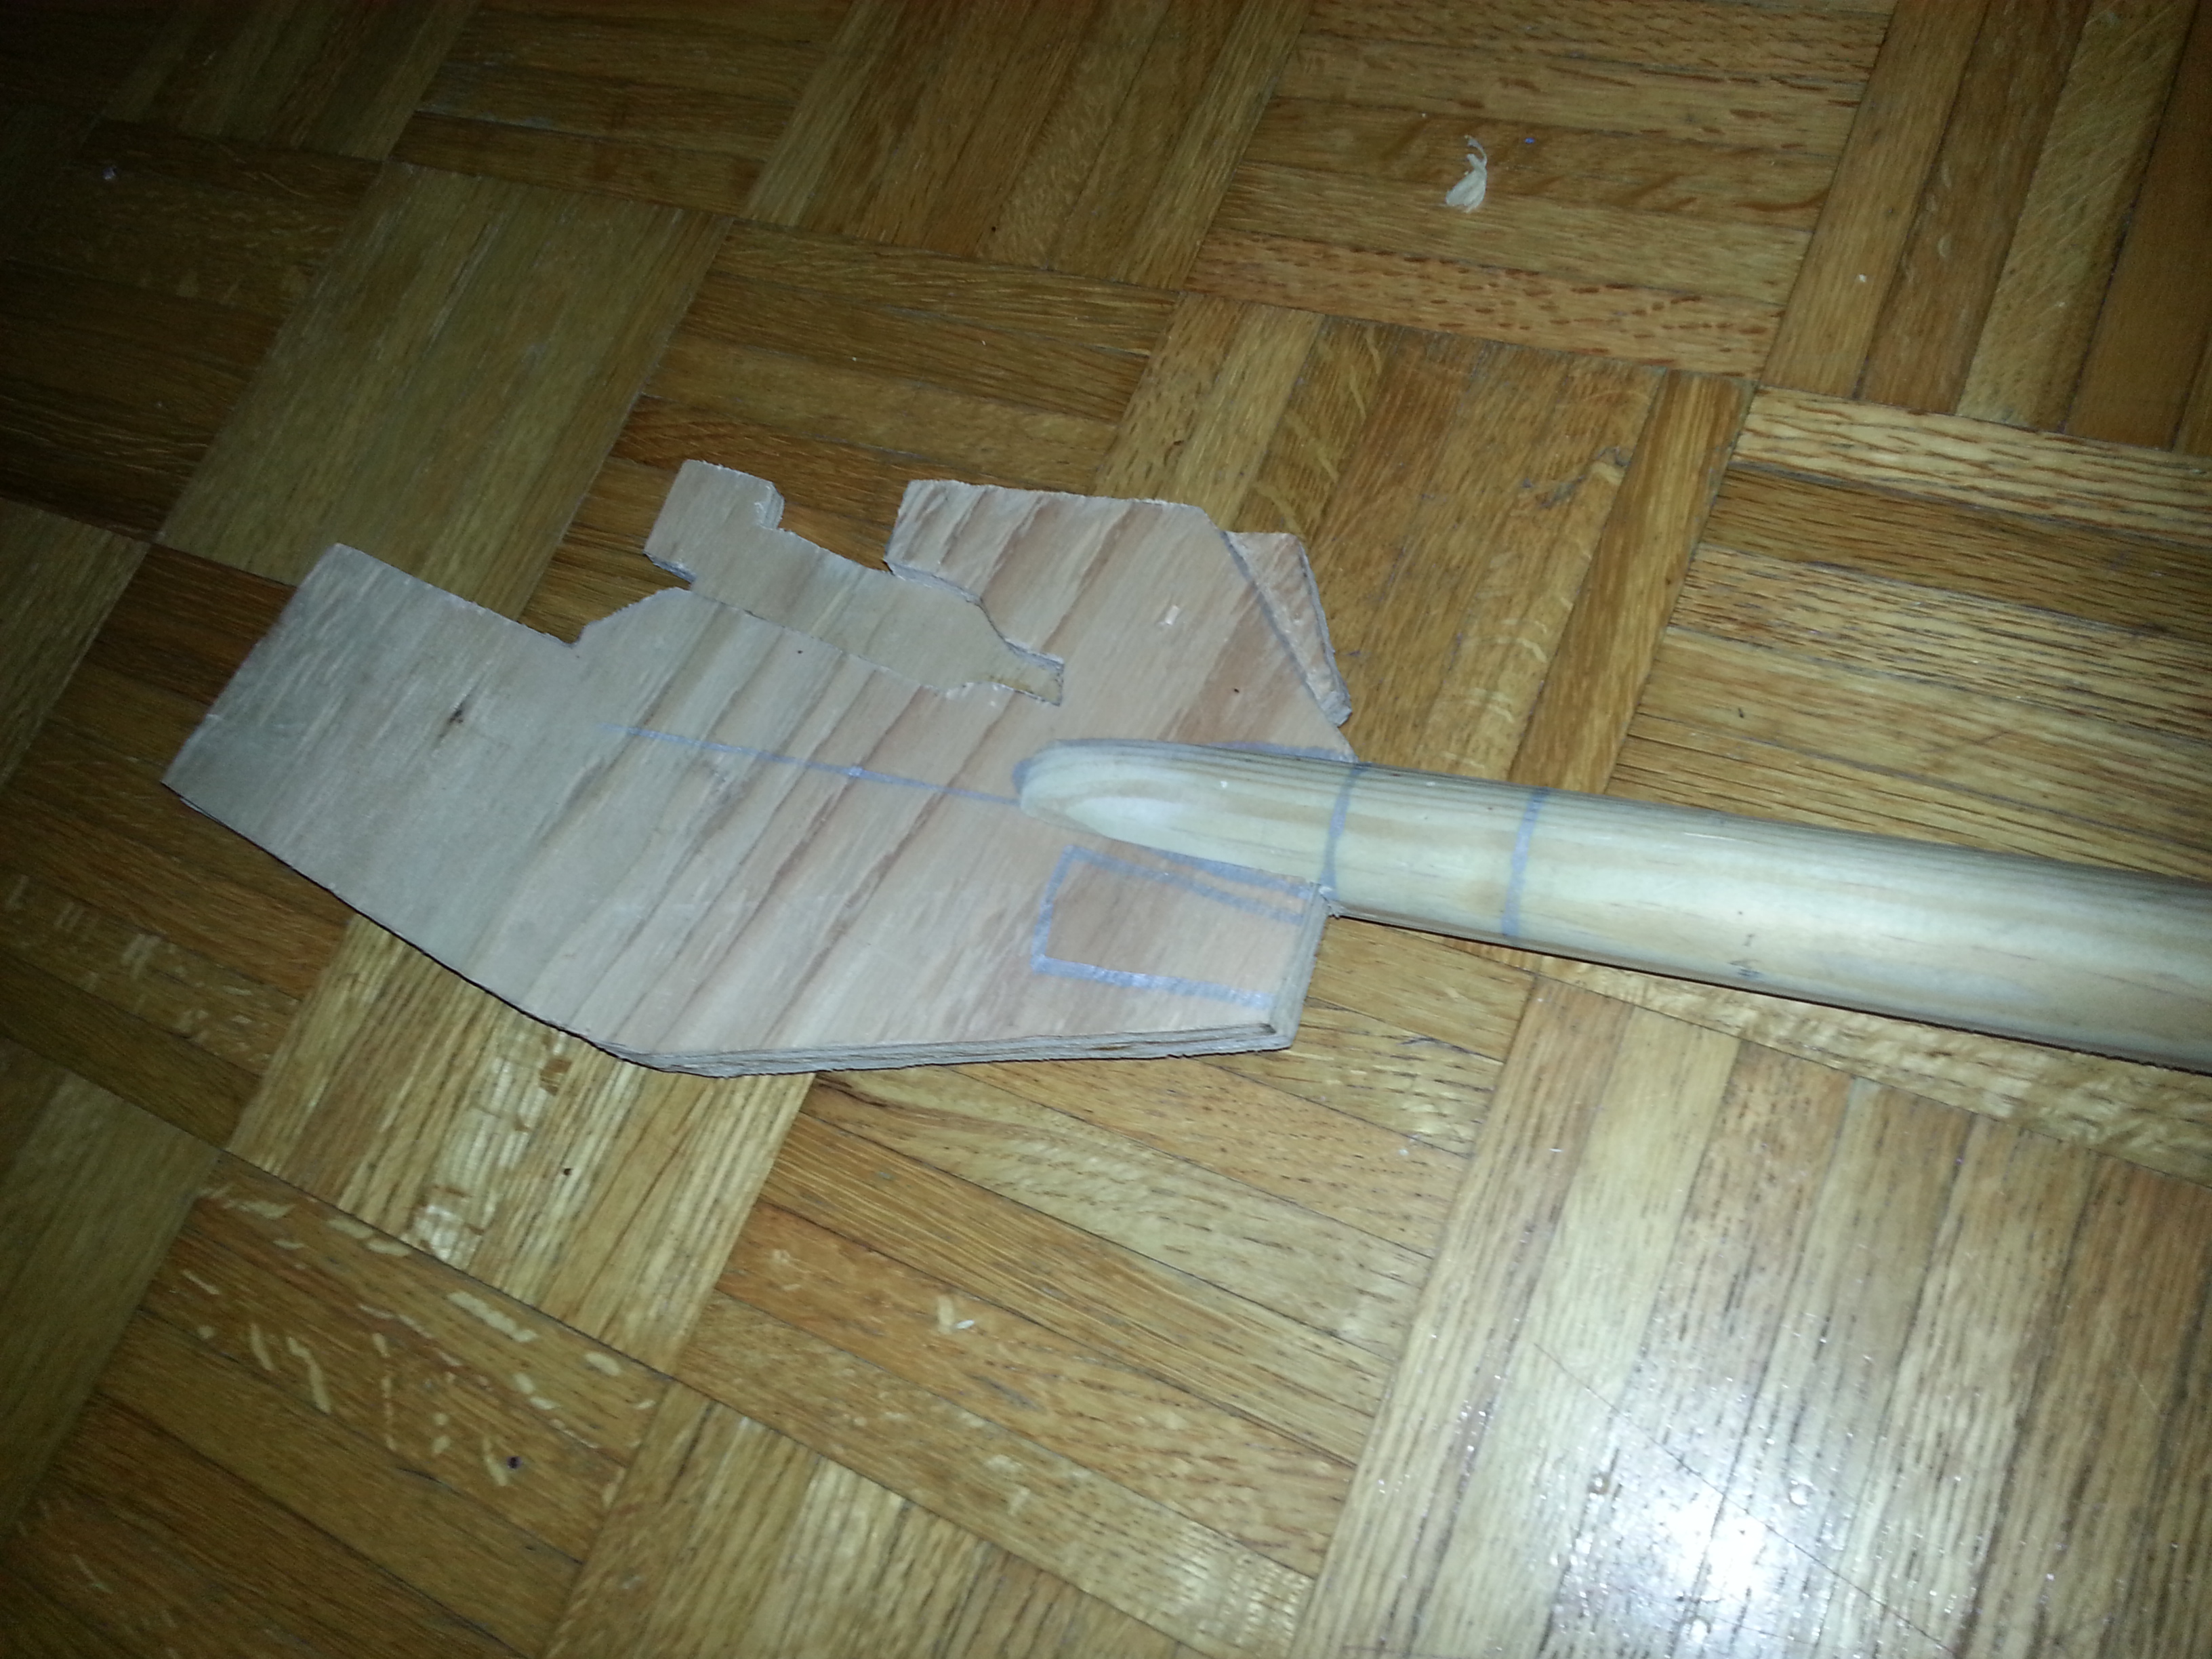
I continued work on the front wheel guns (for lack of a better term). One of the tricky parts will be making the left side gun pivot with the wheel, via a center pivot bolt and the front tie-rod will make it turn. The right side gun will be attached to the front axle, so it will already turn with the wheel. Still need to add a little more styling, tips for the barrels, slightly recessed and bumped-out lights, etc.
Well, I didn’t get it all done in time for the parade, but got enough thrown together to look cool. Still need to finish the front guns, brakes, and a decent amount of misc details.
Trying to get it closer to looking done for the parade next week. It’ll just be on a trailer, so don’t need to worry about making it safe for a 4 year old to ride just yet (chain-guards, brakes, etc). So knocking out a few key aesthetic details/components…
Got the right footrest bracket done:
And got the arm guards closer to being done, fitted them on the handlebars, and had just epoxied some support posts in this pic.
And started working on the guns for the front wheel:
Got a pretty big hurdle out of the way, which was routing the exhaust. The real Batpod, they hid to the exhaust by running it inside the frame to further the illusion that there is no gas motor in it. But this option was easier for them since they used a 4-stroke. I’m using a 2-stroke motor, and the expansion chamber is both required, and can’t be highly modified (at least not easily). So, I took the whole Batpod and the pipe that came with the motor to a friend, Fothergill (thanks again!), who has a good welder, and who himself is a much better welder than me. We modified it to go straight down, back, then angle out. It actually goes between the frame rails under the motor, so a little hard to see what’s going on, but that’s really the point, to have it as hidden as possible.
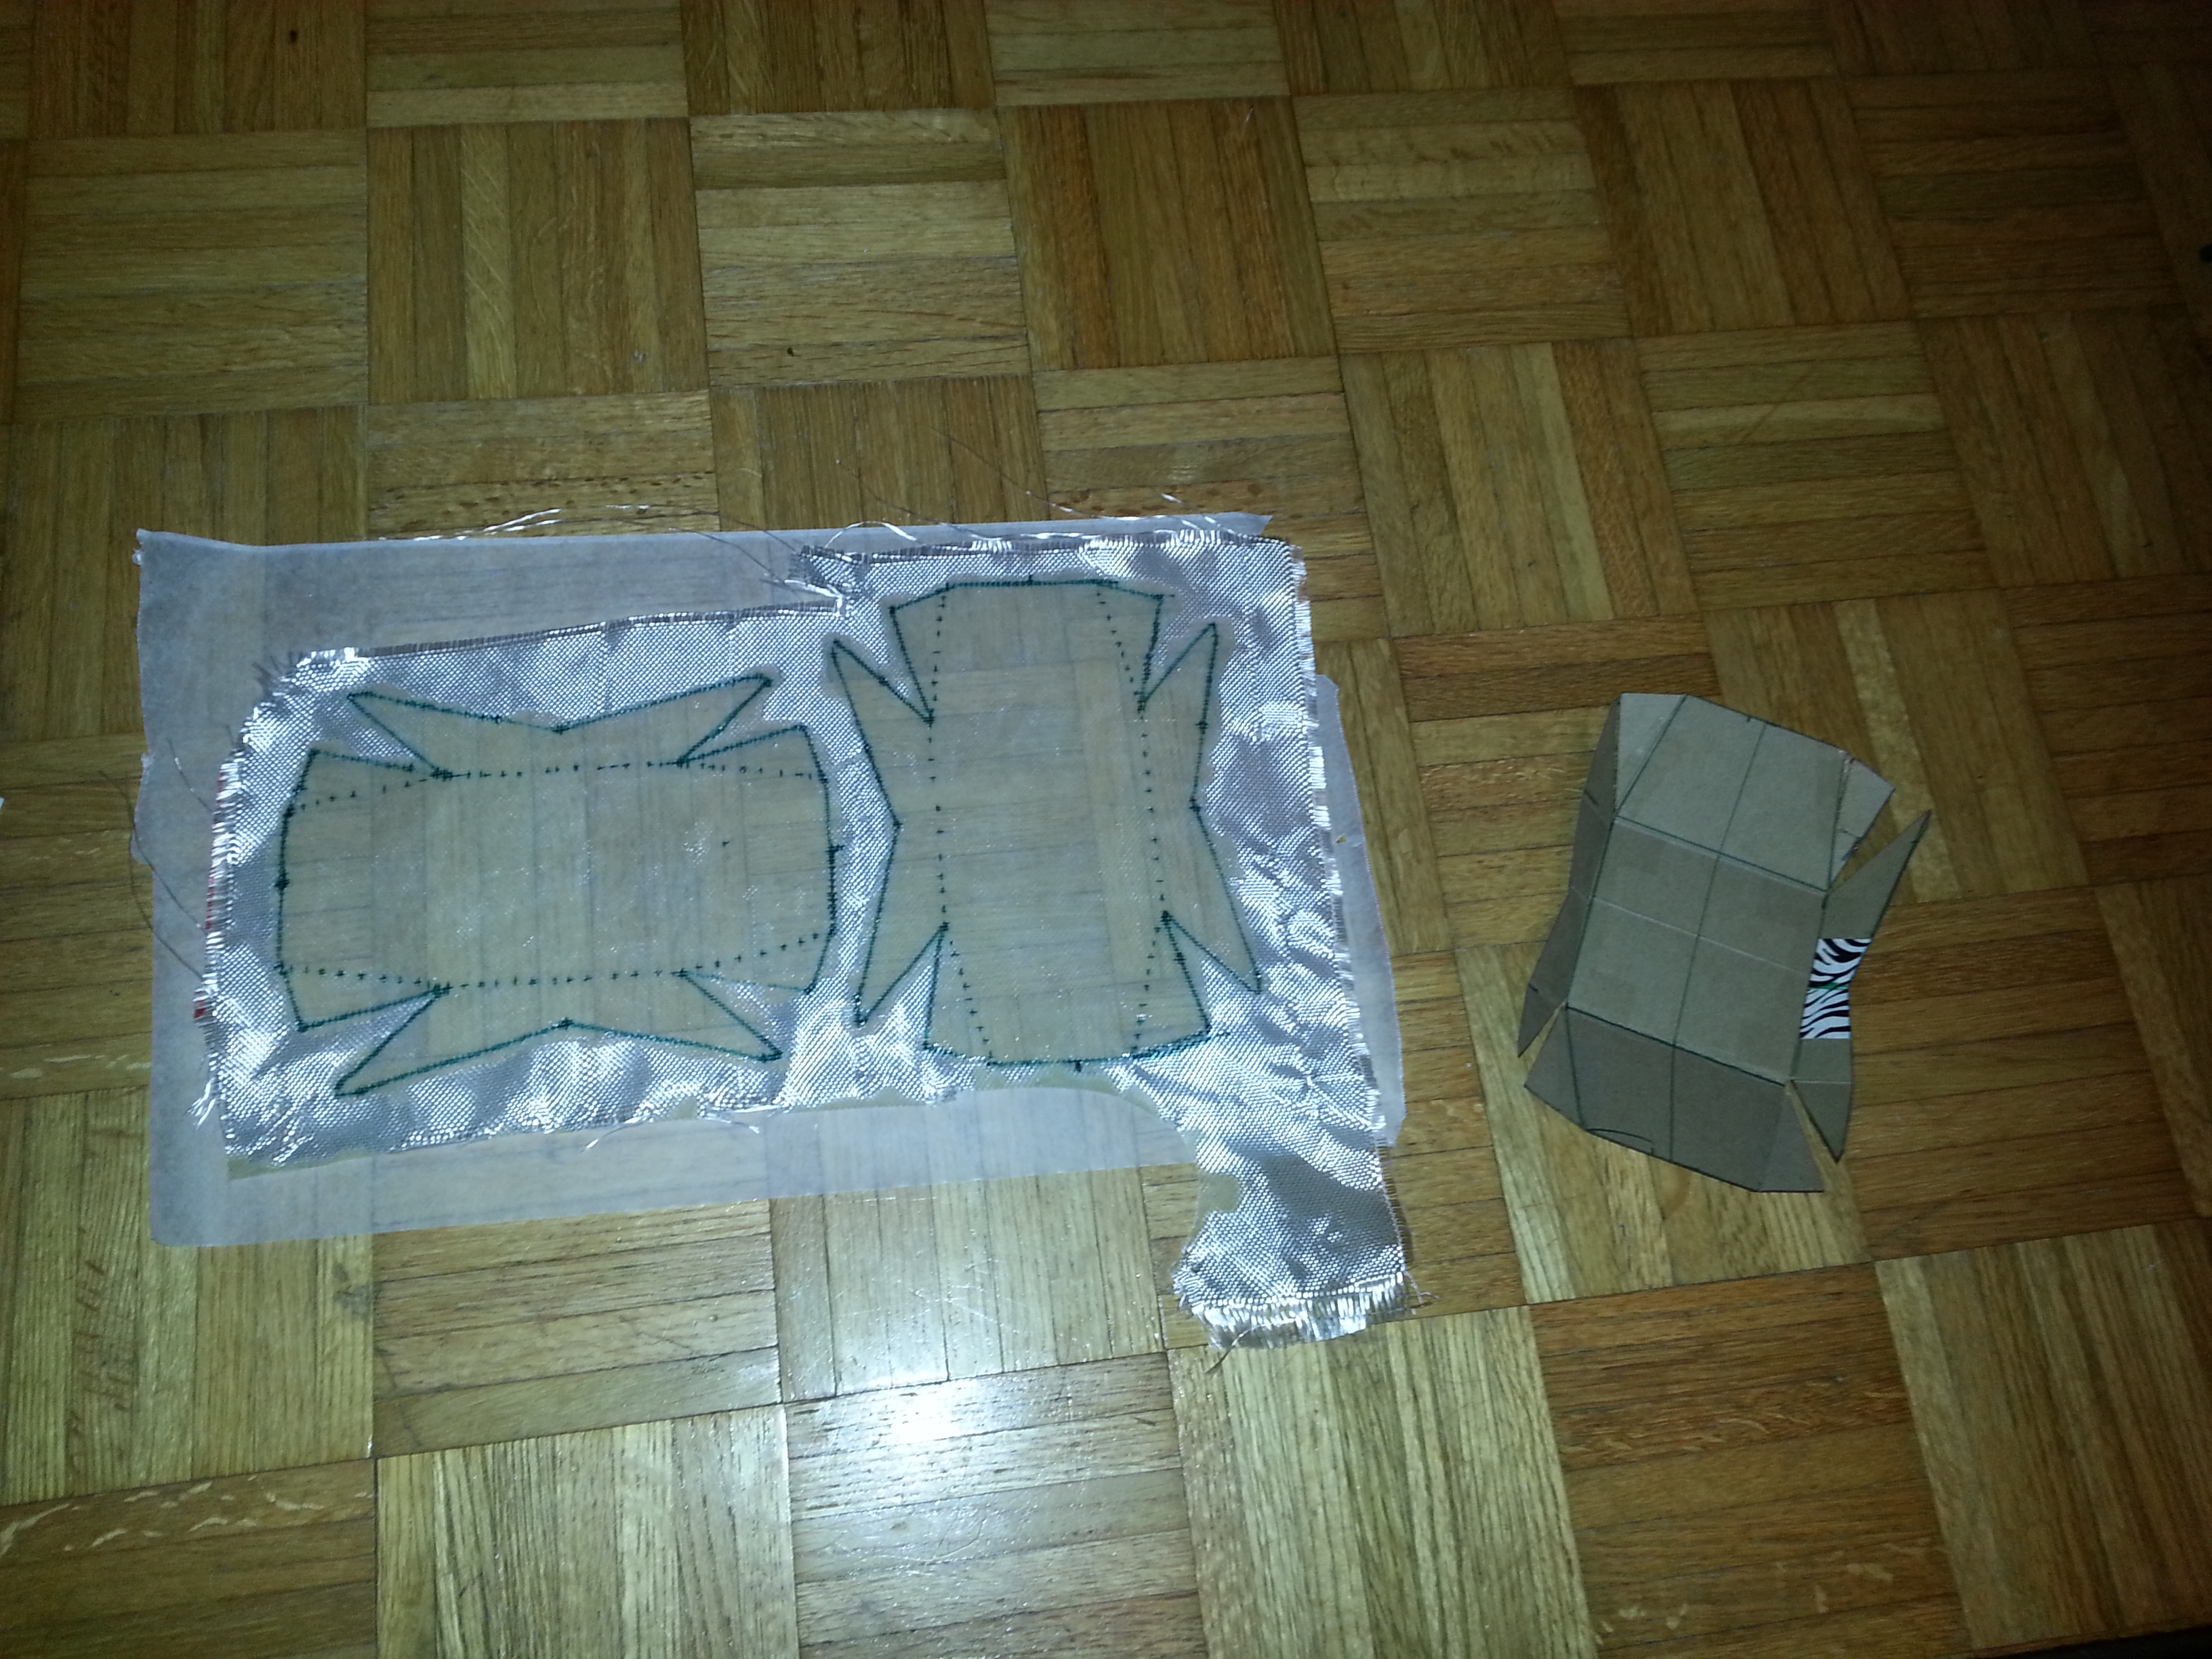
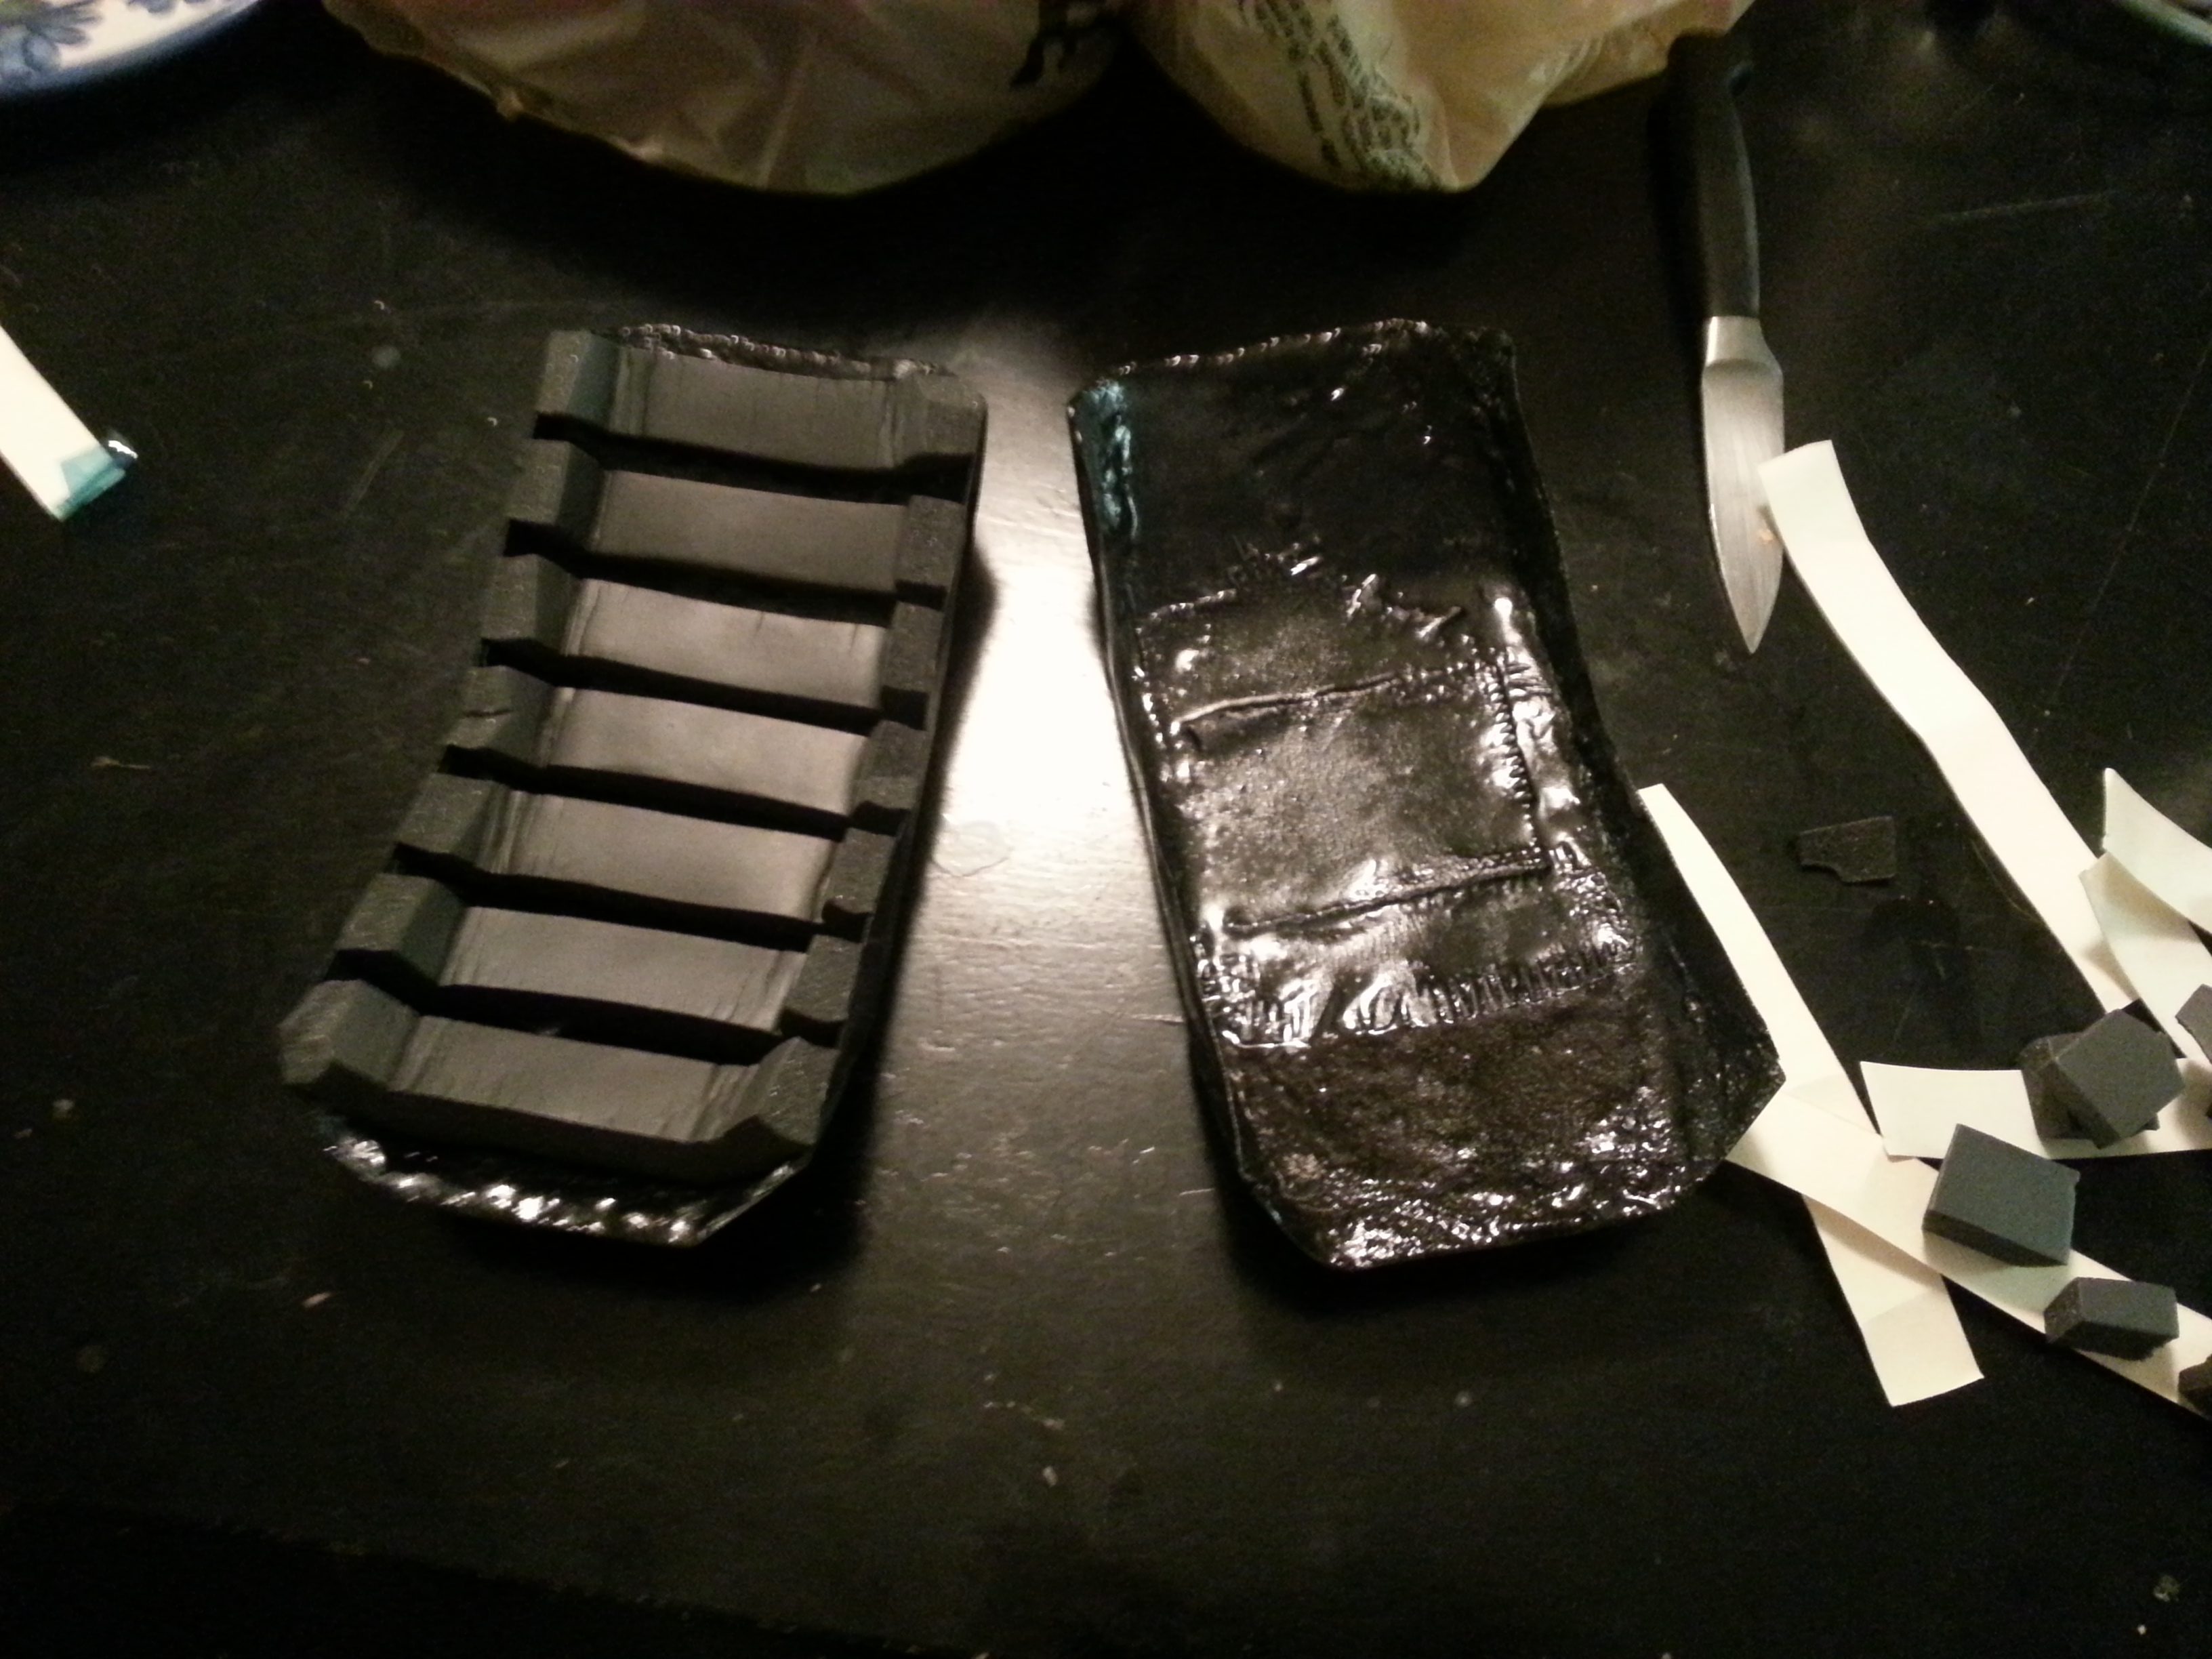
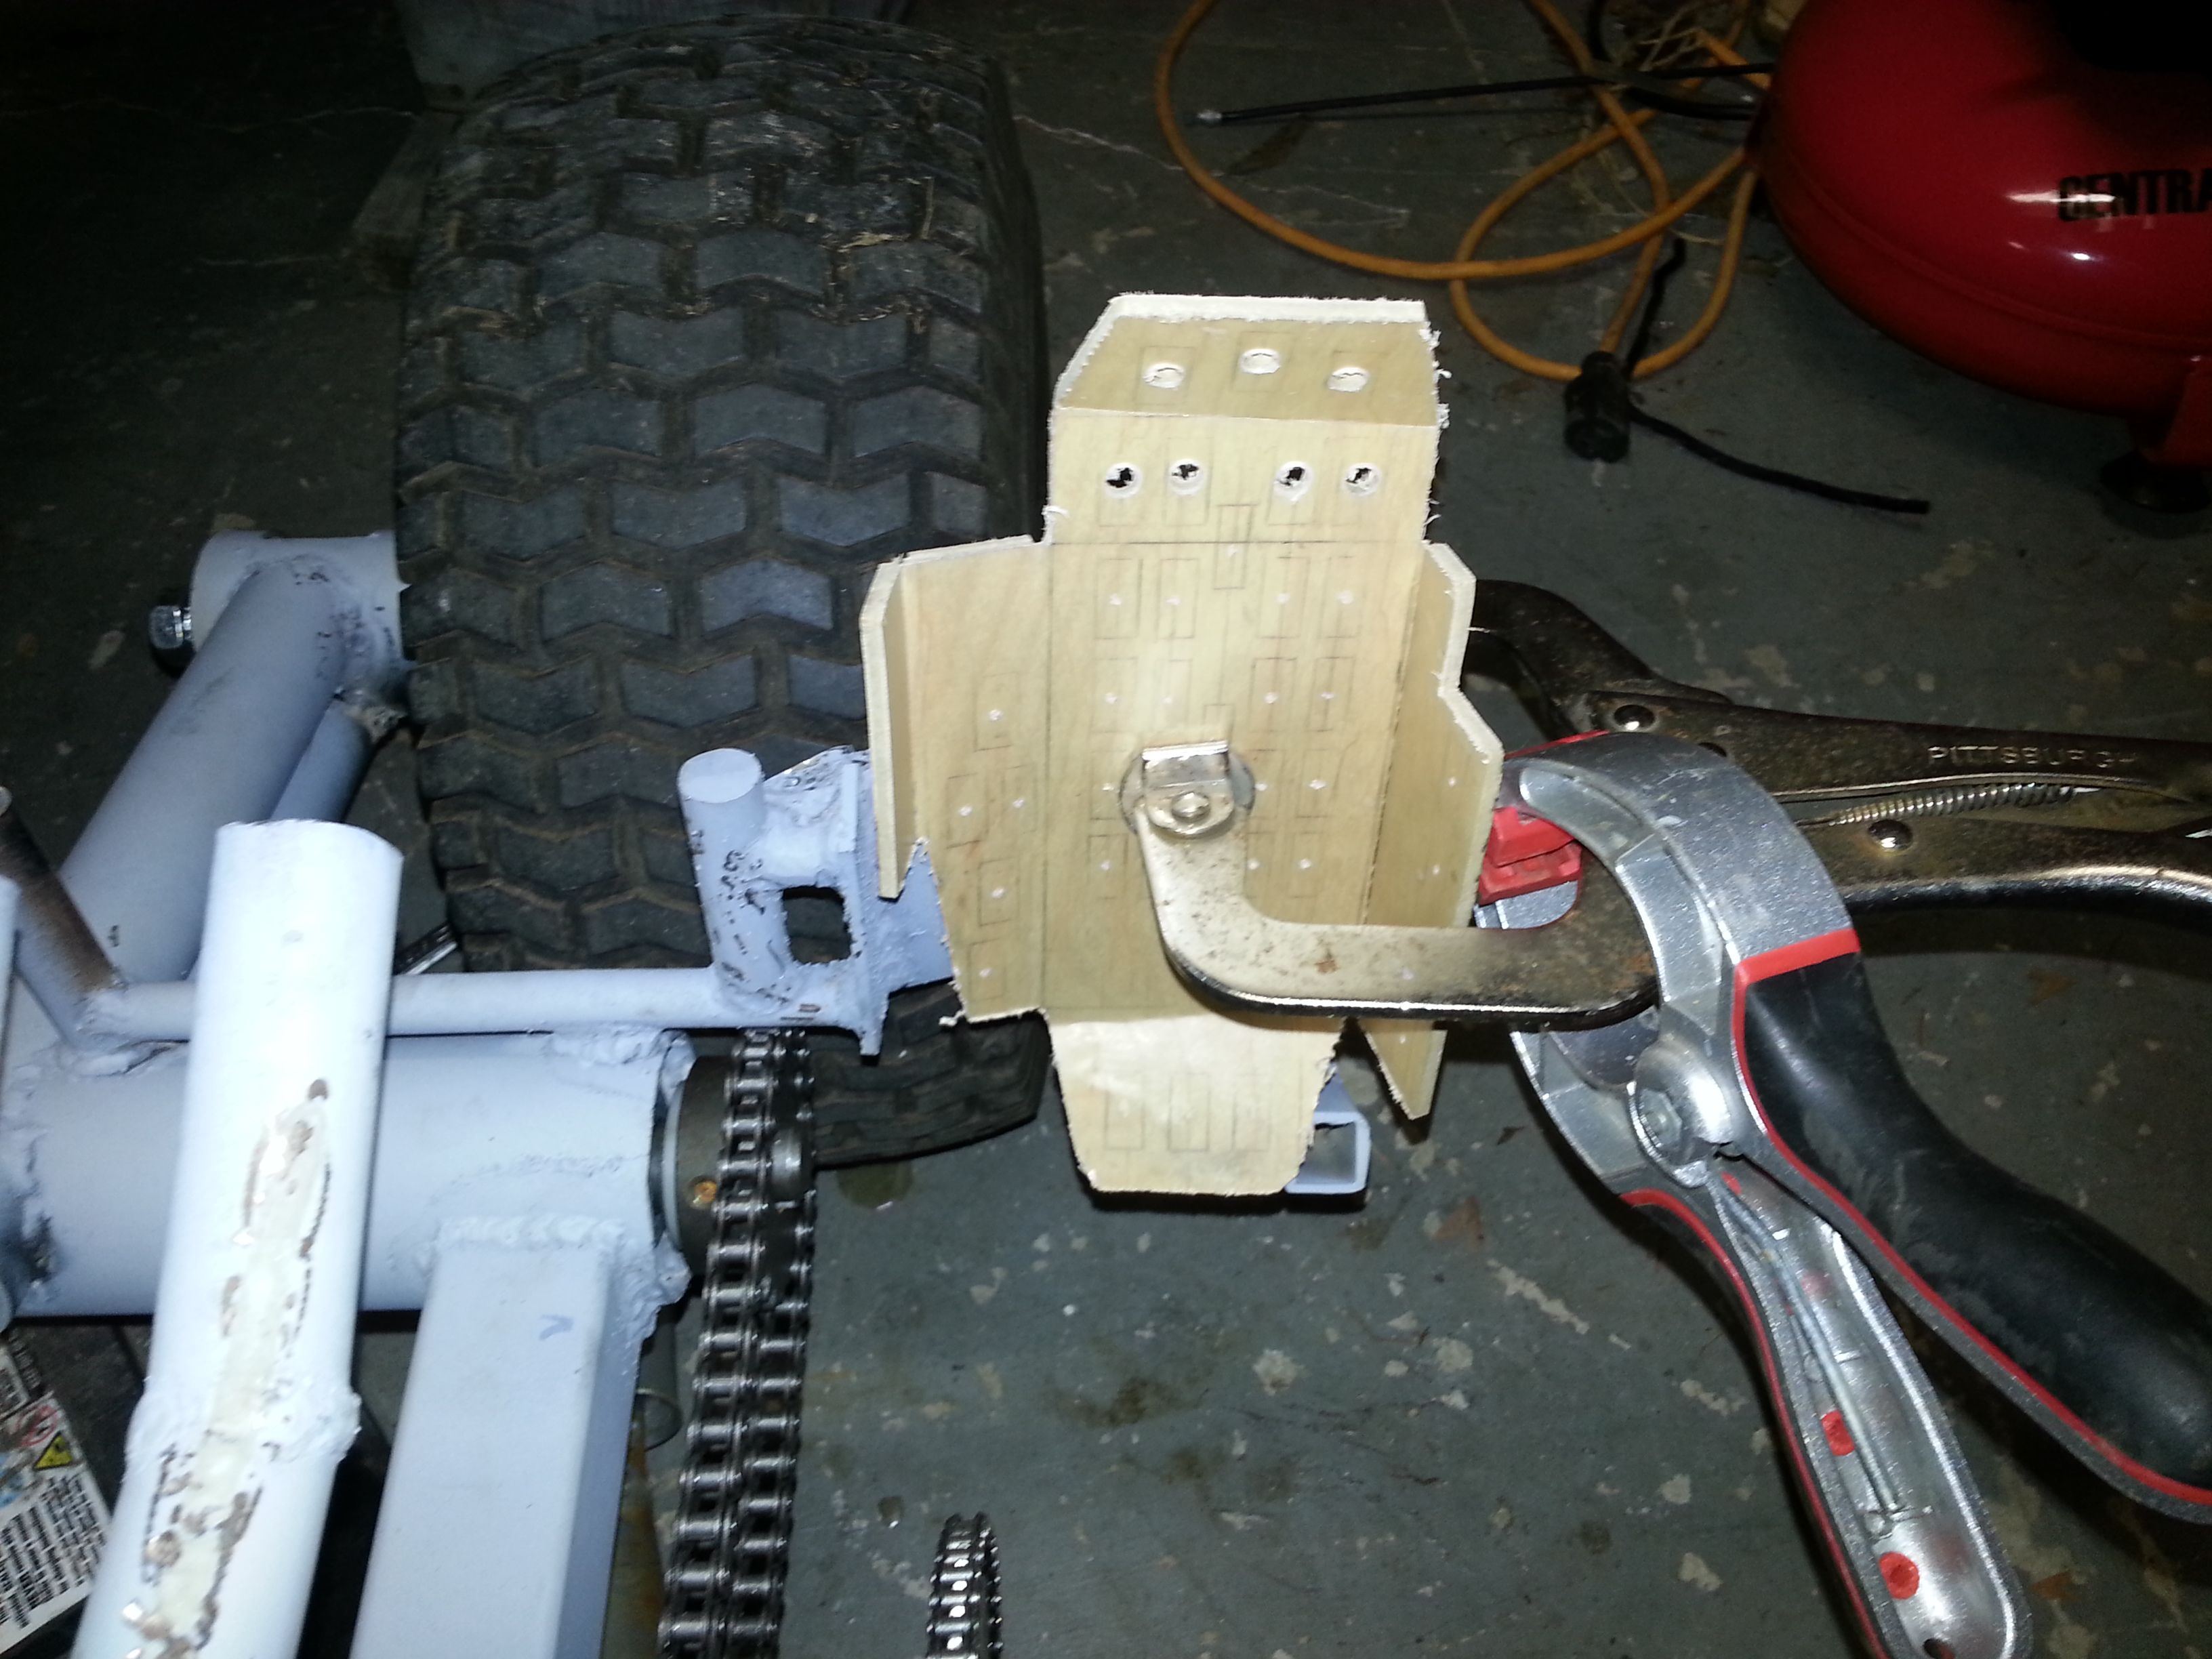
I also began work on the foot rests. Here’s the left side one. Using thin plywood, then fiberglass cloth over that, all backed by steel. Doing them in fiberglass to save weight, and they are easier to make all the slotted holes in like the real ones have.
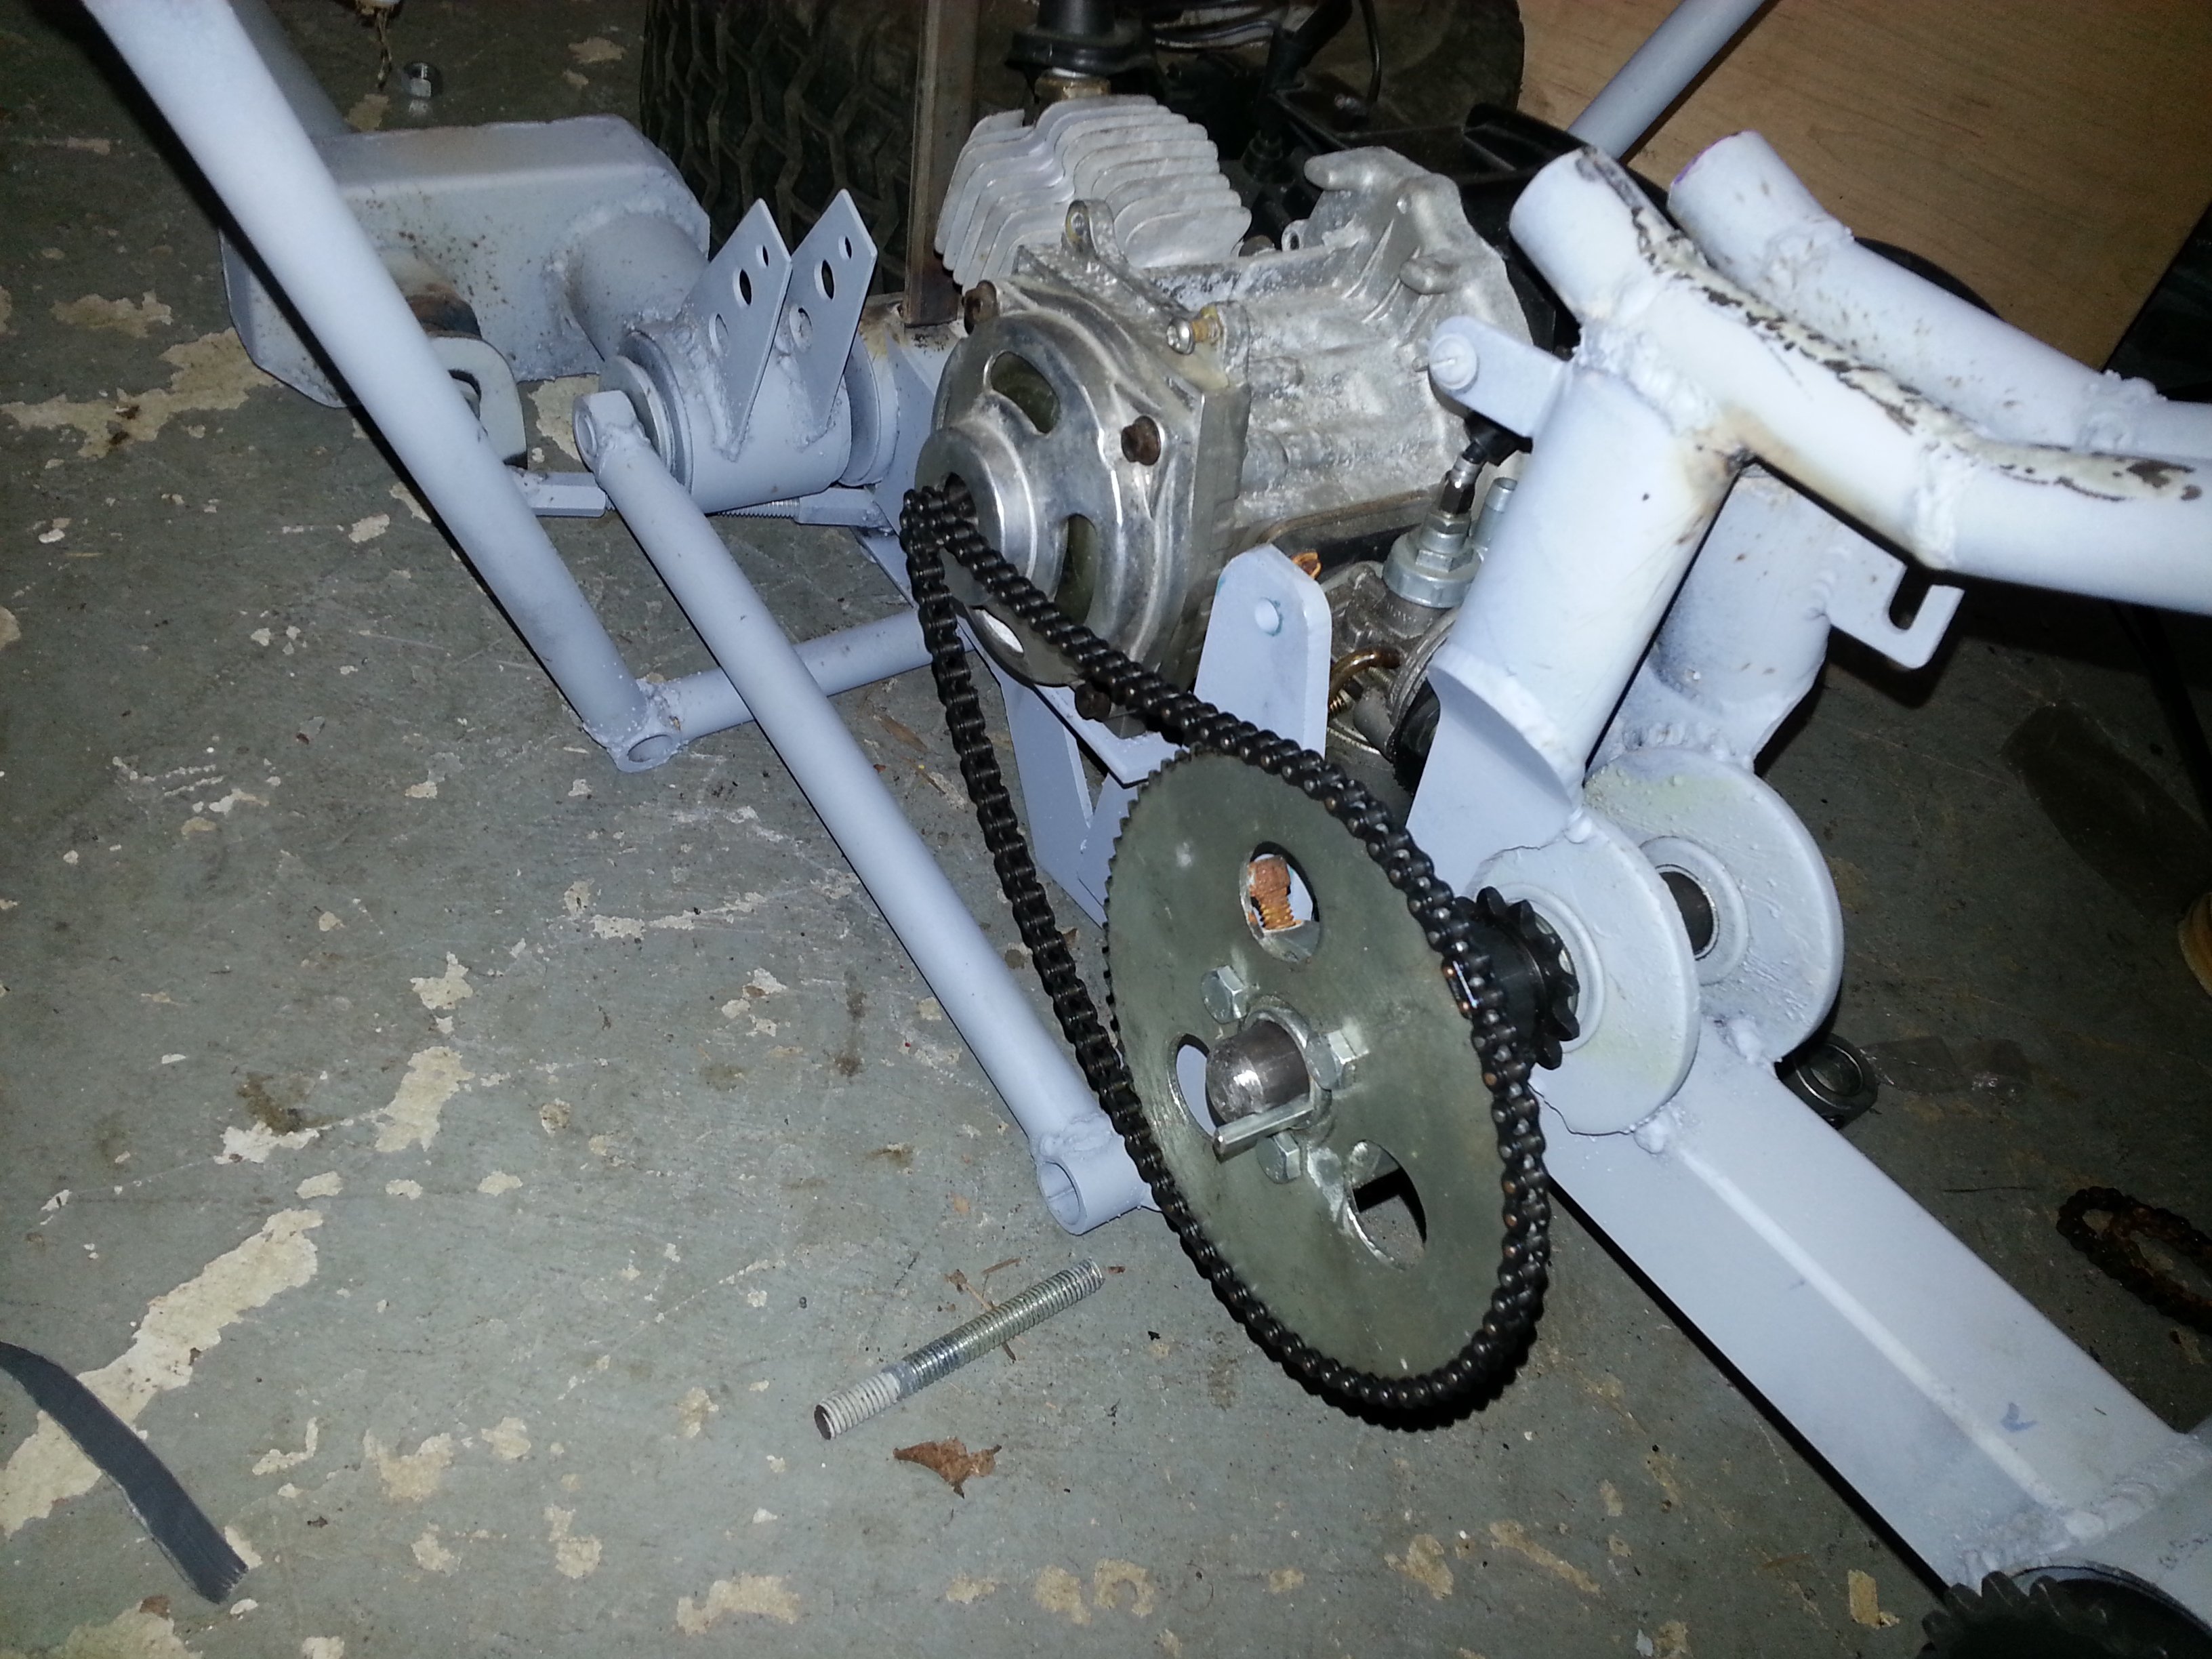
I put the rear hub in it’s sleeve, in the rear frame tube, then cut that rear chain to length, and did a little test of the rear jackshaft-to-chain-to-rear hub. The chain running through the top tube, around the sprocket, and back through the bottom tube to the rear sprocket, with no rubbing inside there is awesome if not shocking, haha. The action is nice and smooth, very low friction.
I also cut the front chain to length, and checked the aligment etc of the front sprockets. Lookin good…


