Rear end work

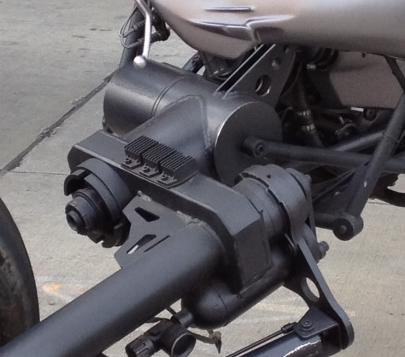
So I began work on the rear end.  So far it’s turned out great, now just need to figure out how to have the jackshaft, sprockets, and bearings inside there, and be able to still access the sprockets to put the chains on etc.  Here’s a 3d version showing the path of the chains.  I know they look like pully’s and belts, but that’s just cause I was too lazy to make it look like chain/sprockets, but you get the idea.

DriveTrainDiagram


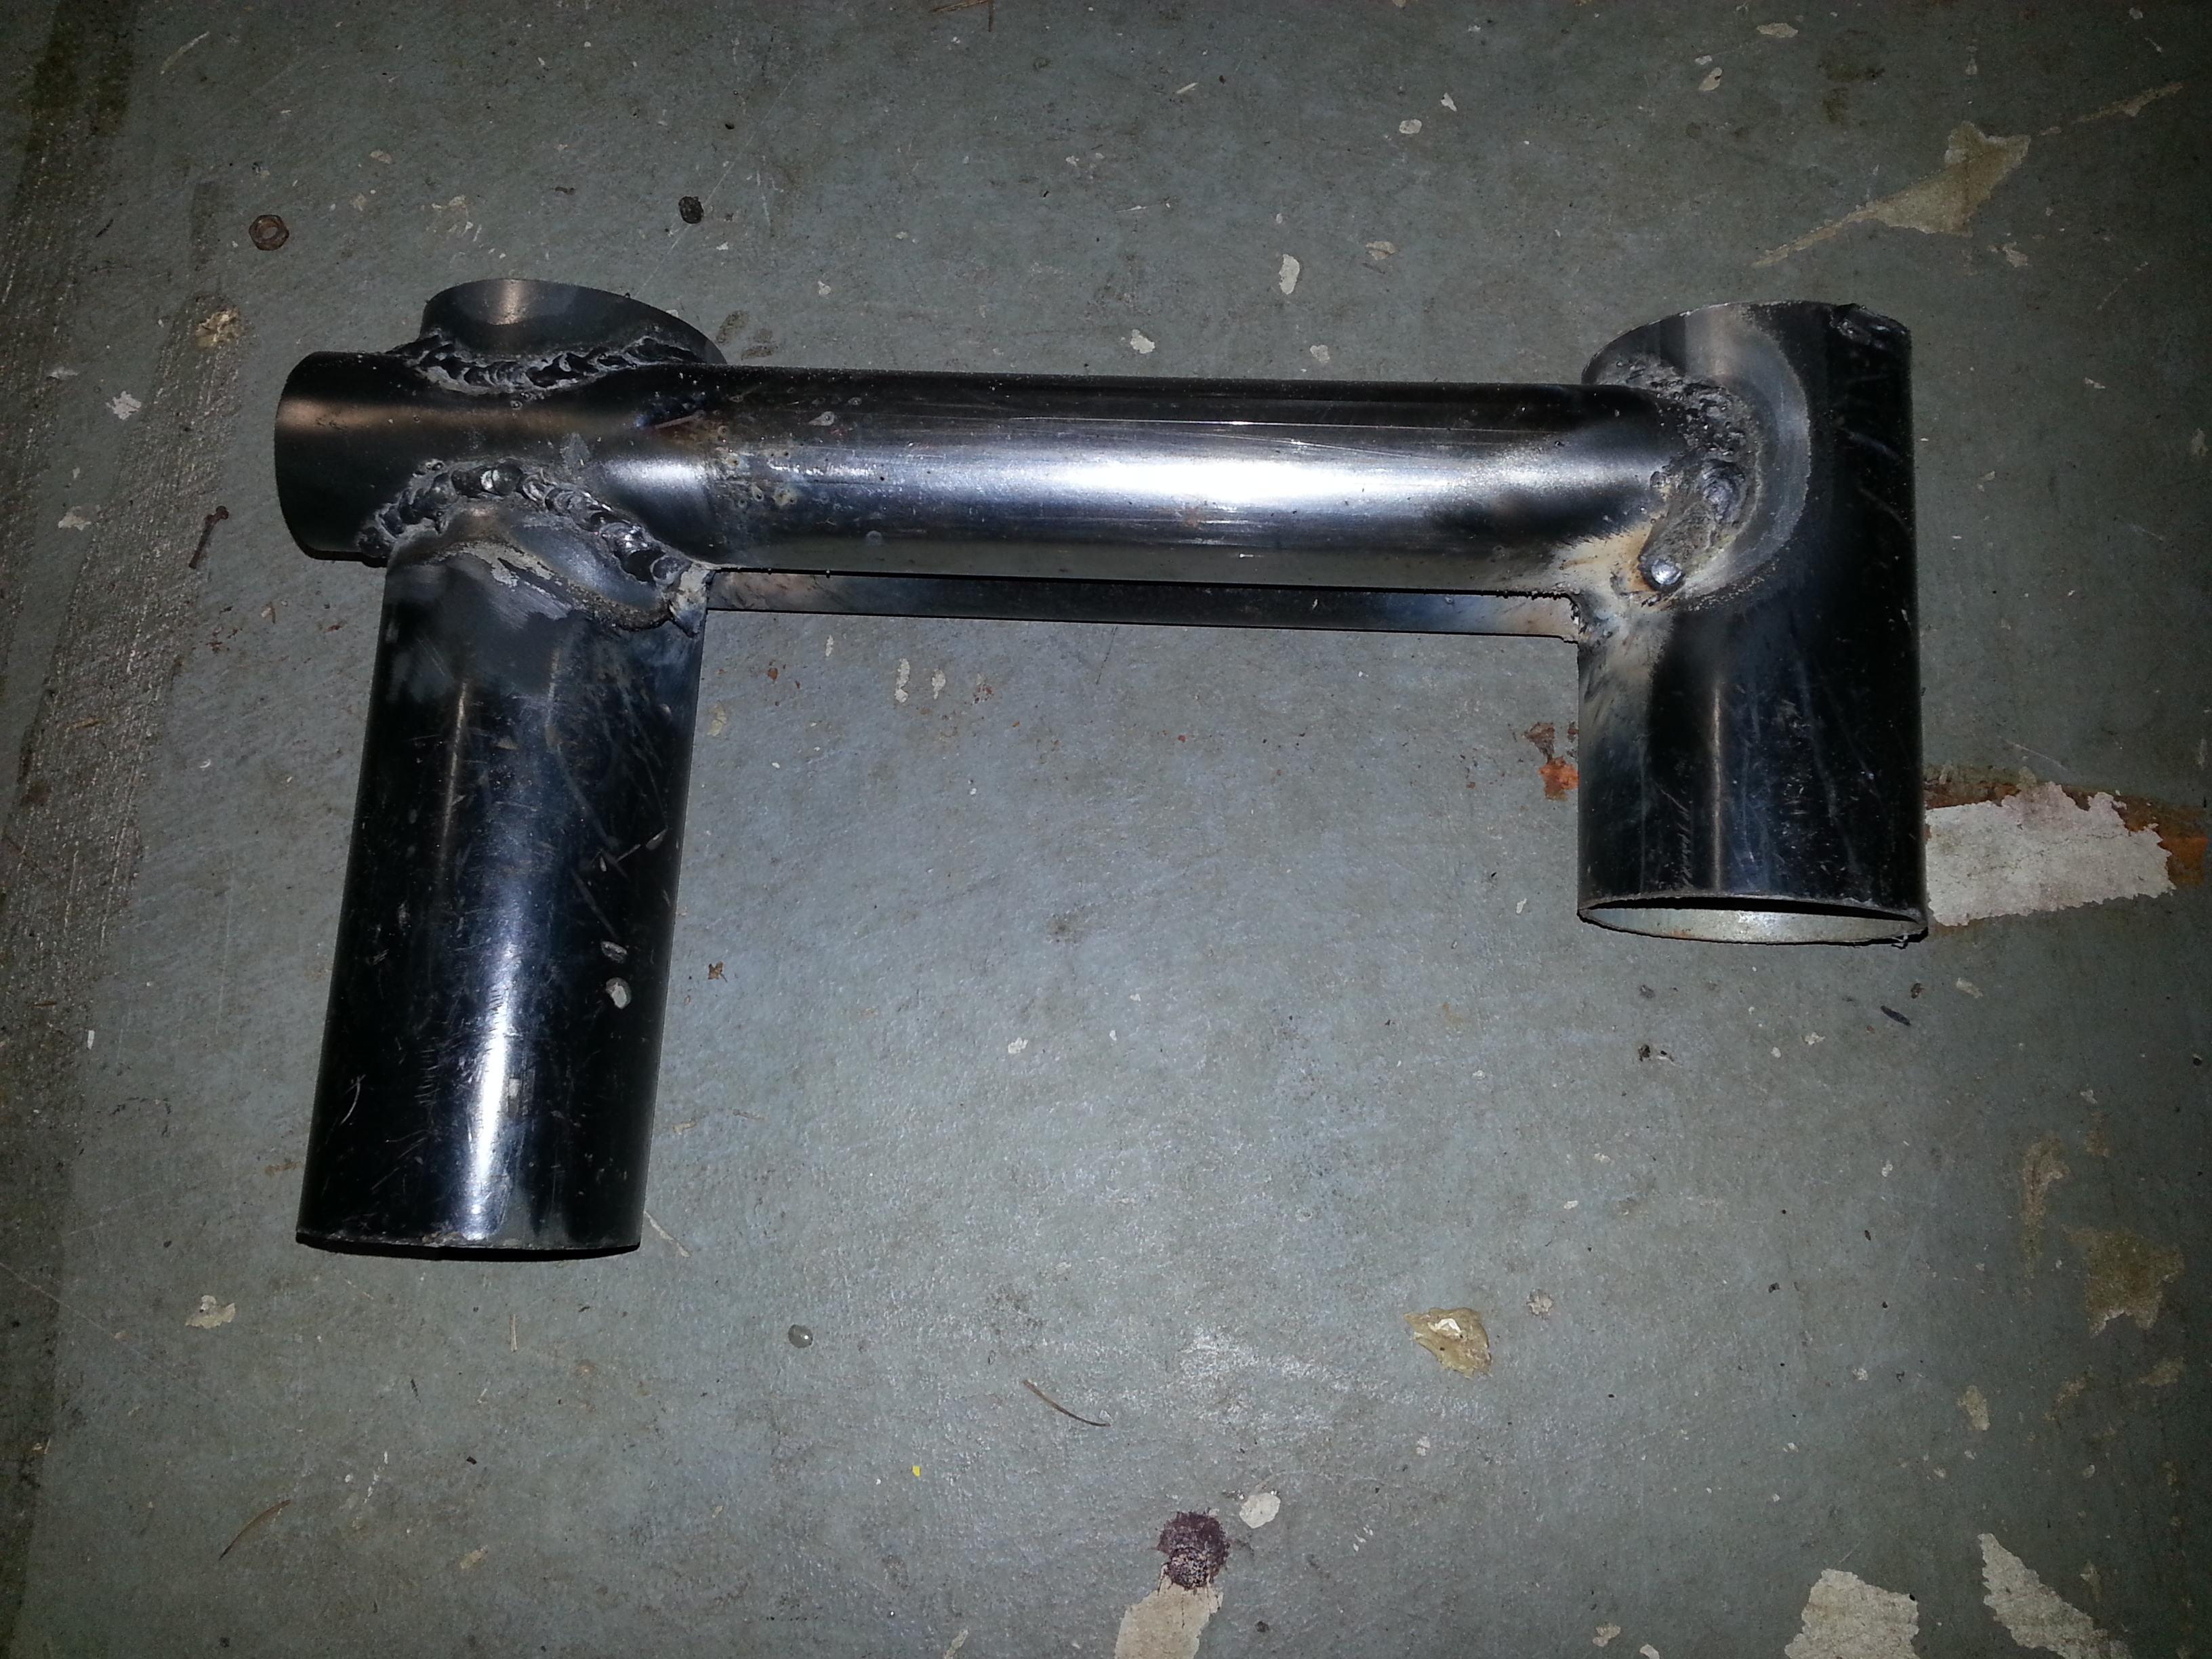
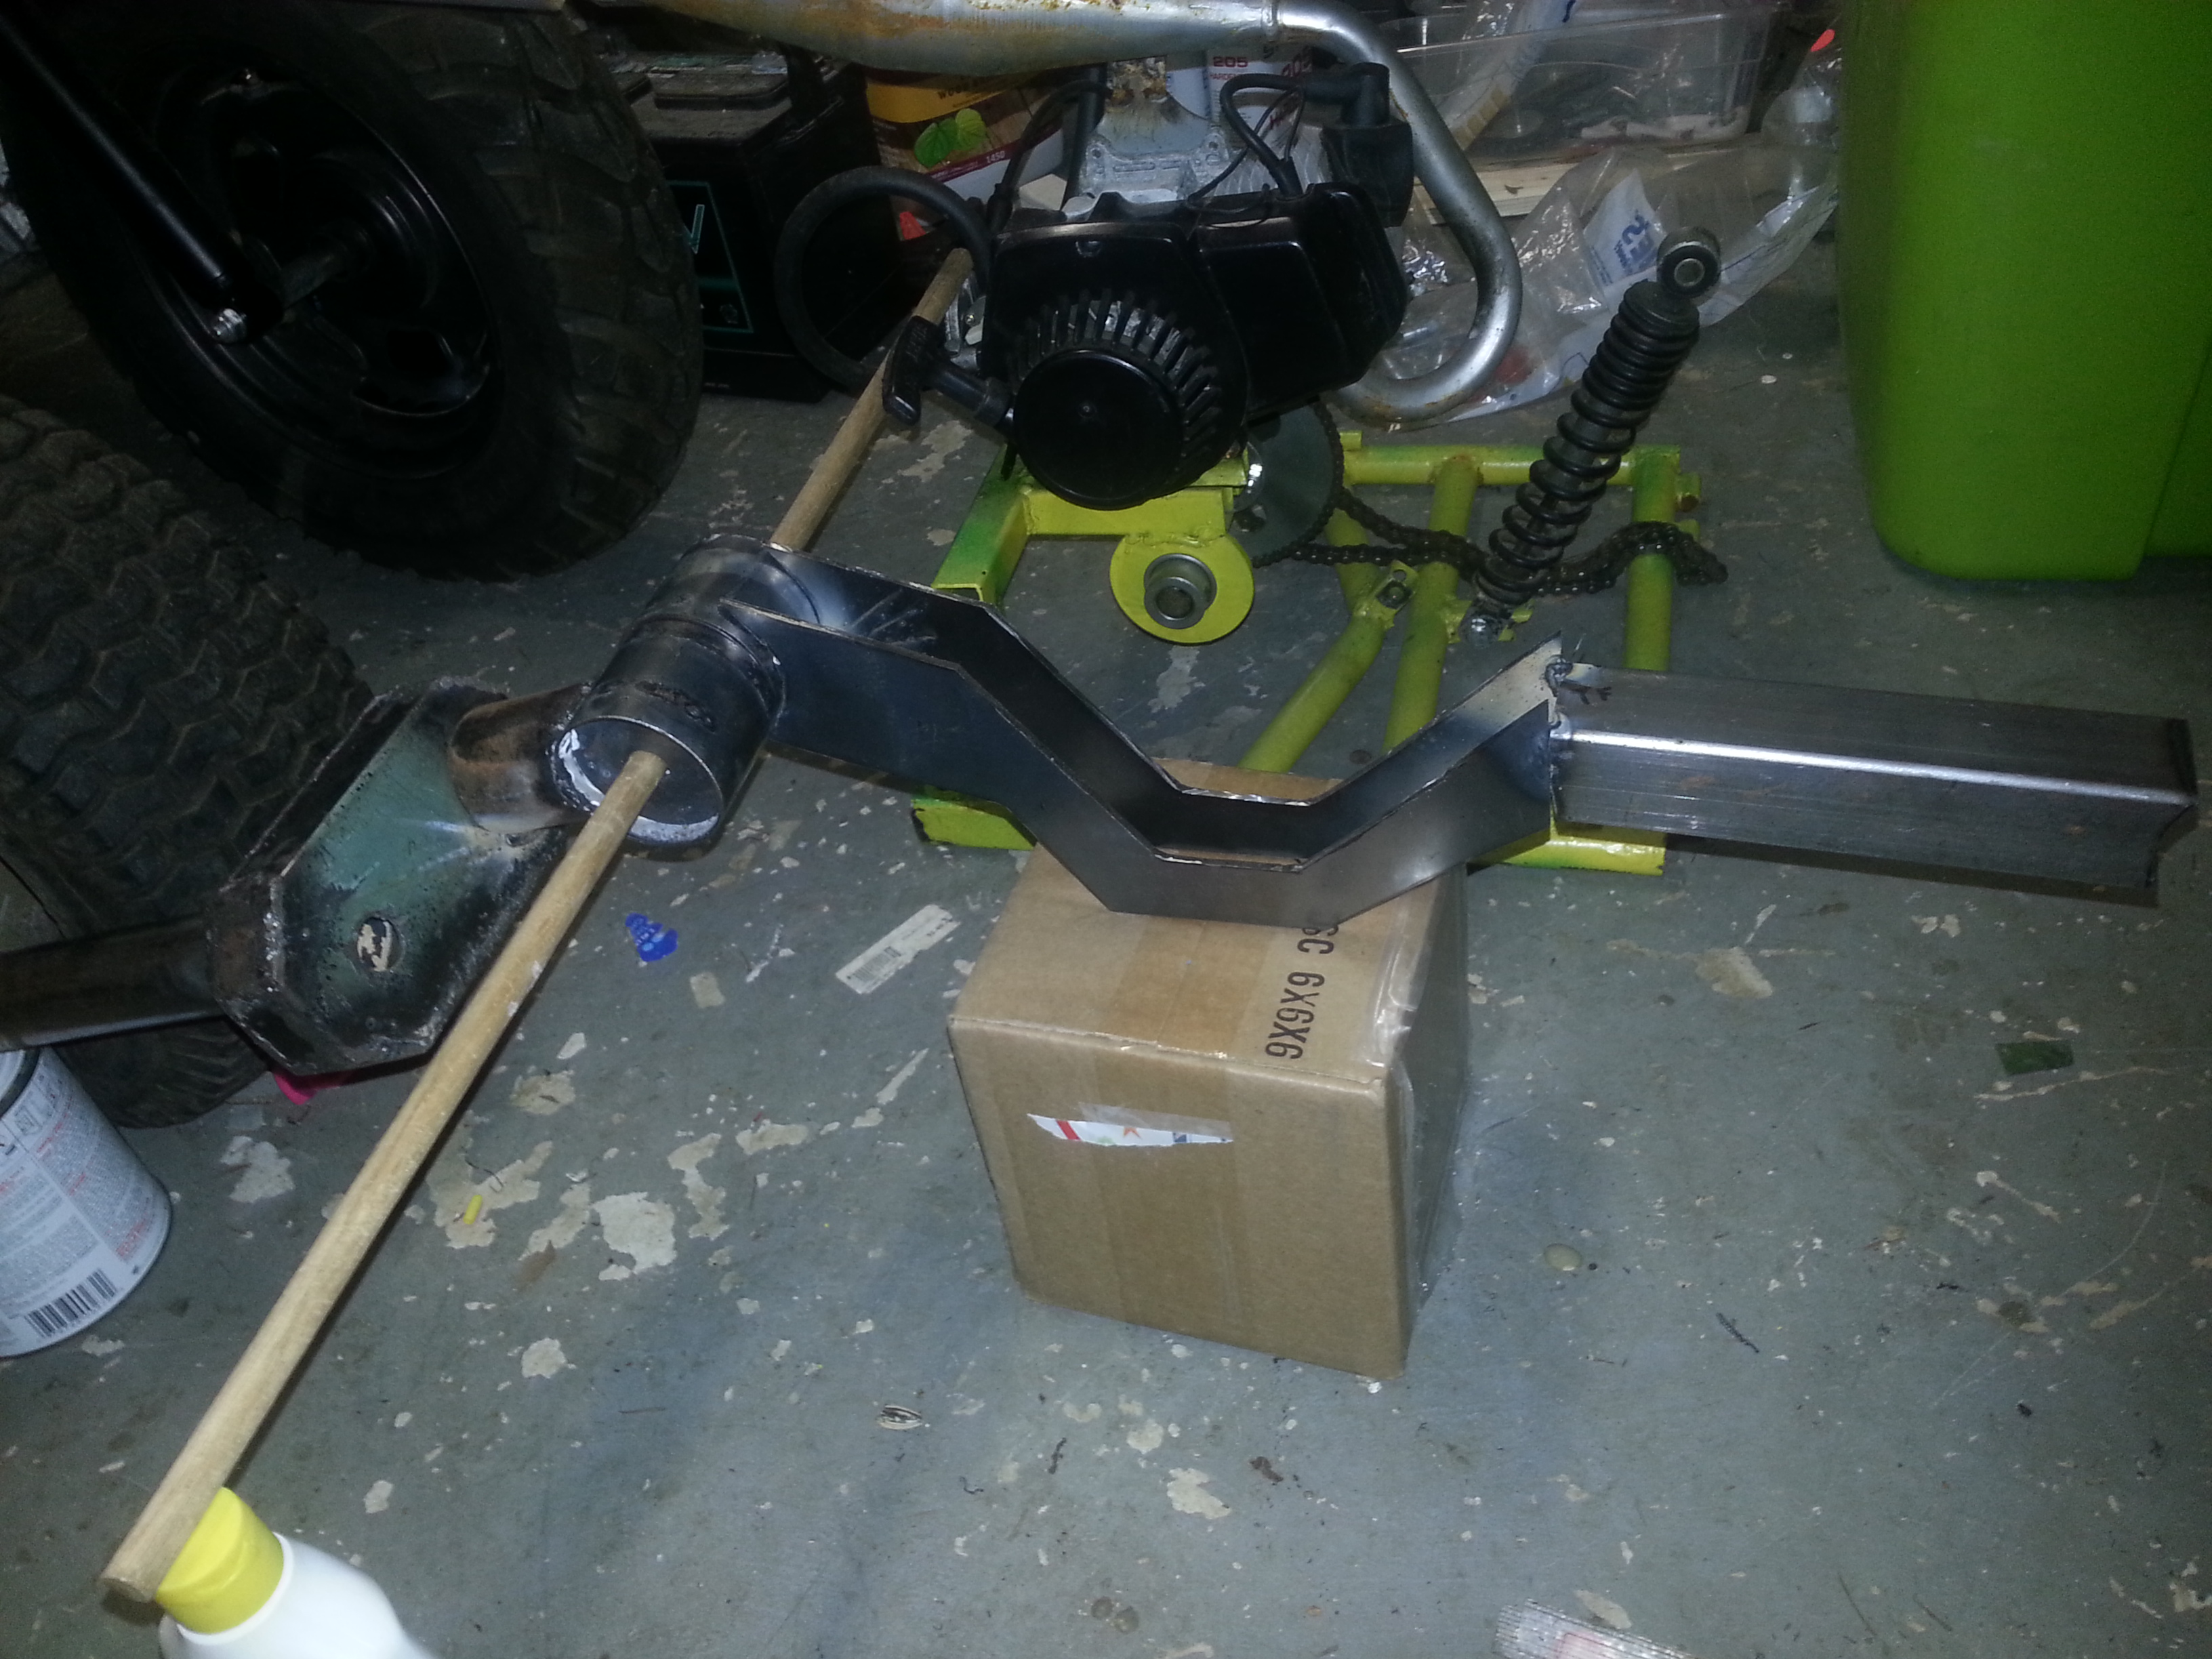
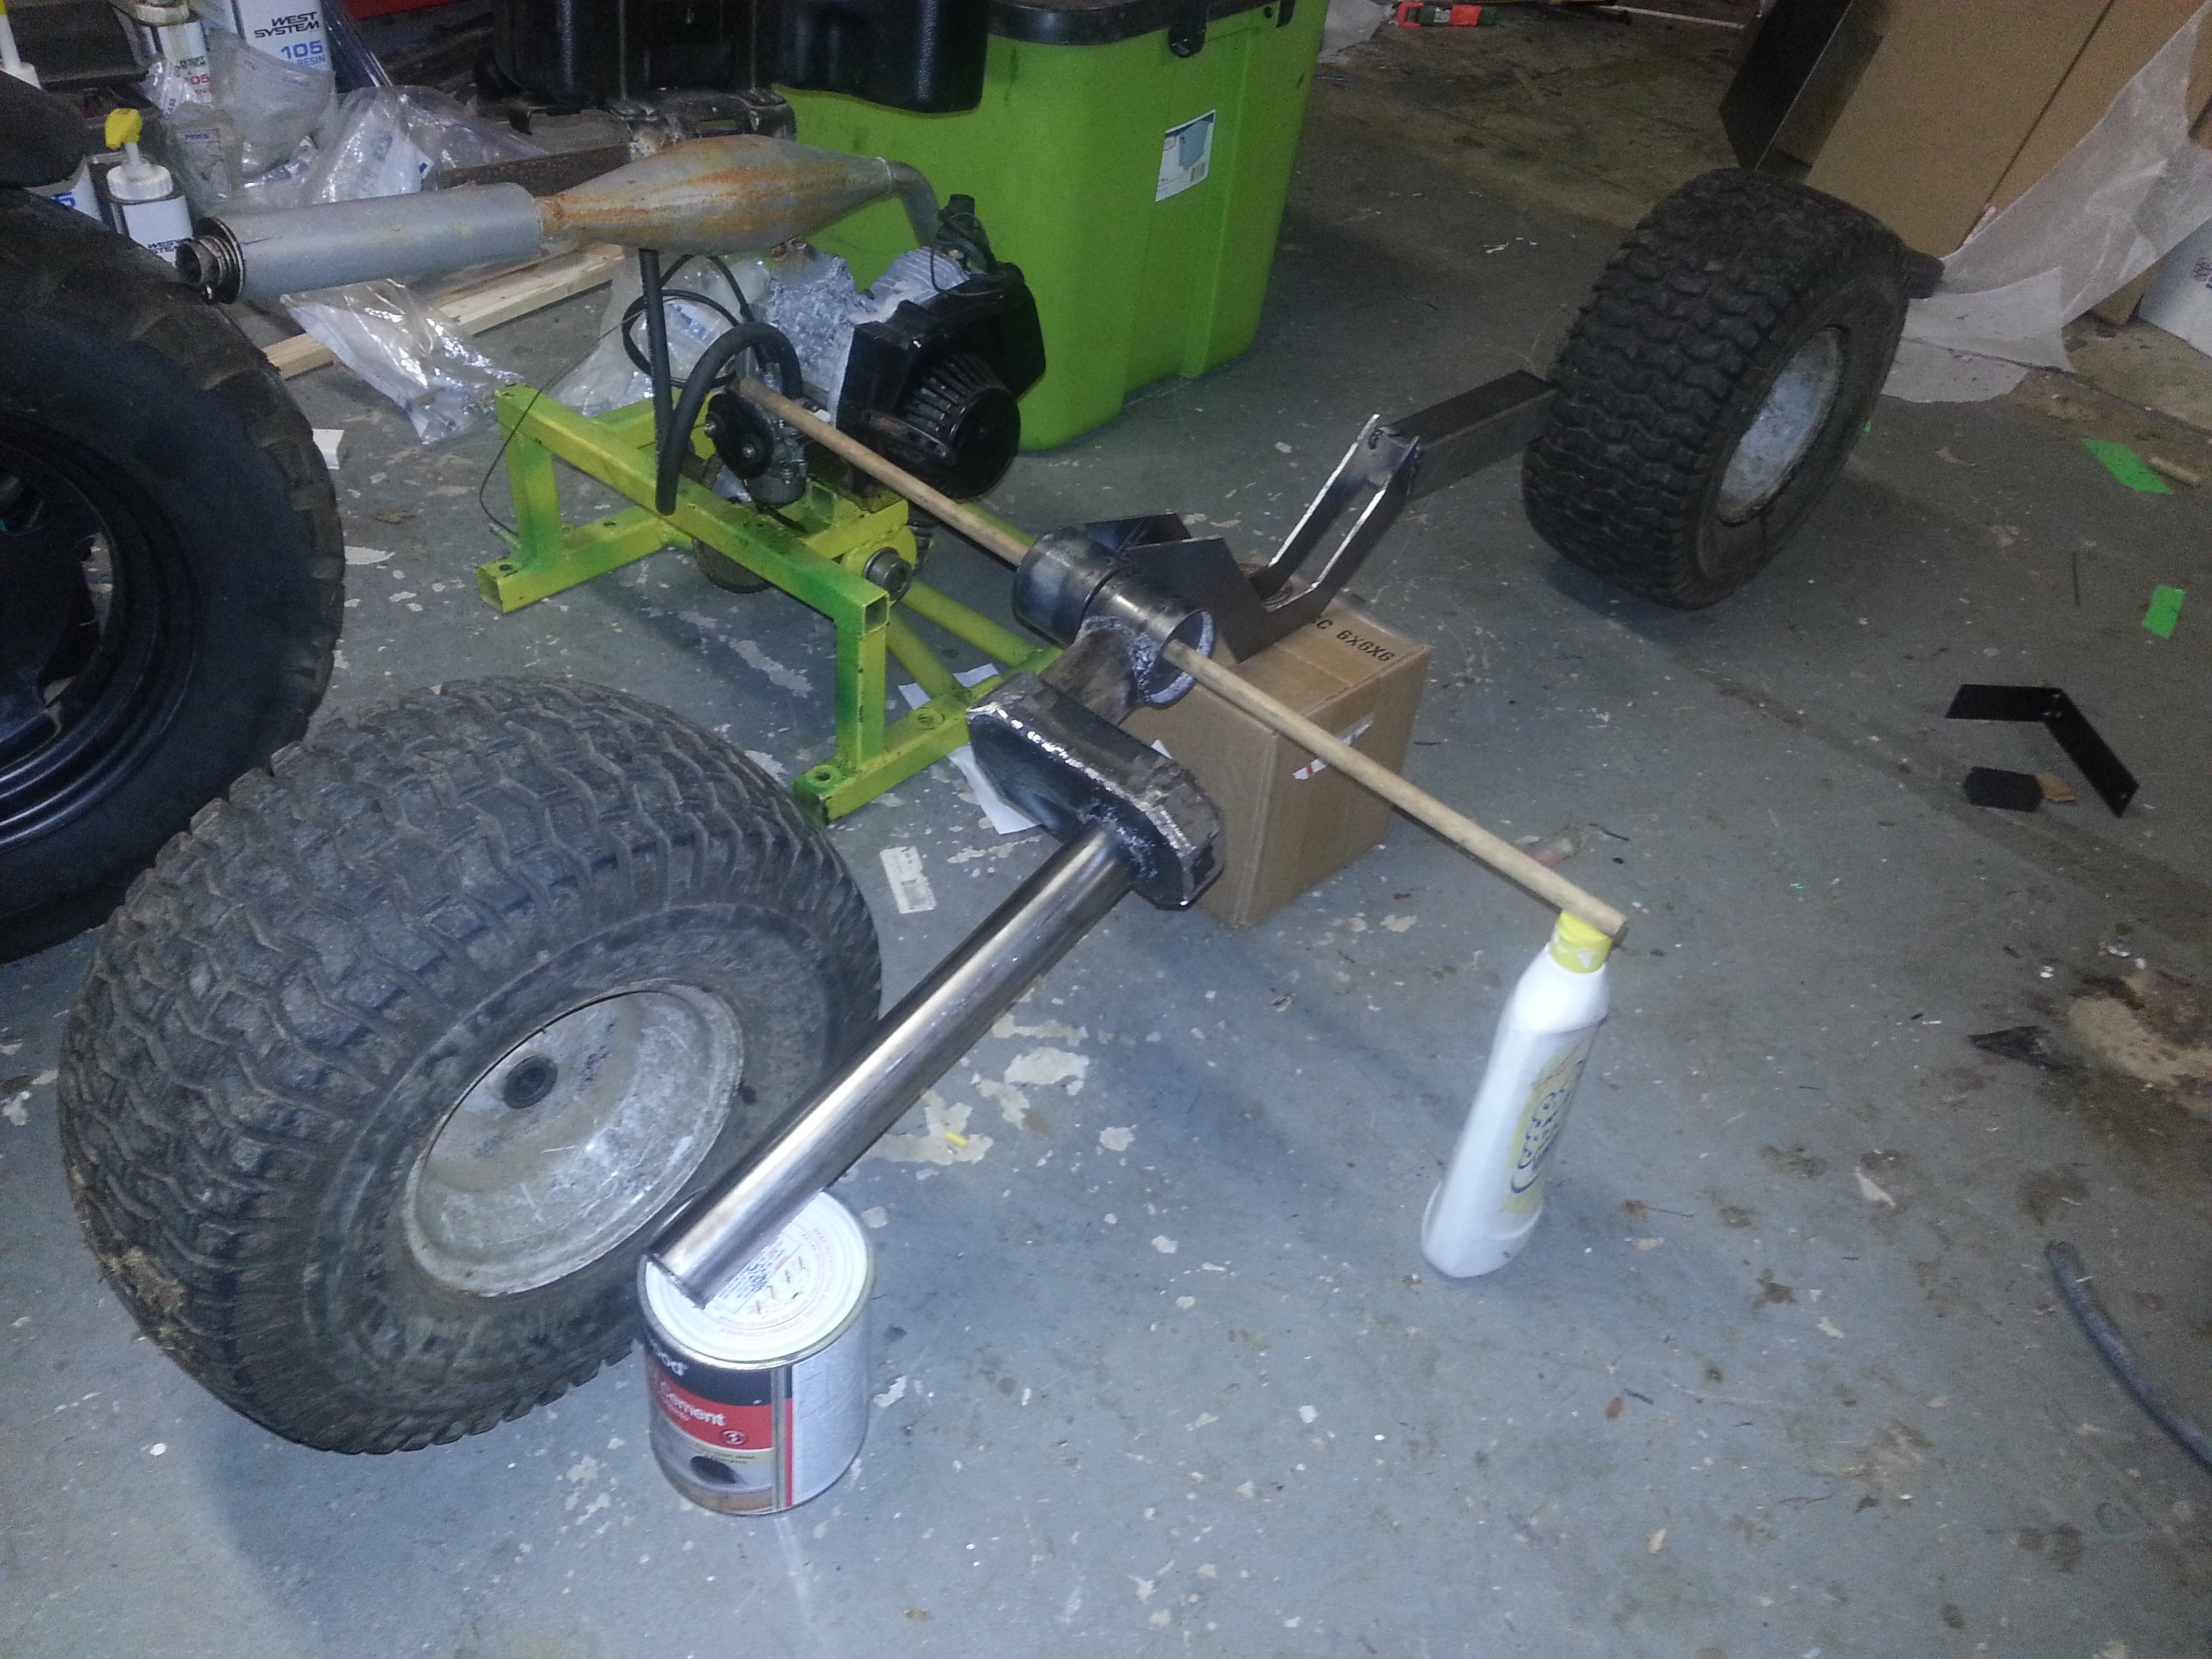
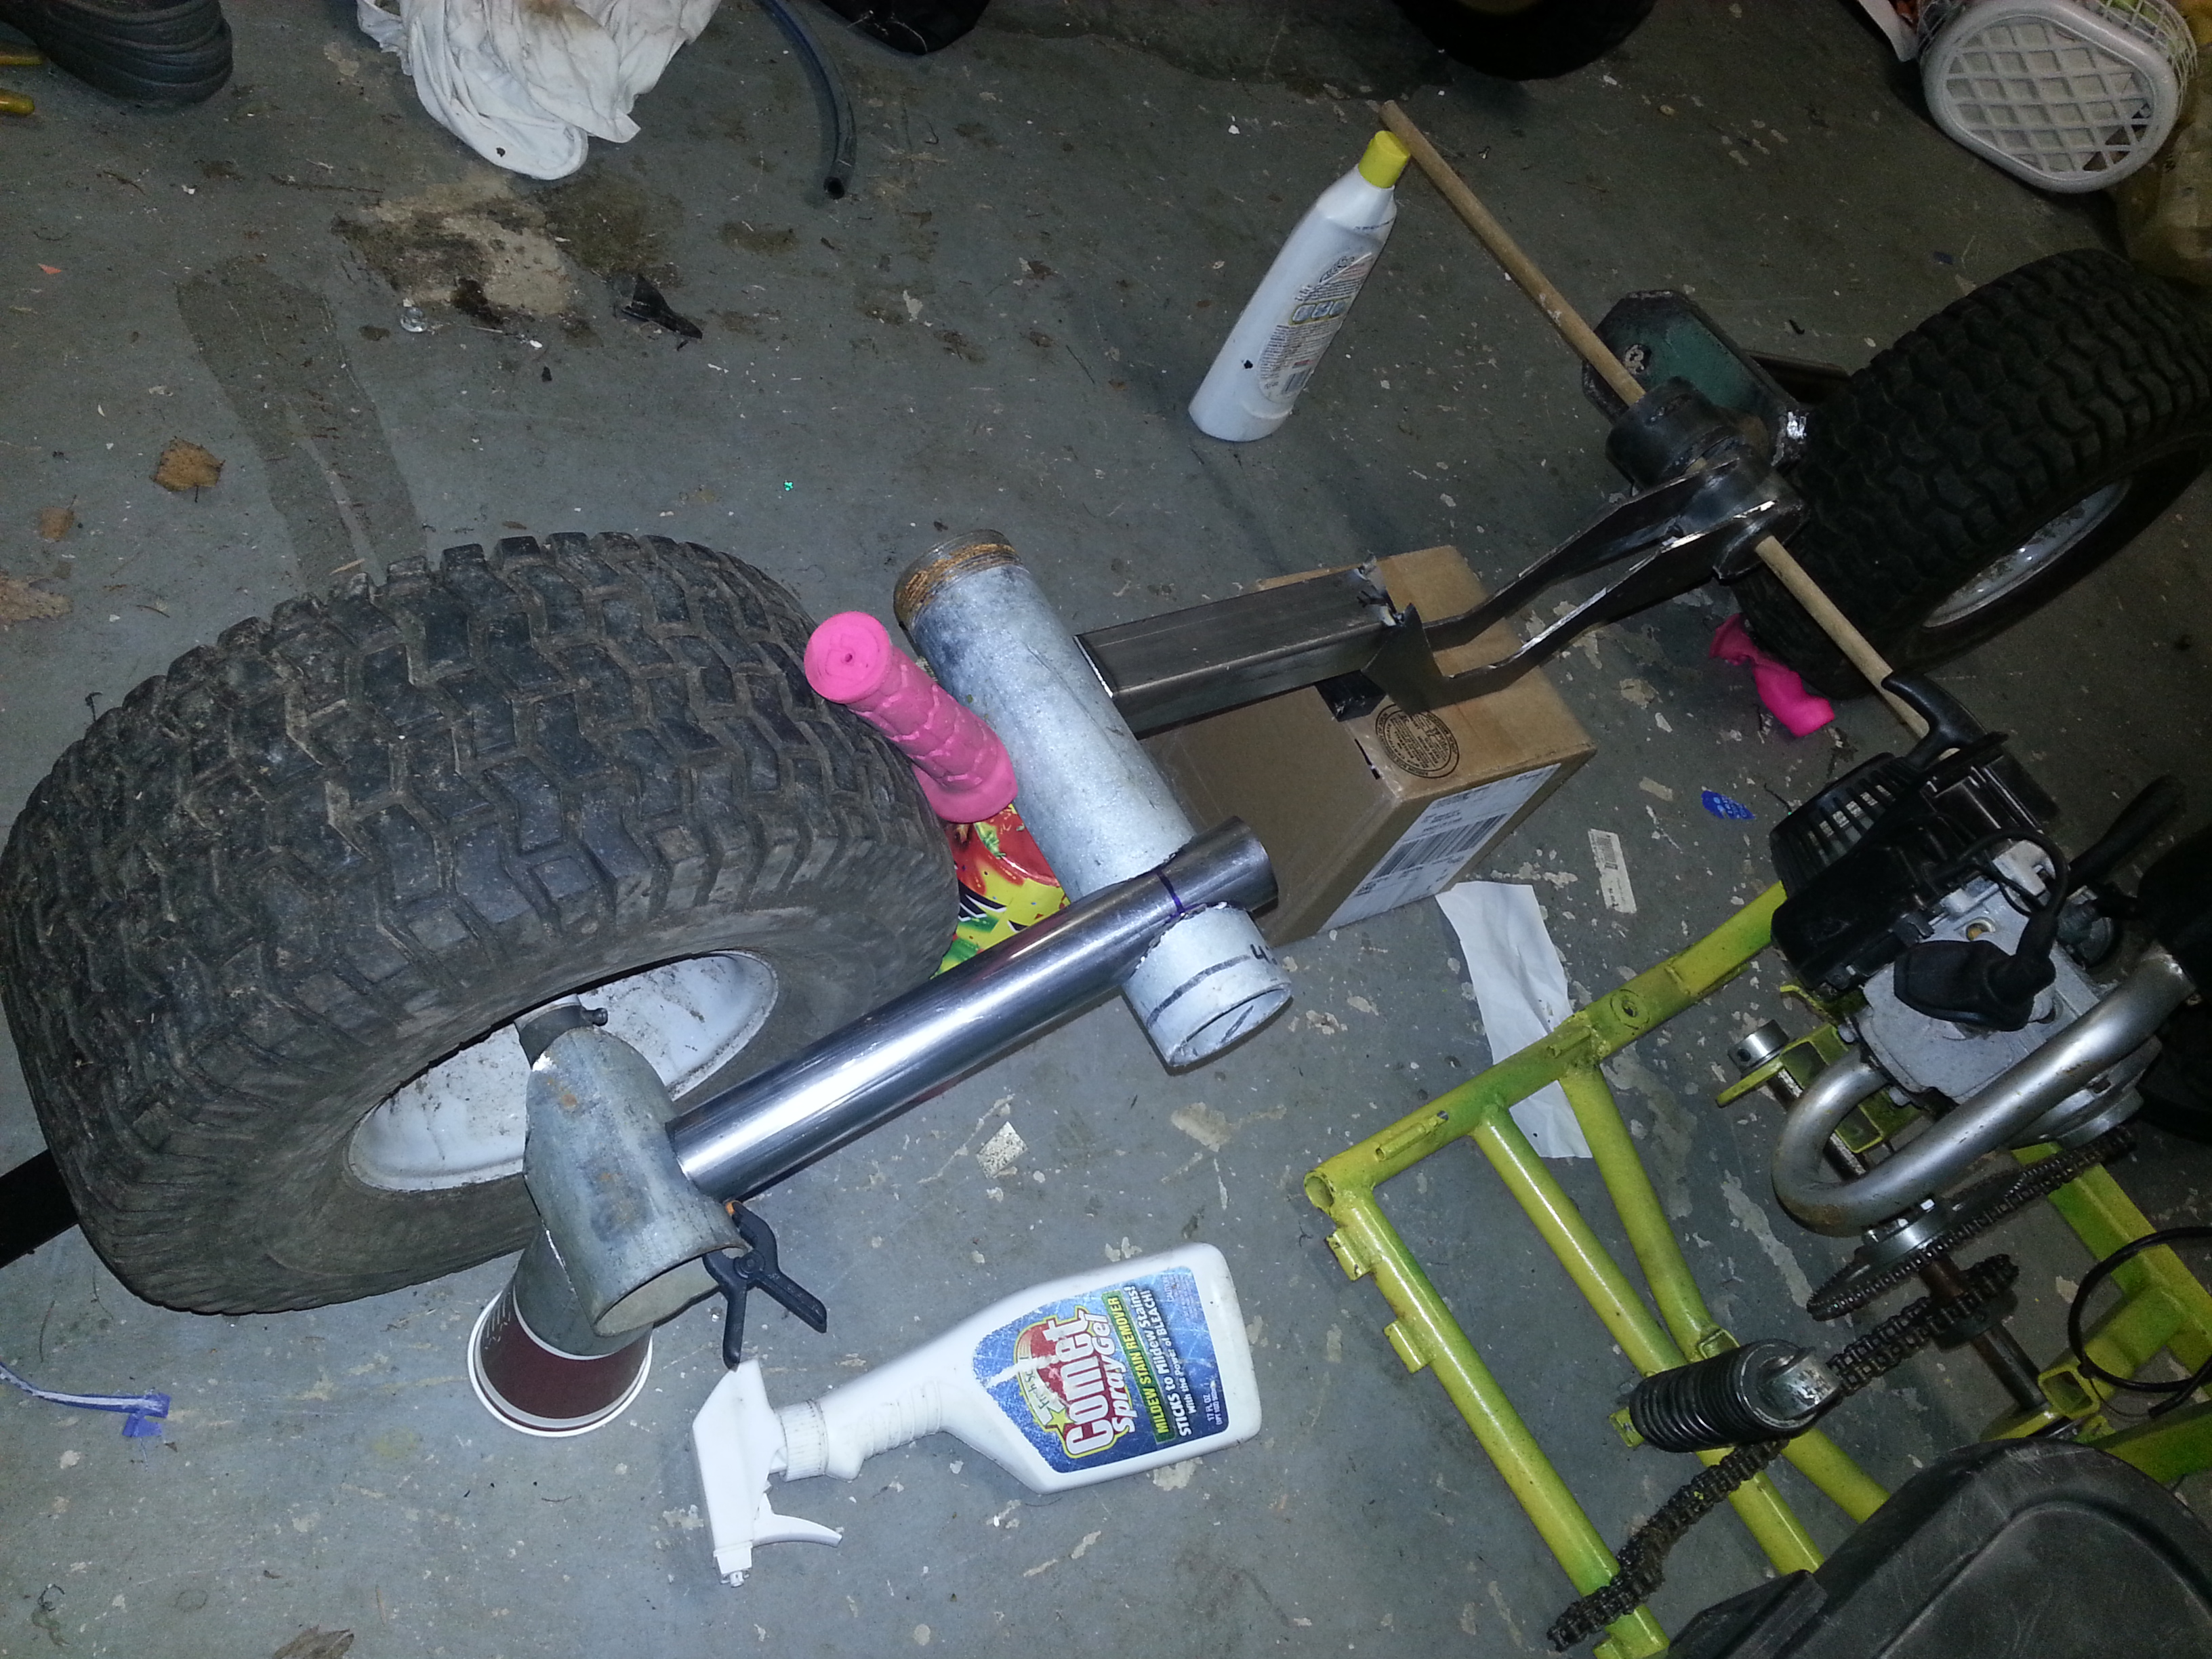
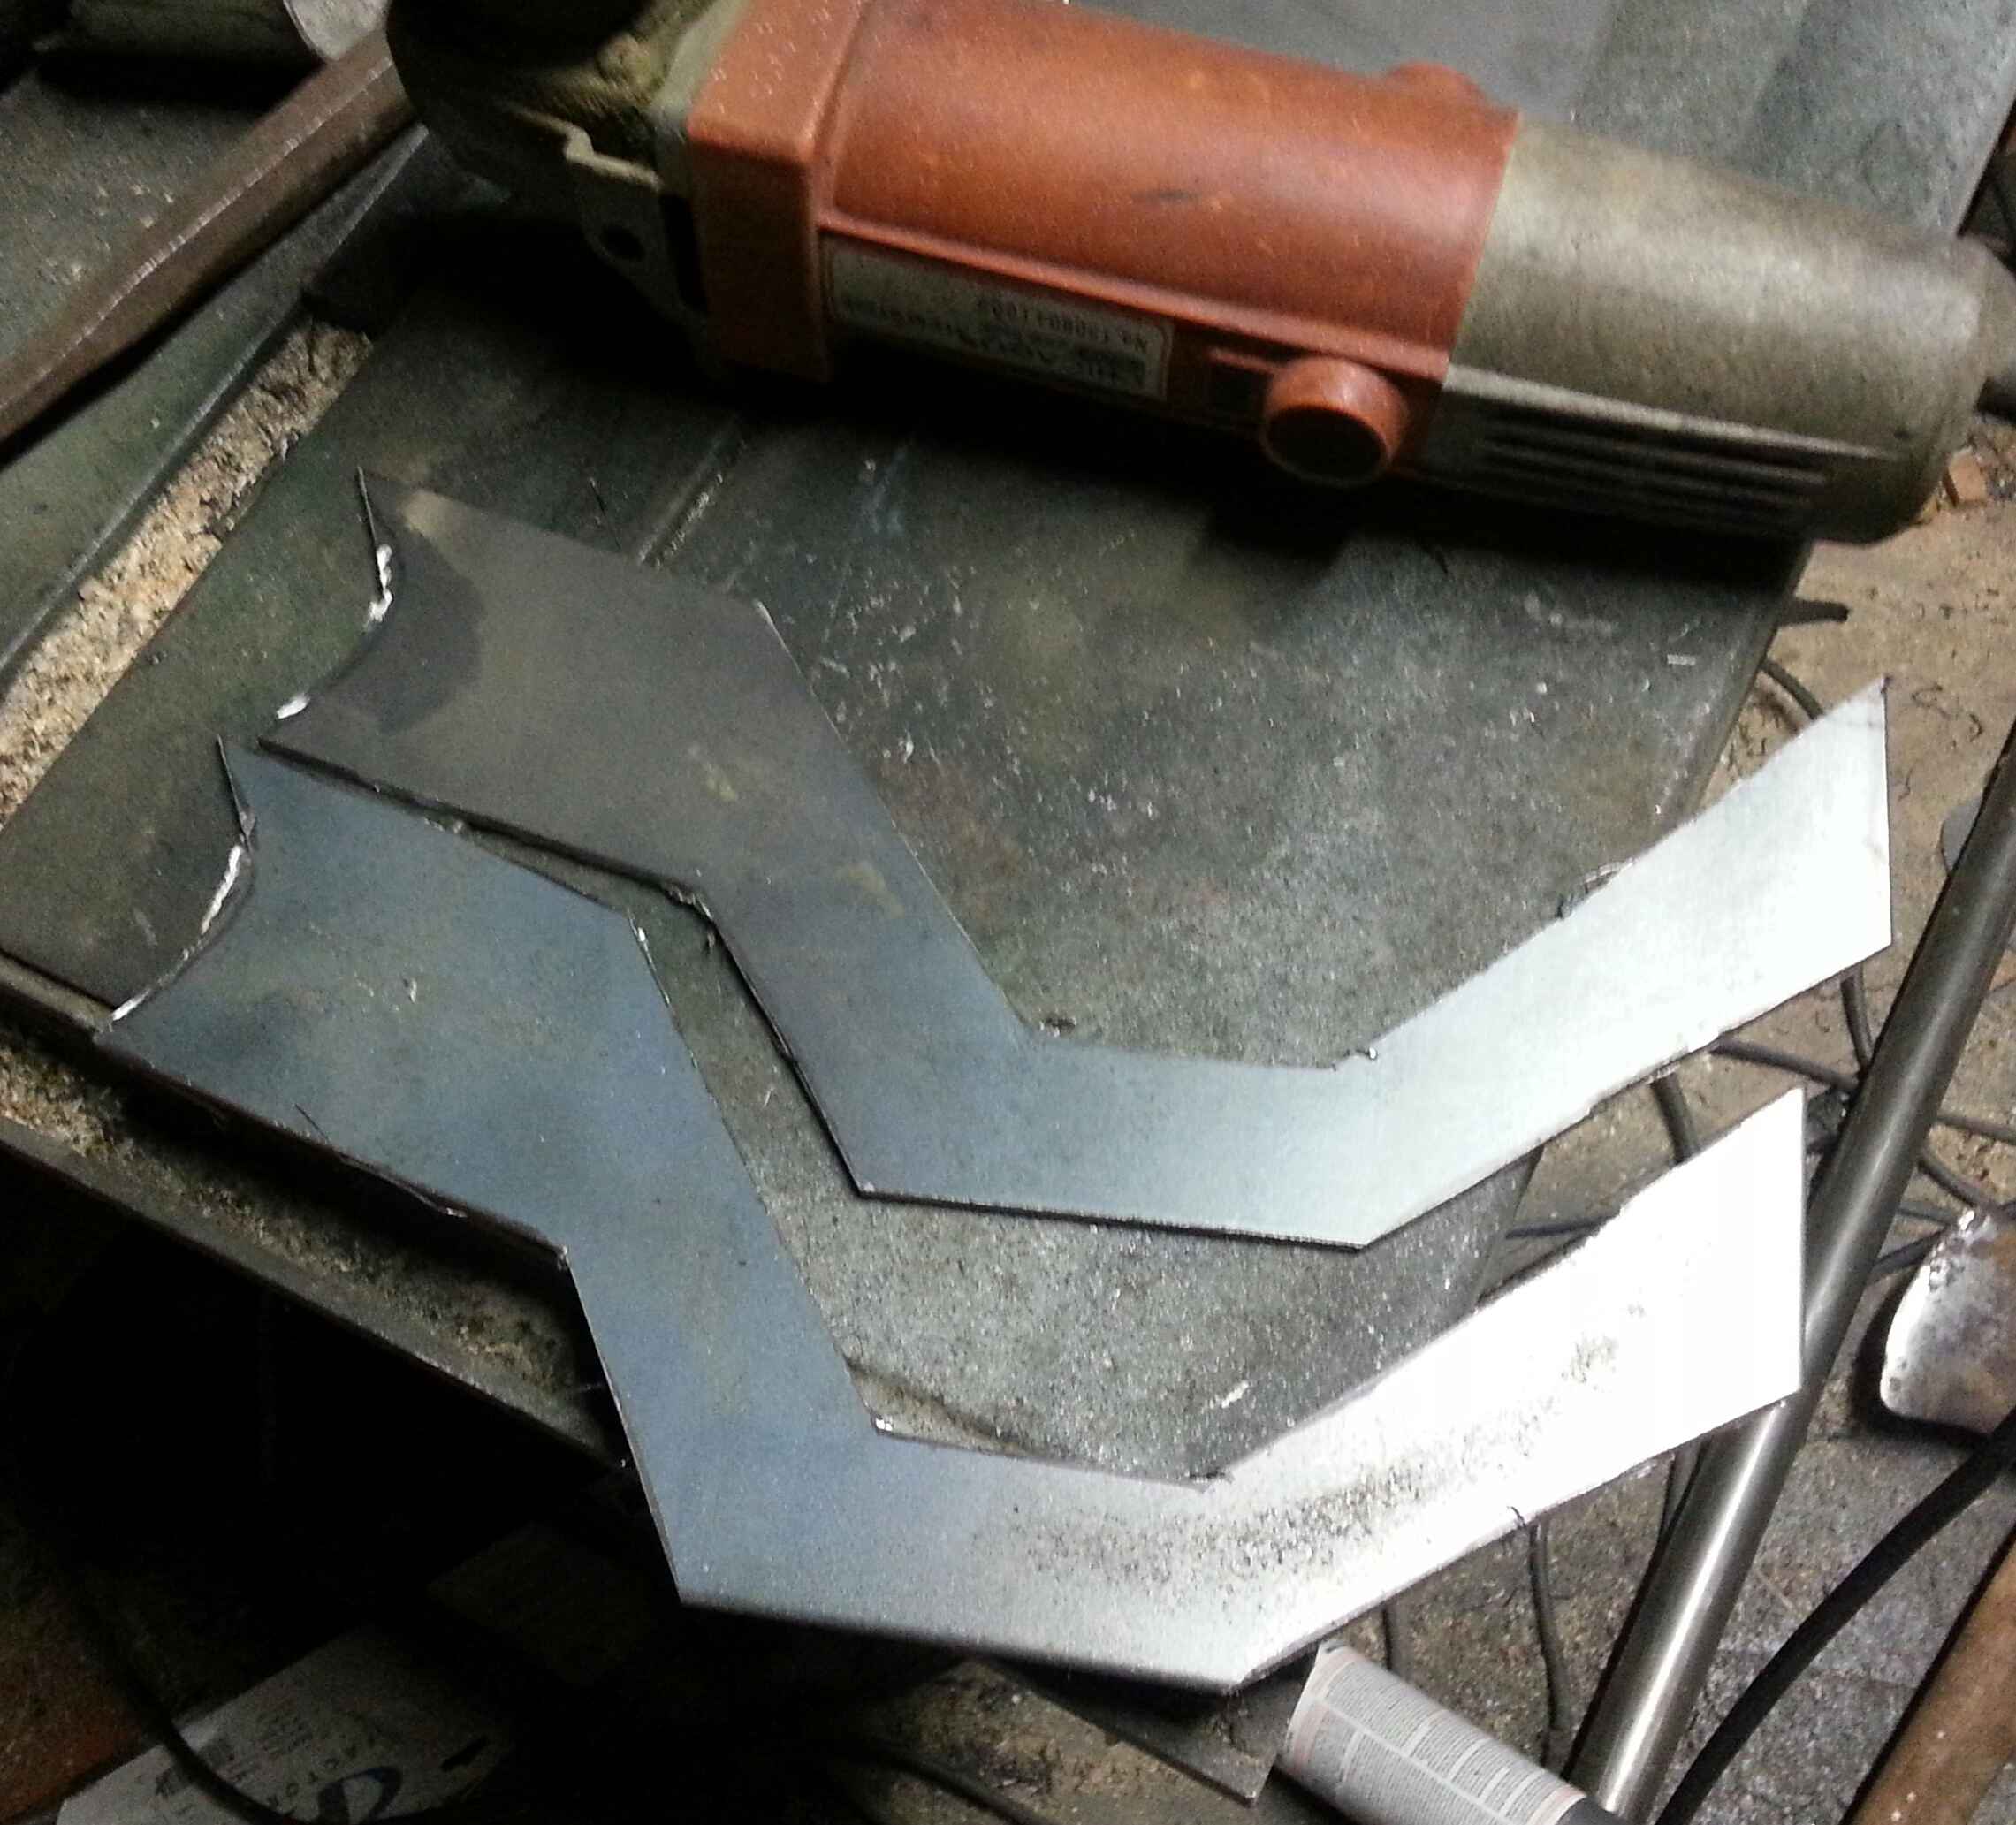
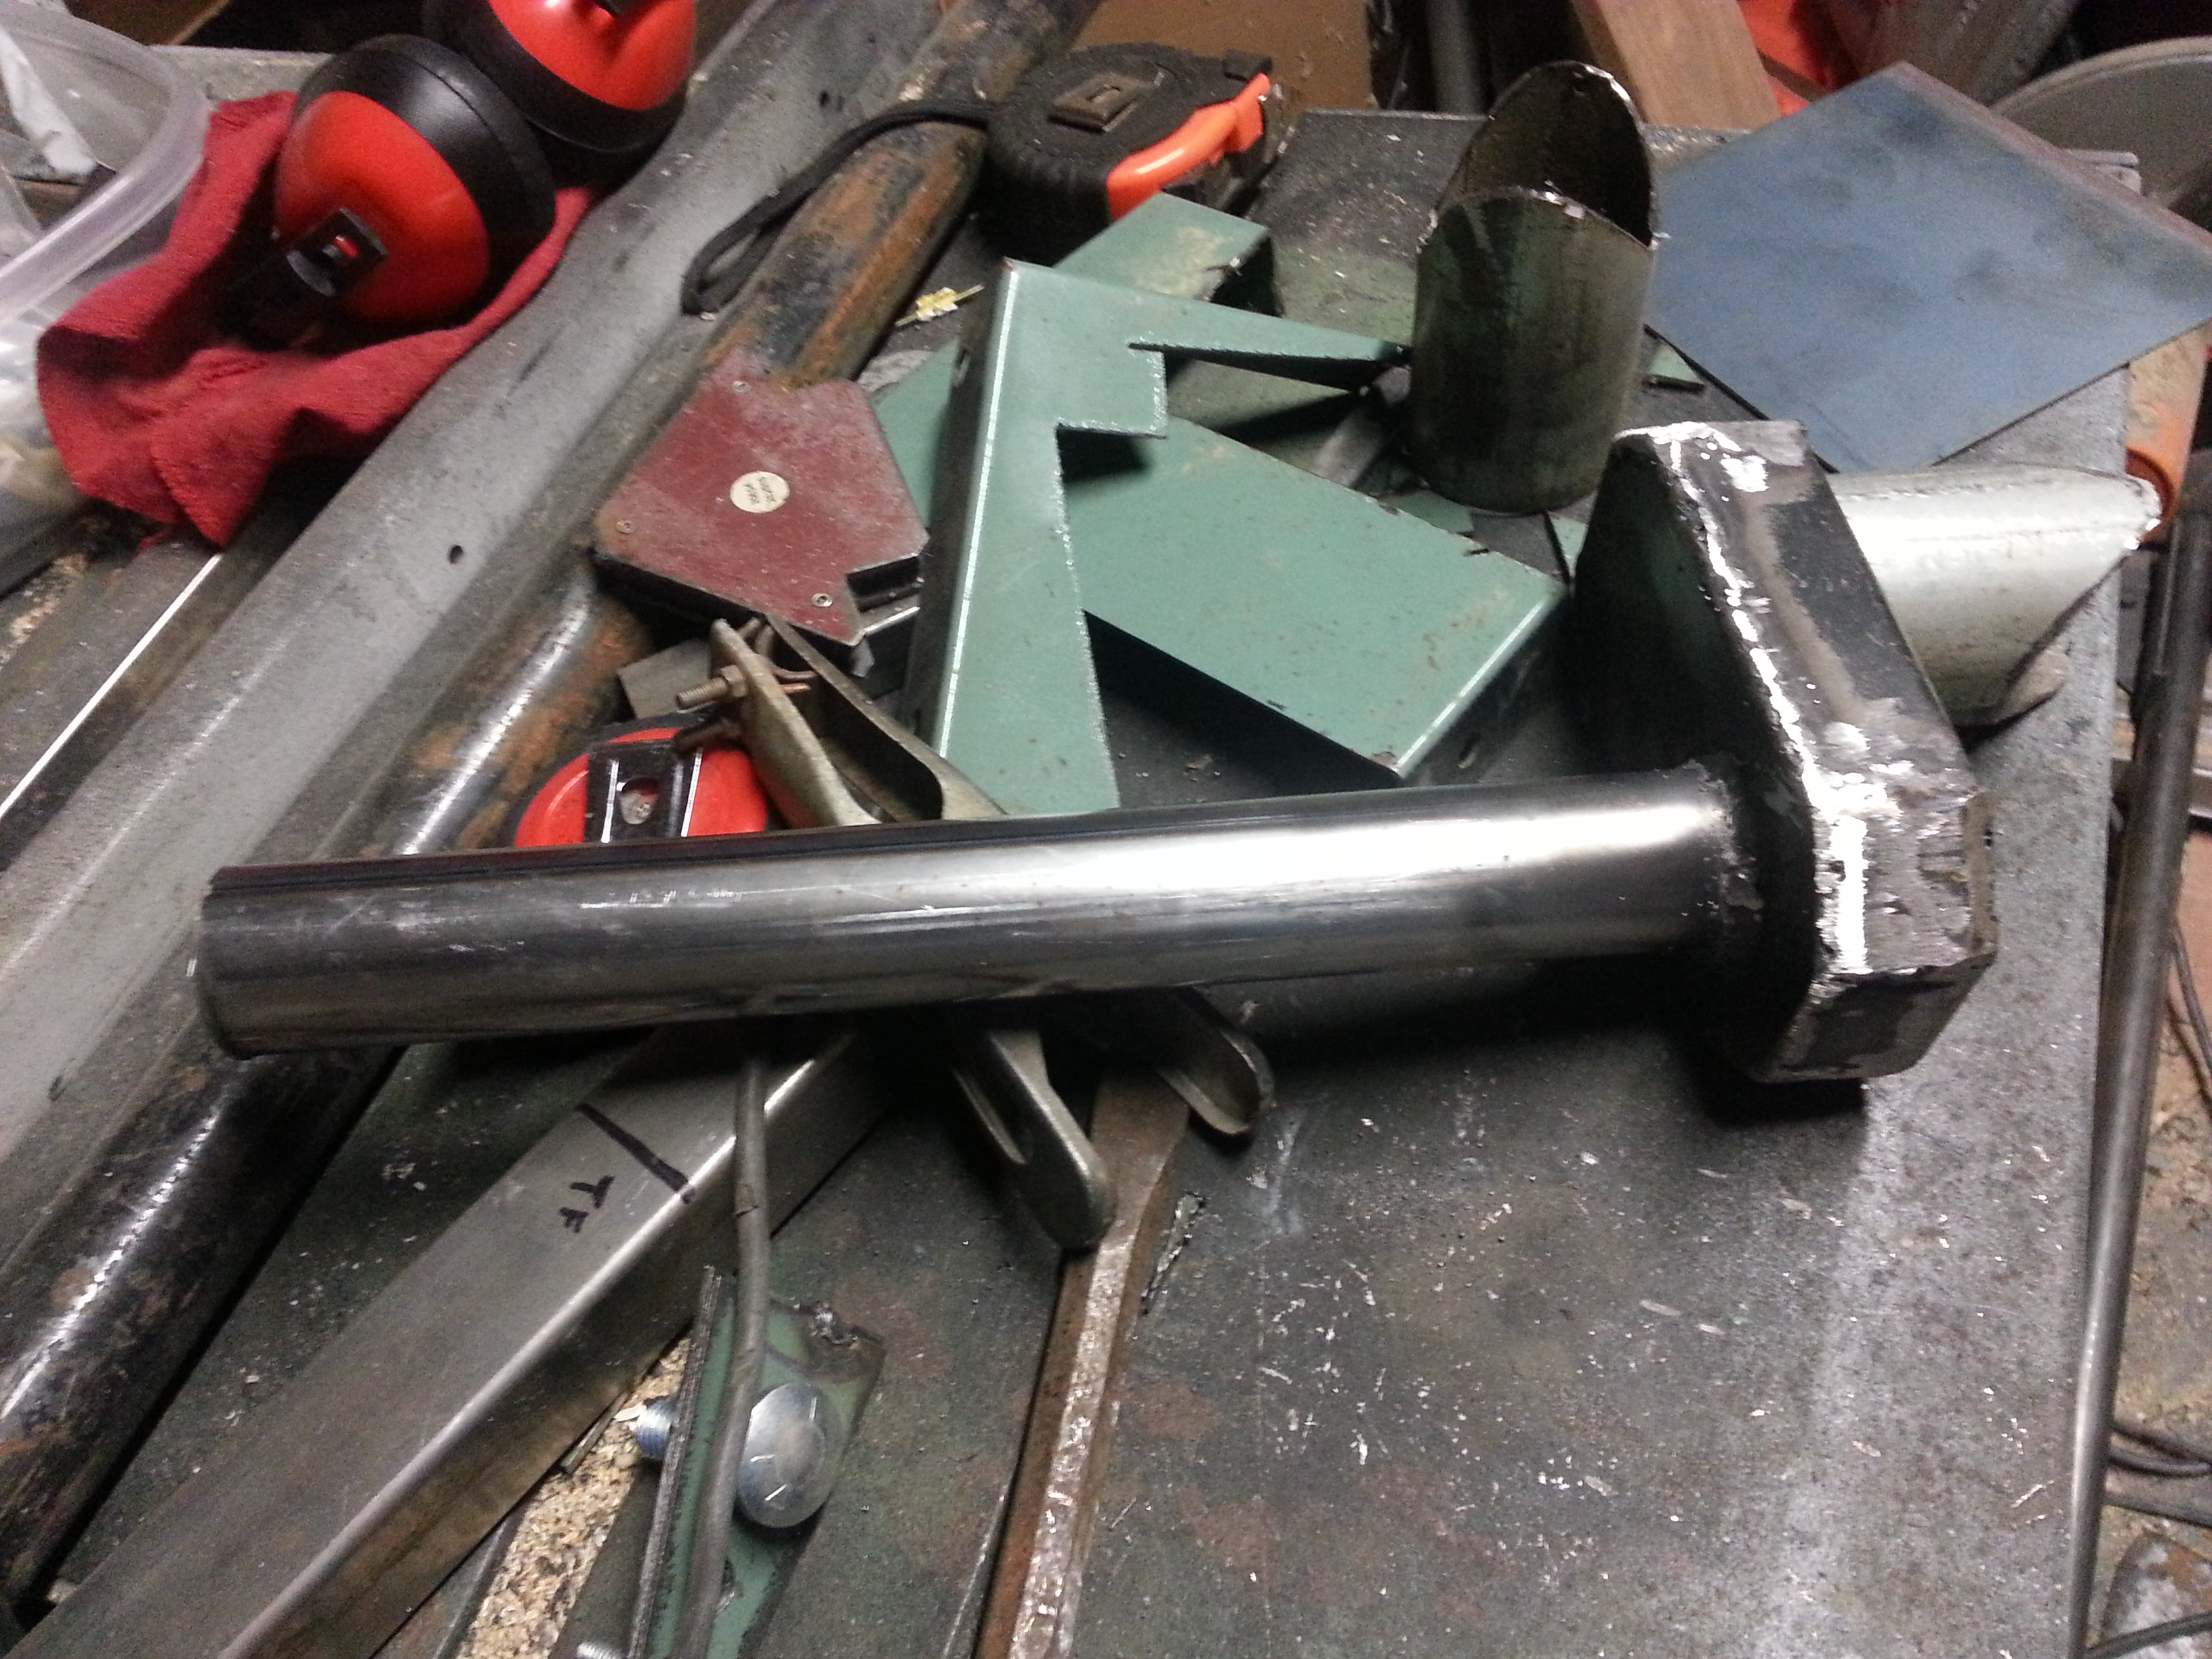
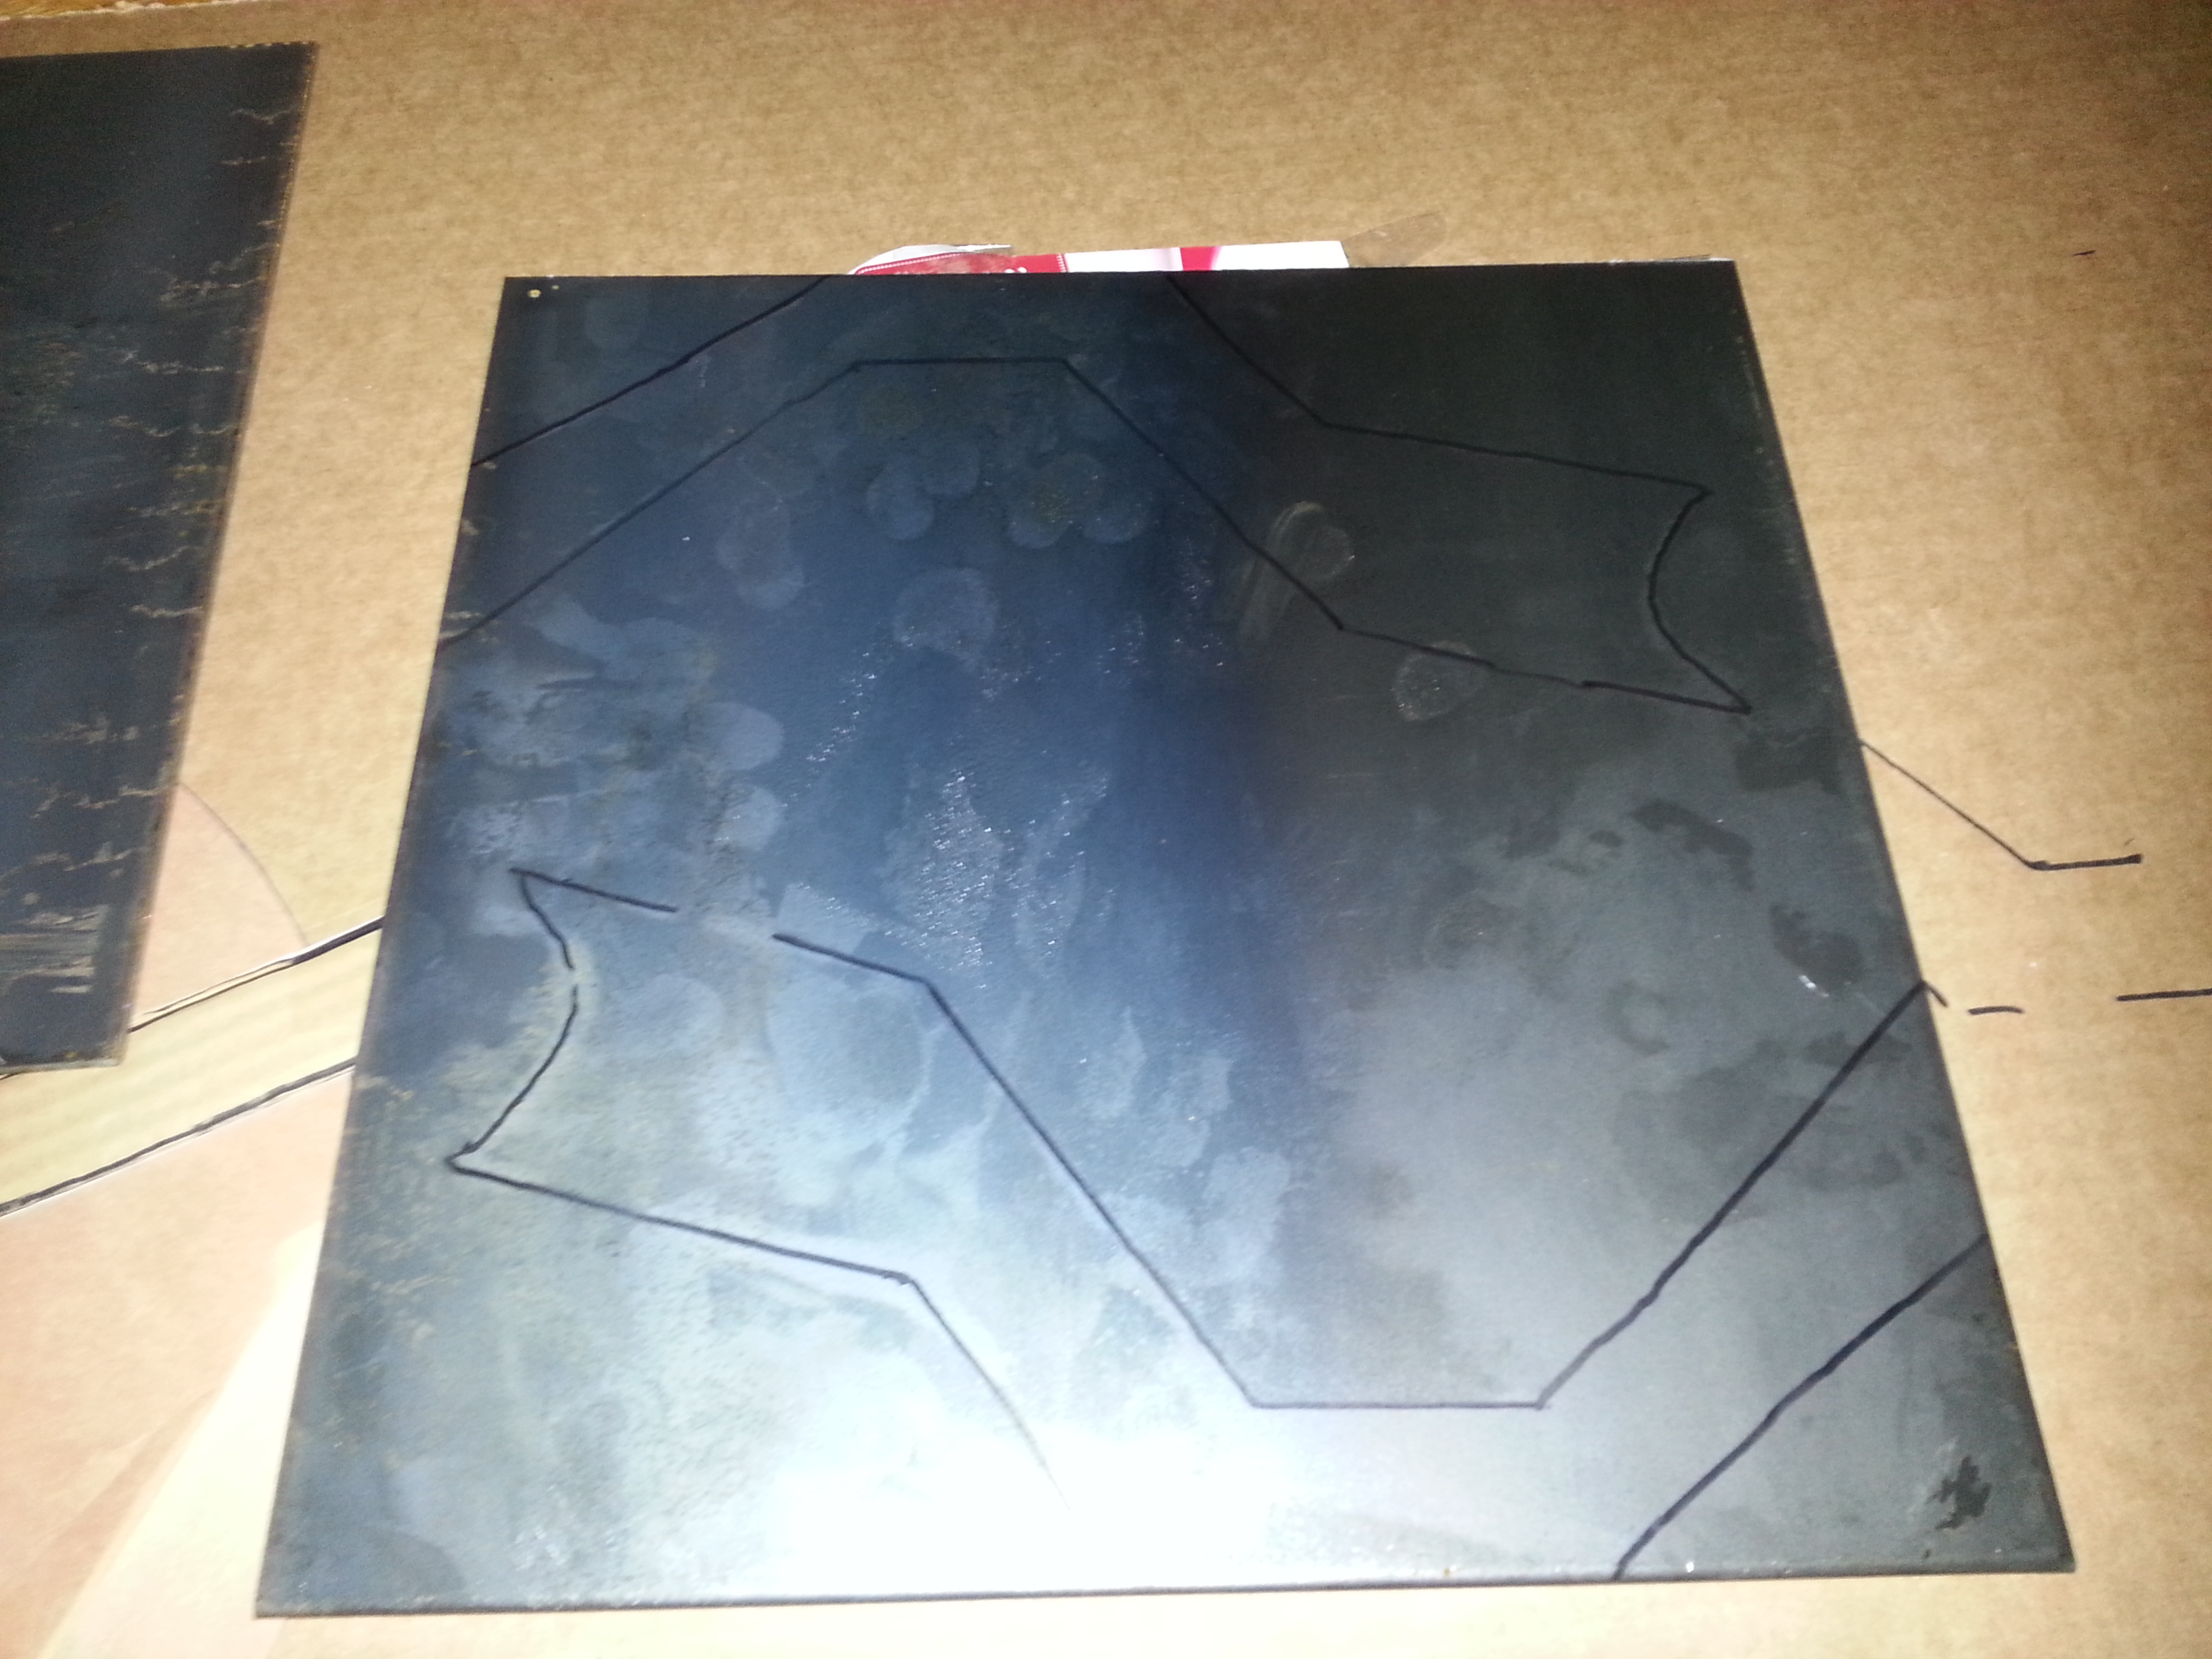
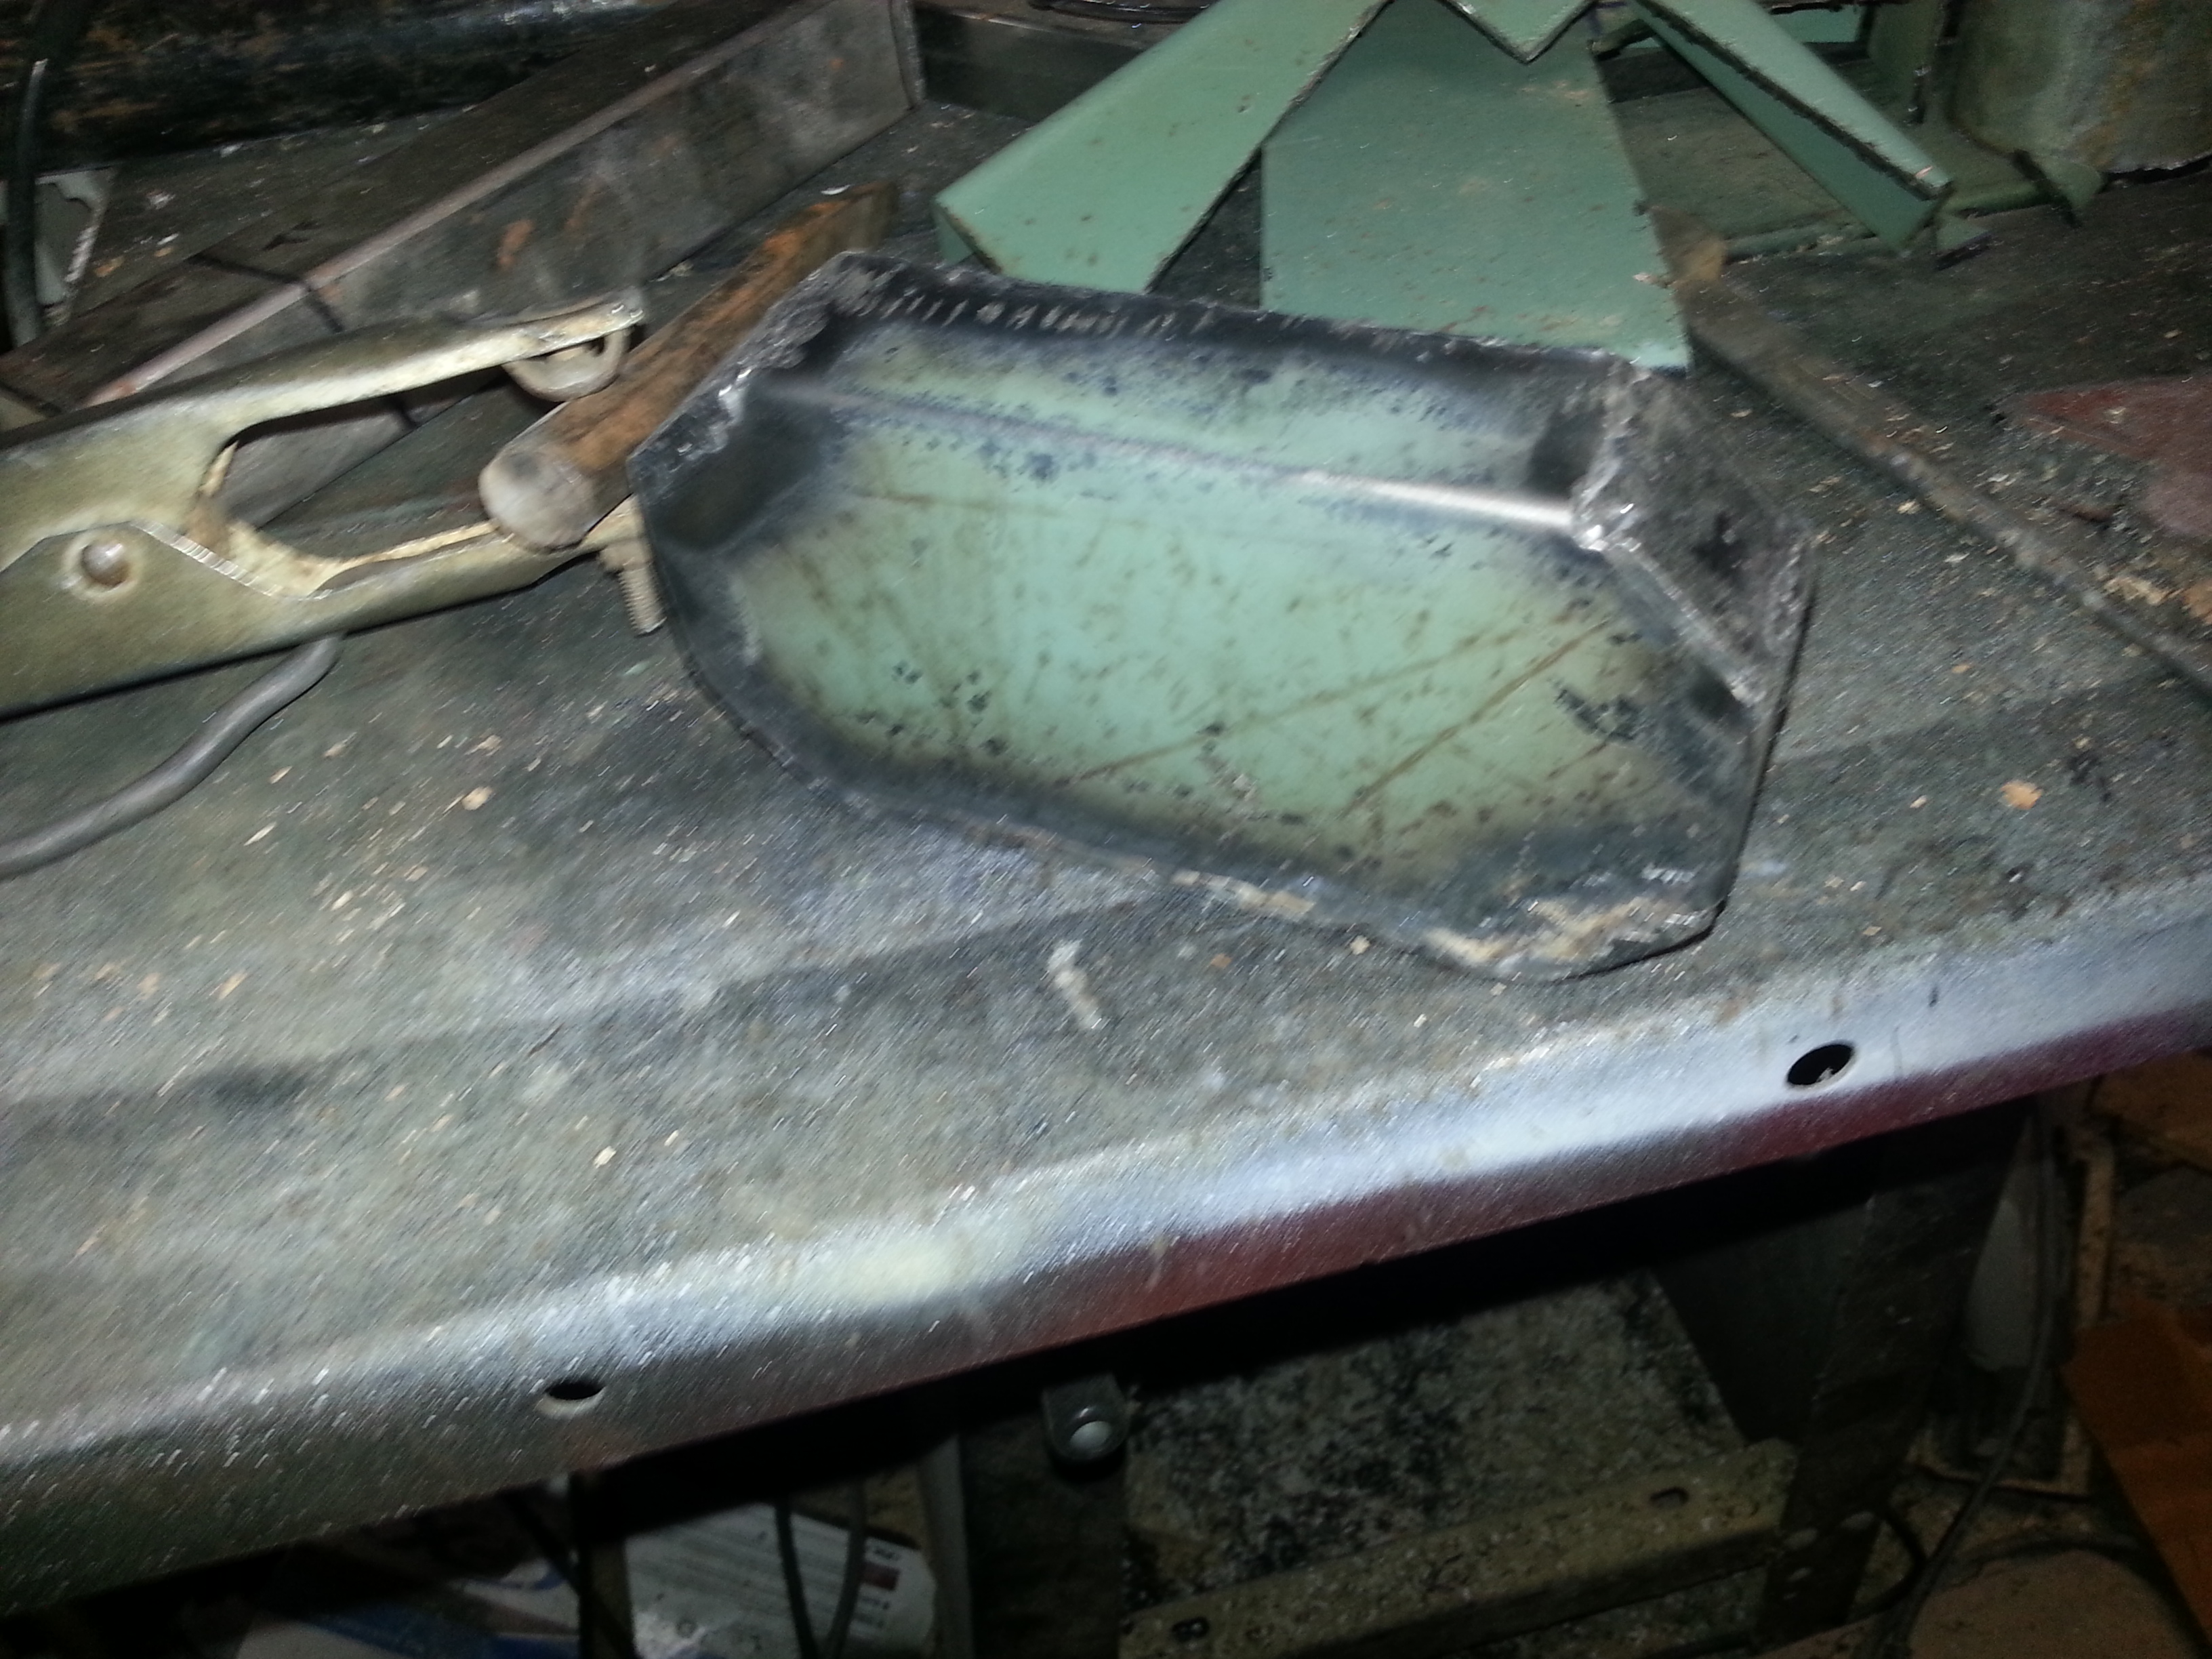
Here’s what I have so far…obviously some more welding and cleanup to do.
20140129_085500 20140128_234555 20140128_234622-1

First look Mockup

Got the frame tacked together, and set it up to get a feel for what it’s going to look like. So far, looking pretty cool.

20140124_21534120140124_215356


I also began some work on the rear end.  This will be tricky because the tubing will hide the drive chains and jackshafts, so I’m trying to consider all this as I go.

20140126_195517

Front end and Frame

The front end is nearing completion for what I can do at this point.  The wood dowel is where the pivot bolt will be (note the bearings and UHMW bearing retainers are not in place for the pic).  The shock mounts will be added to the front ends pivot tube later when I can better figure out the required angle.

20140114_233526

Also cut out the sides of the frame.  Just need to clamp them together and touch them up with the grinder to make them identical and make a nice round curve on the front where they attach to the pivot tube.  Then I can really begin welding the frame together there, and to the rear section of the frame.

20140121_202558-1

More front end

Welded the front fork tube to the connecting box, and prepared the piece that attaches the box to the pivot point tube.  Some of the dimensions like pipe diameter, thickness of the box etc are not truly to scale, but are a compromise for strength, I care more about being strong, than perfect dimension/scale of every component.

20140113_214523

Traced the frame shapes onto some sheet steel..

20140113_235603


Also, not related to what I’m doing now, but here’s the powerplant for the project I got a deal on from a friend.  50cc 2-stroke pocket-bike motor with centrifugal clutch, exhaust, gas tank, and even some sprockets on a jackshaft.

20140110_083417-1

Some front-end work

I got a 1/25 scale model of the Batpod today, which is super handy cause that is 1/10th the size of the 2/5 scale I’m making, so I can measure stuff on the model, multiply by 10, and that’s how big it should be for my scale.

First off, here’s the pivot area of the chassis on the actual batpod, so the parts I’m making will make more sense.
FrontPivot

I finished the main tube pivot pieces:
20140111_003406
20140111_003357

Then I started on working on the box that connects the front “fork” tube to the pivot point. The green metal is some old brackets I had laying around, so I used them to save myself a few welds and to have 4 of the 8 edges be nice smooth edges. Need a lot of grinding cleanup, and some bondo smoothing down the road.
20140112_11211520140112_11223920140112_135525

Chassis step 1

First step, is to make the main pivot point of the chassis. I fashioned some UHMW pieces to hold the bearings, but the washers inside the tube will also support the pivot bolt under stresses when the UHMW is compressed. Should make for some smooth pivoting action.

pivotDiagram

pivotComb2

Cardboard mockup #1

Here goes. A 2/5 scale Batpod, based on the large wheeled motorcycle Batman and Catwoman ride in the Dark Knight movies. It’s and interesting design, so I figure I’ll take a stab at it.

First up, the basic Cardboard mockup to get a feel for size etc.

Cardboard mockup #1