Drivetrain work

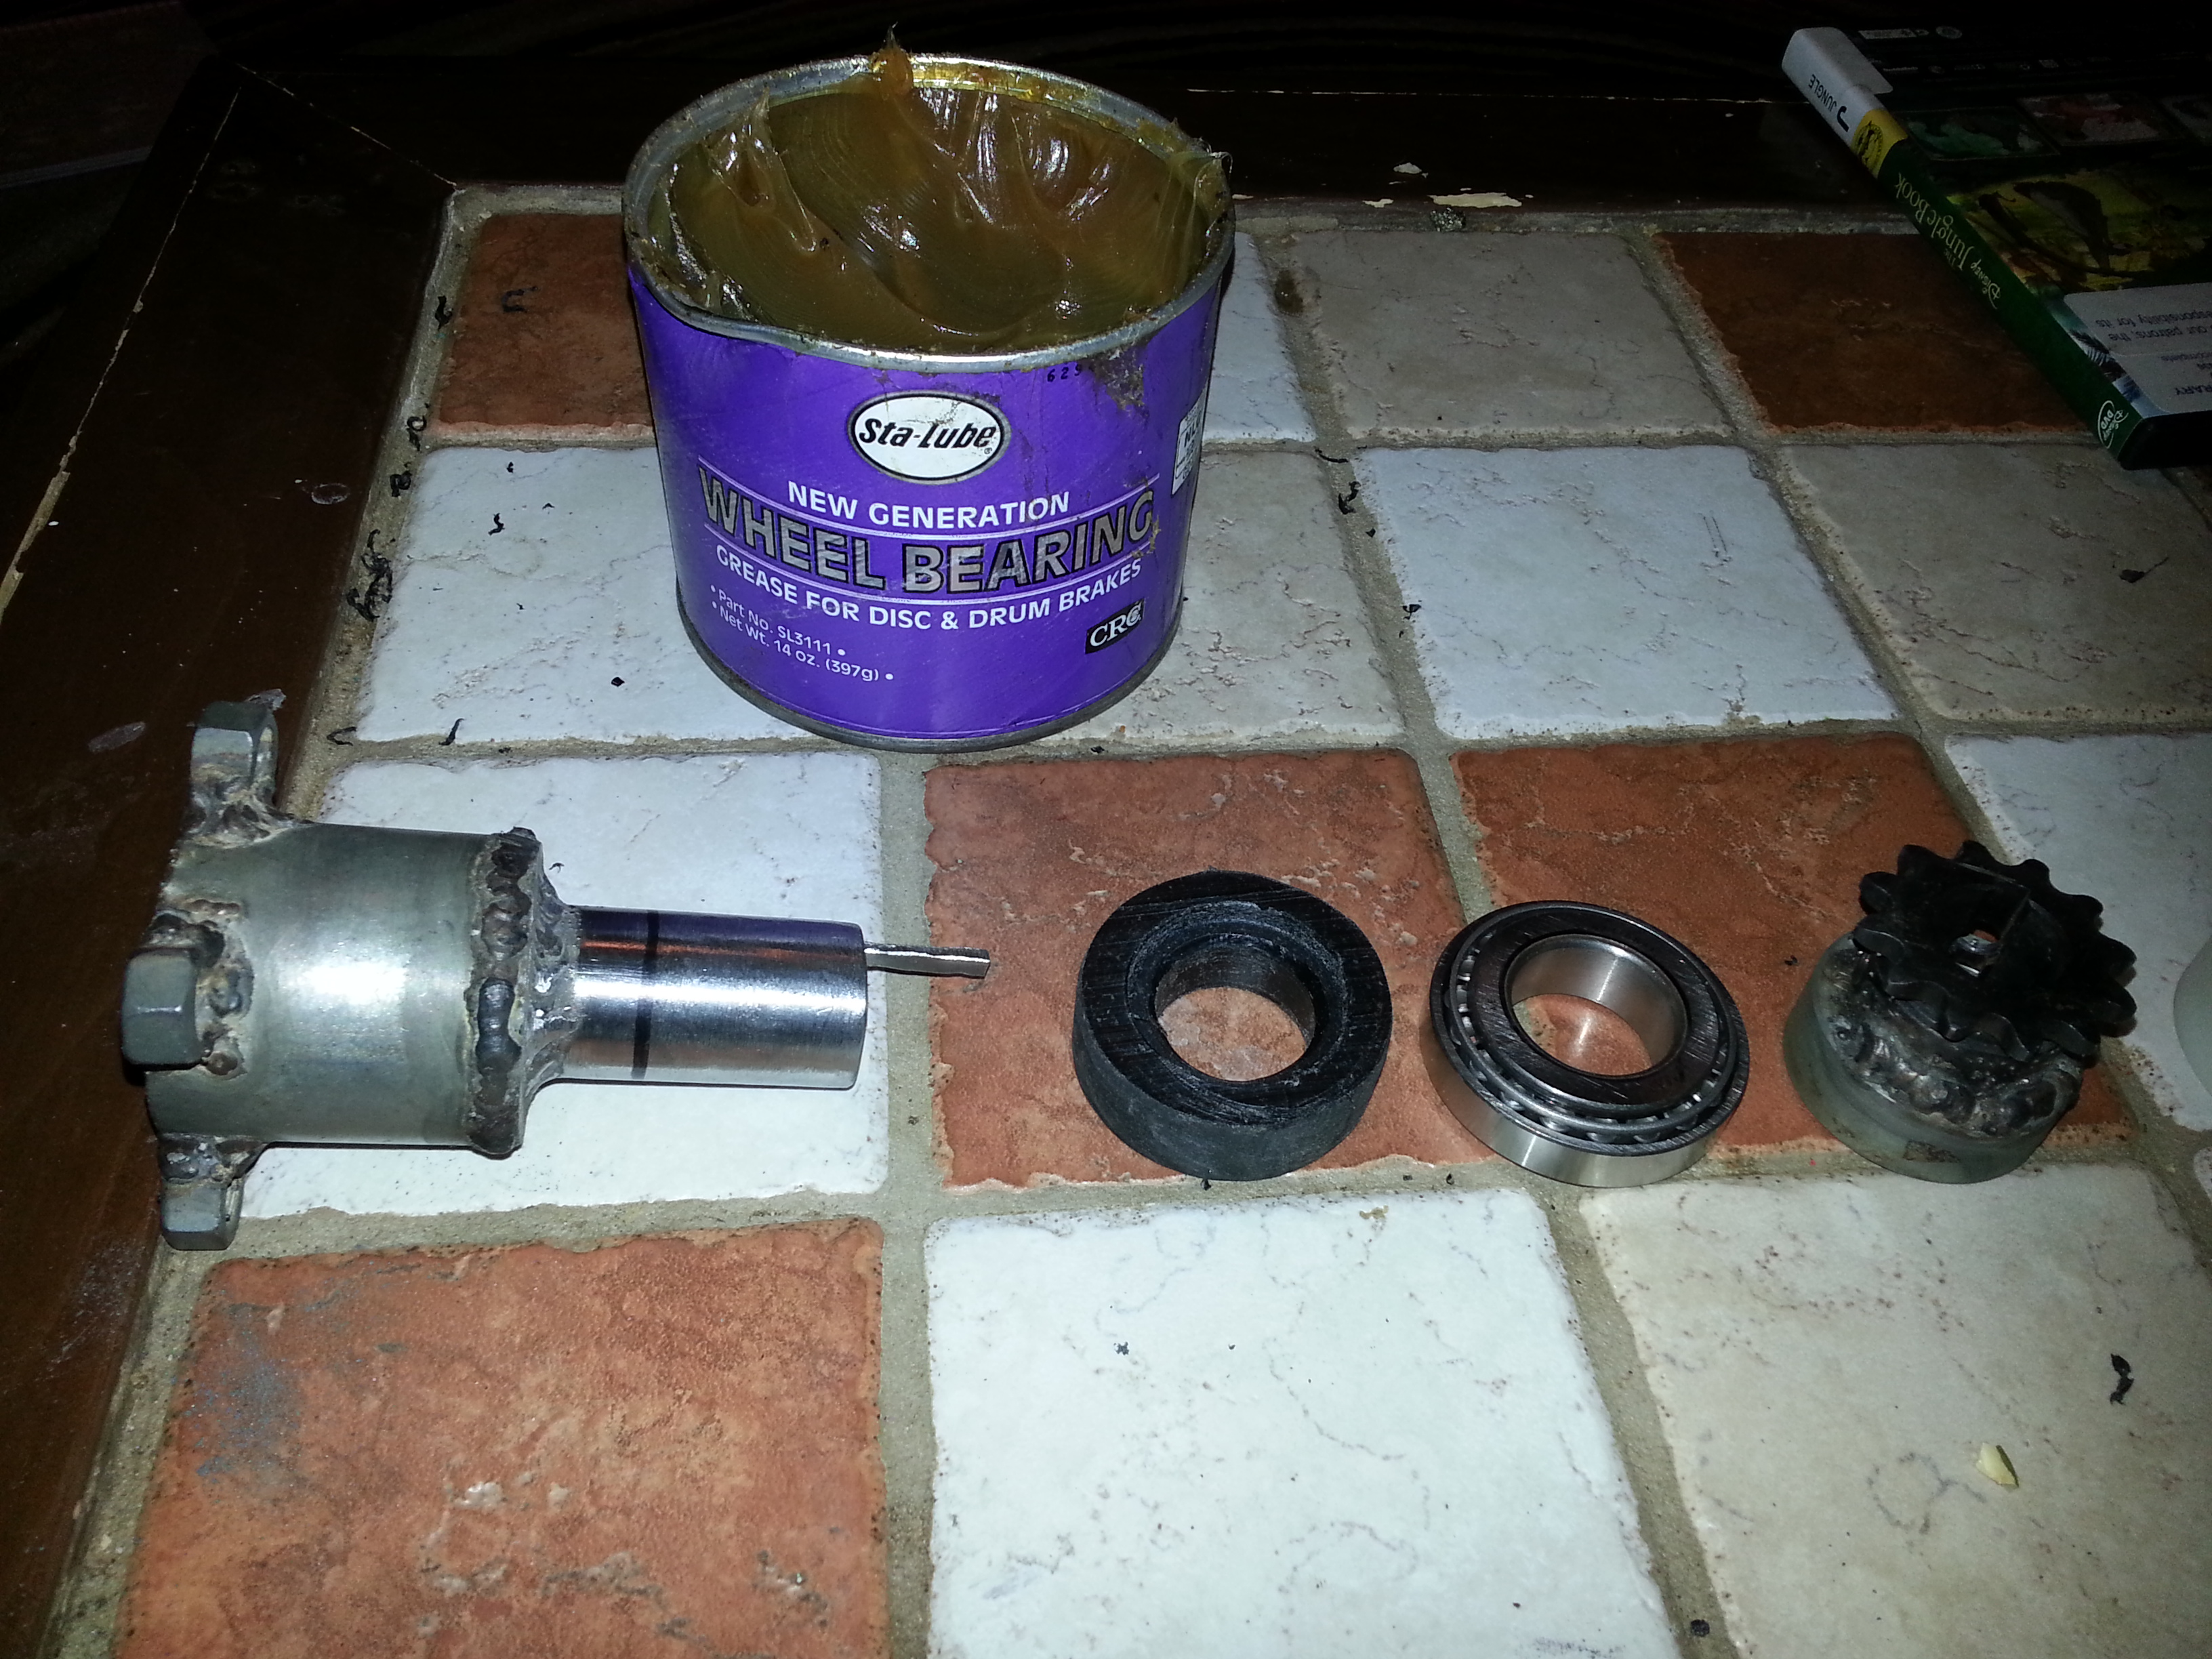
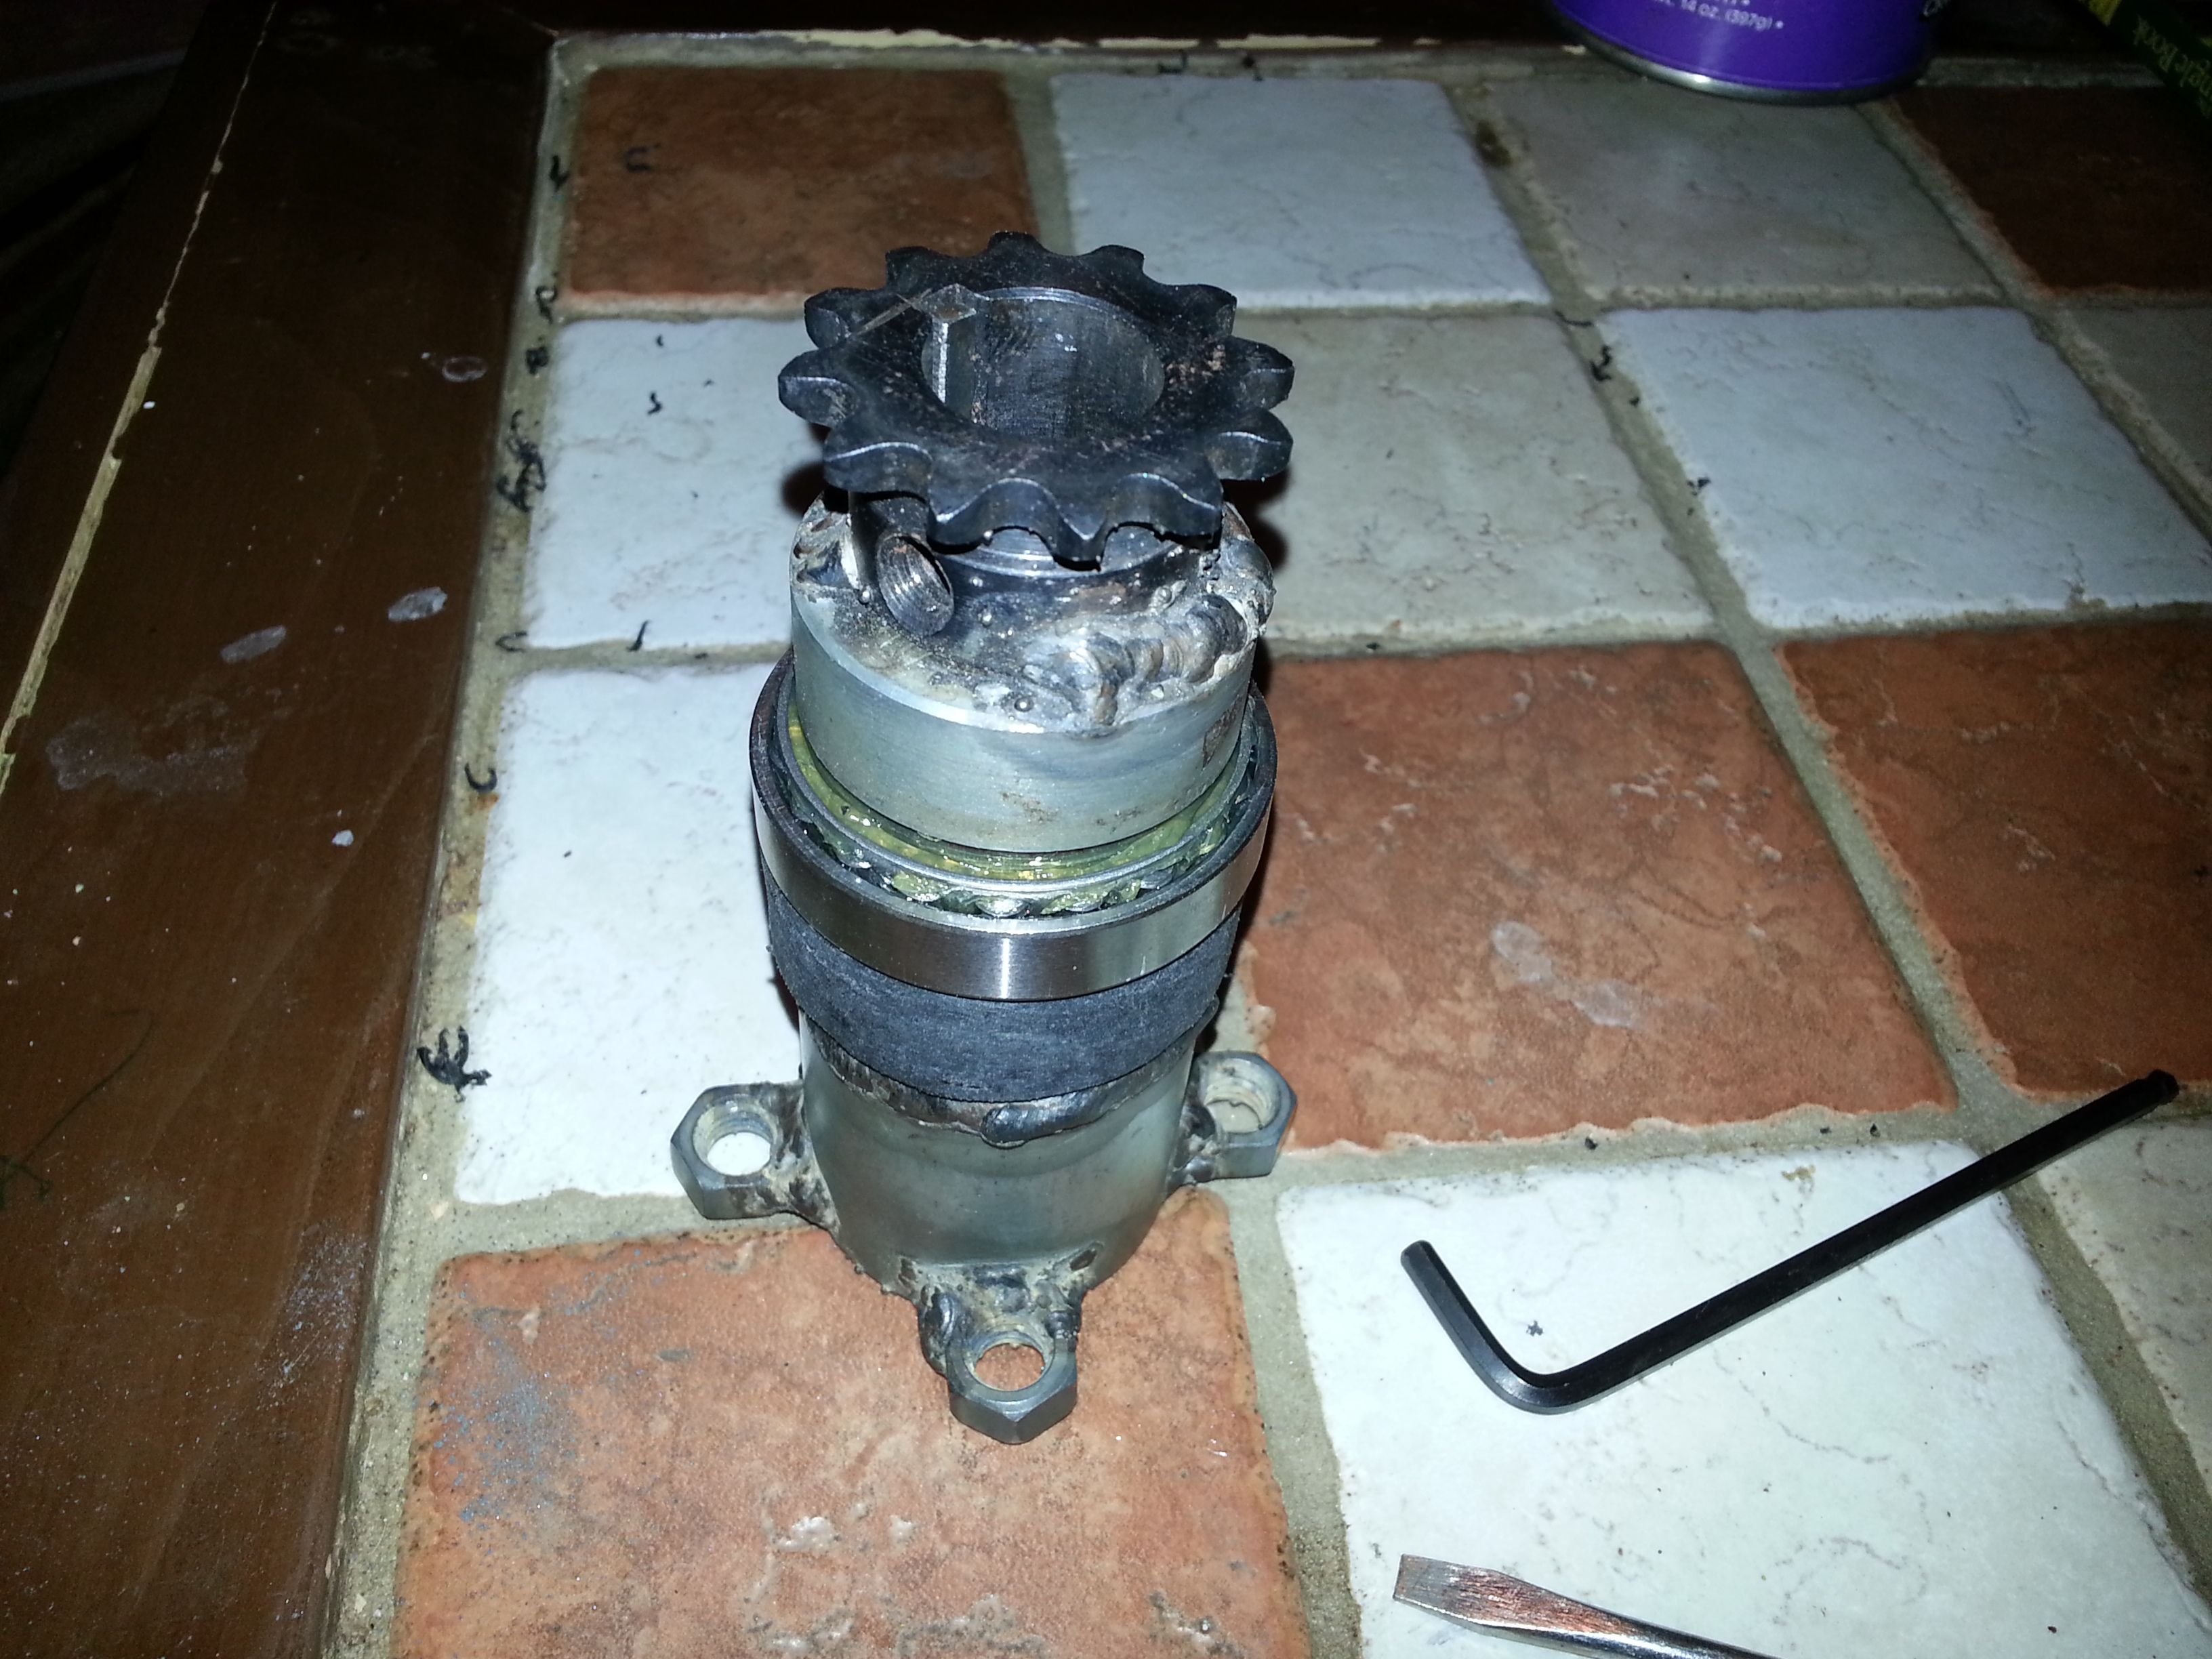
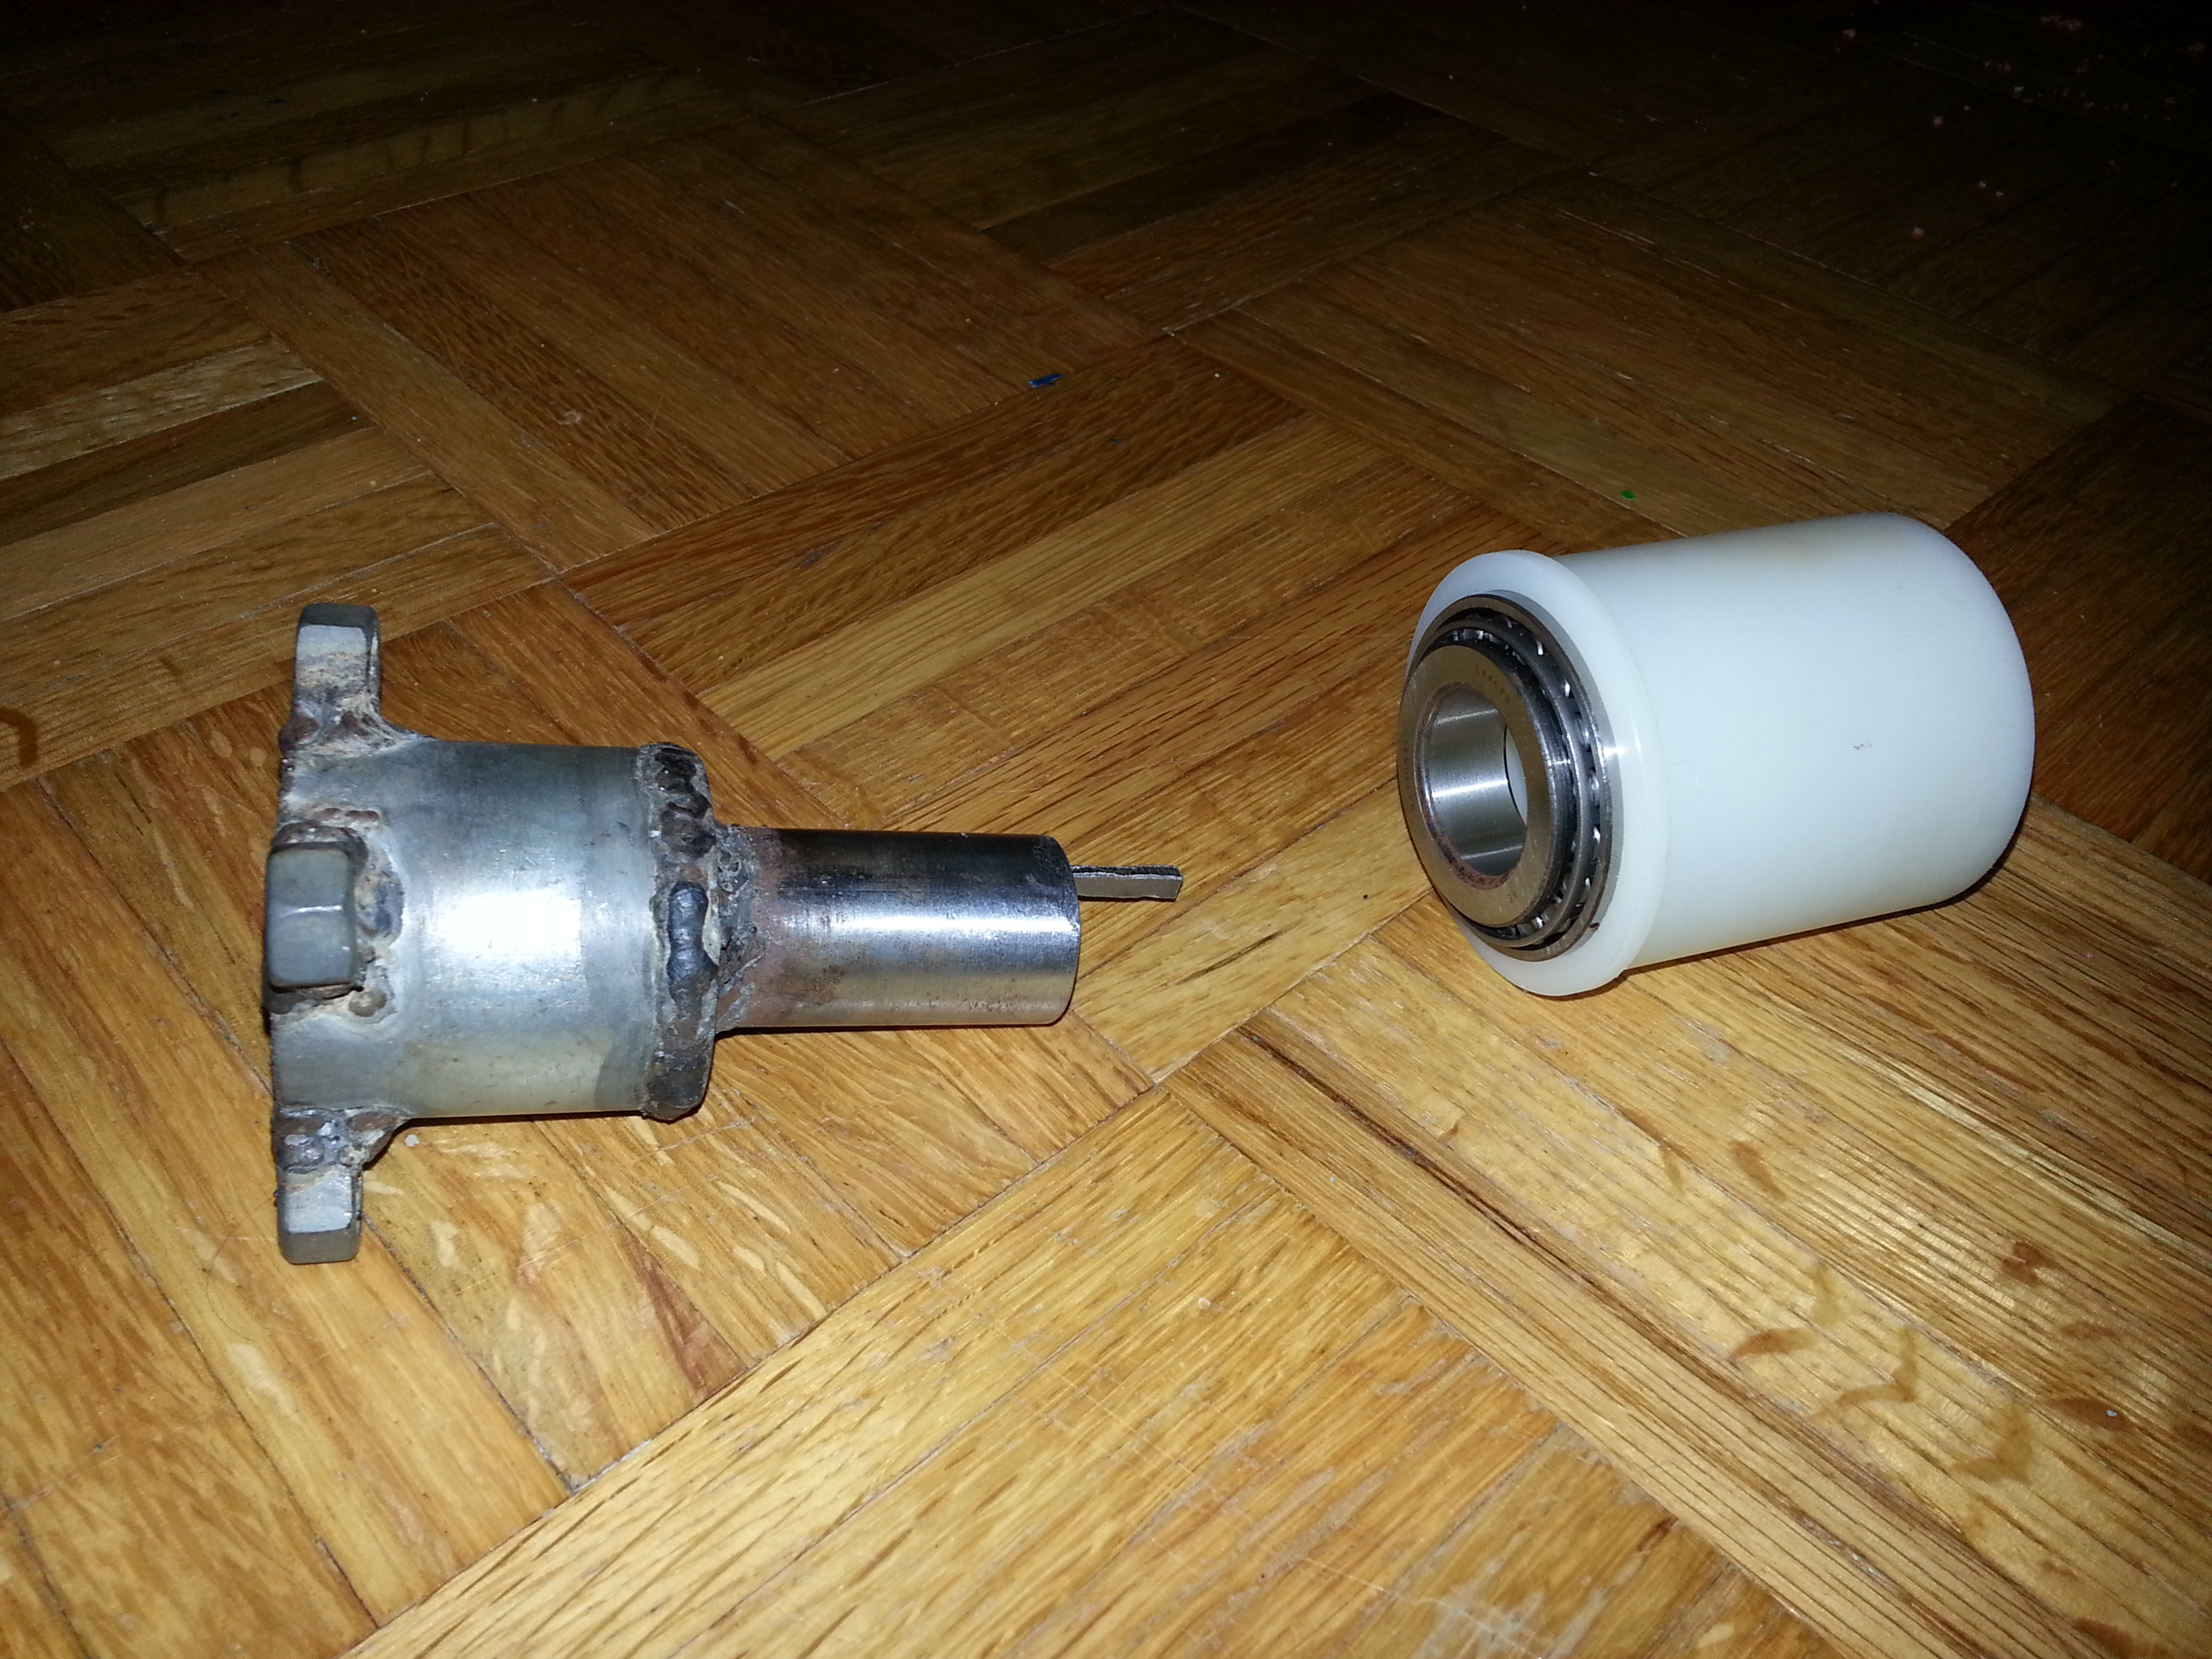
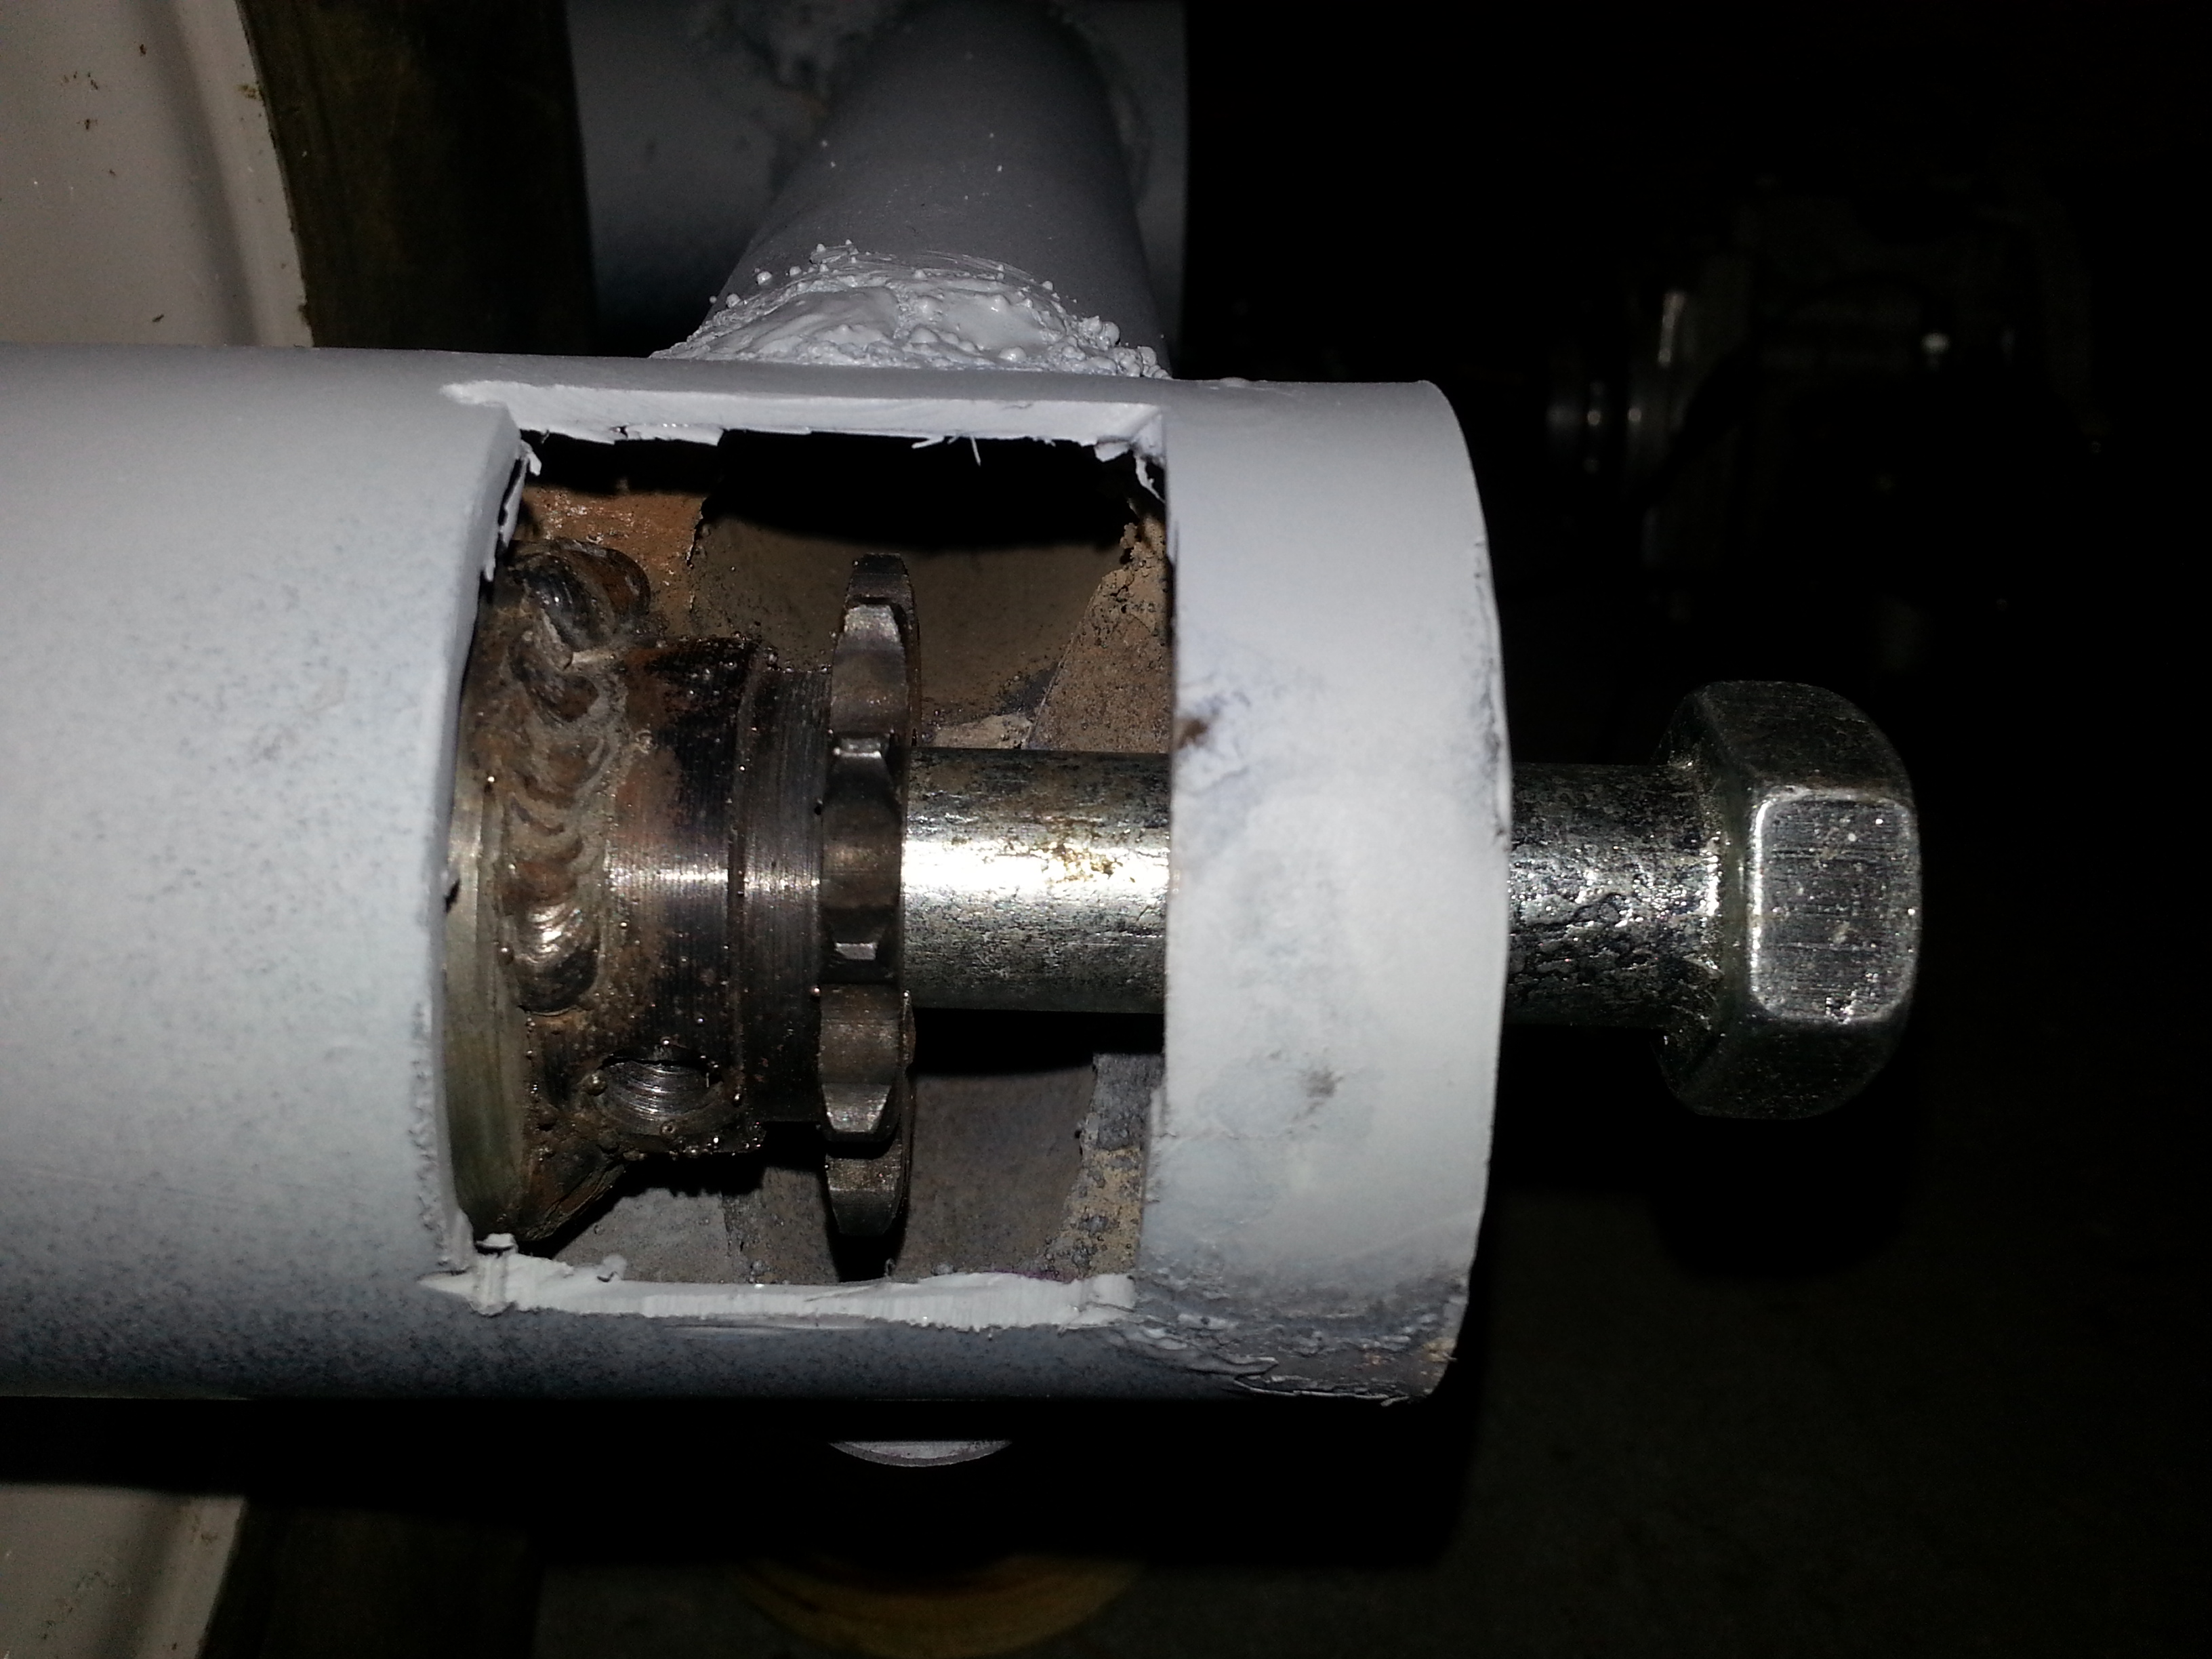
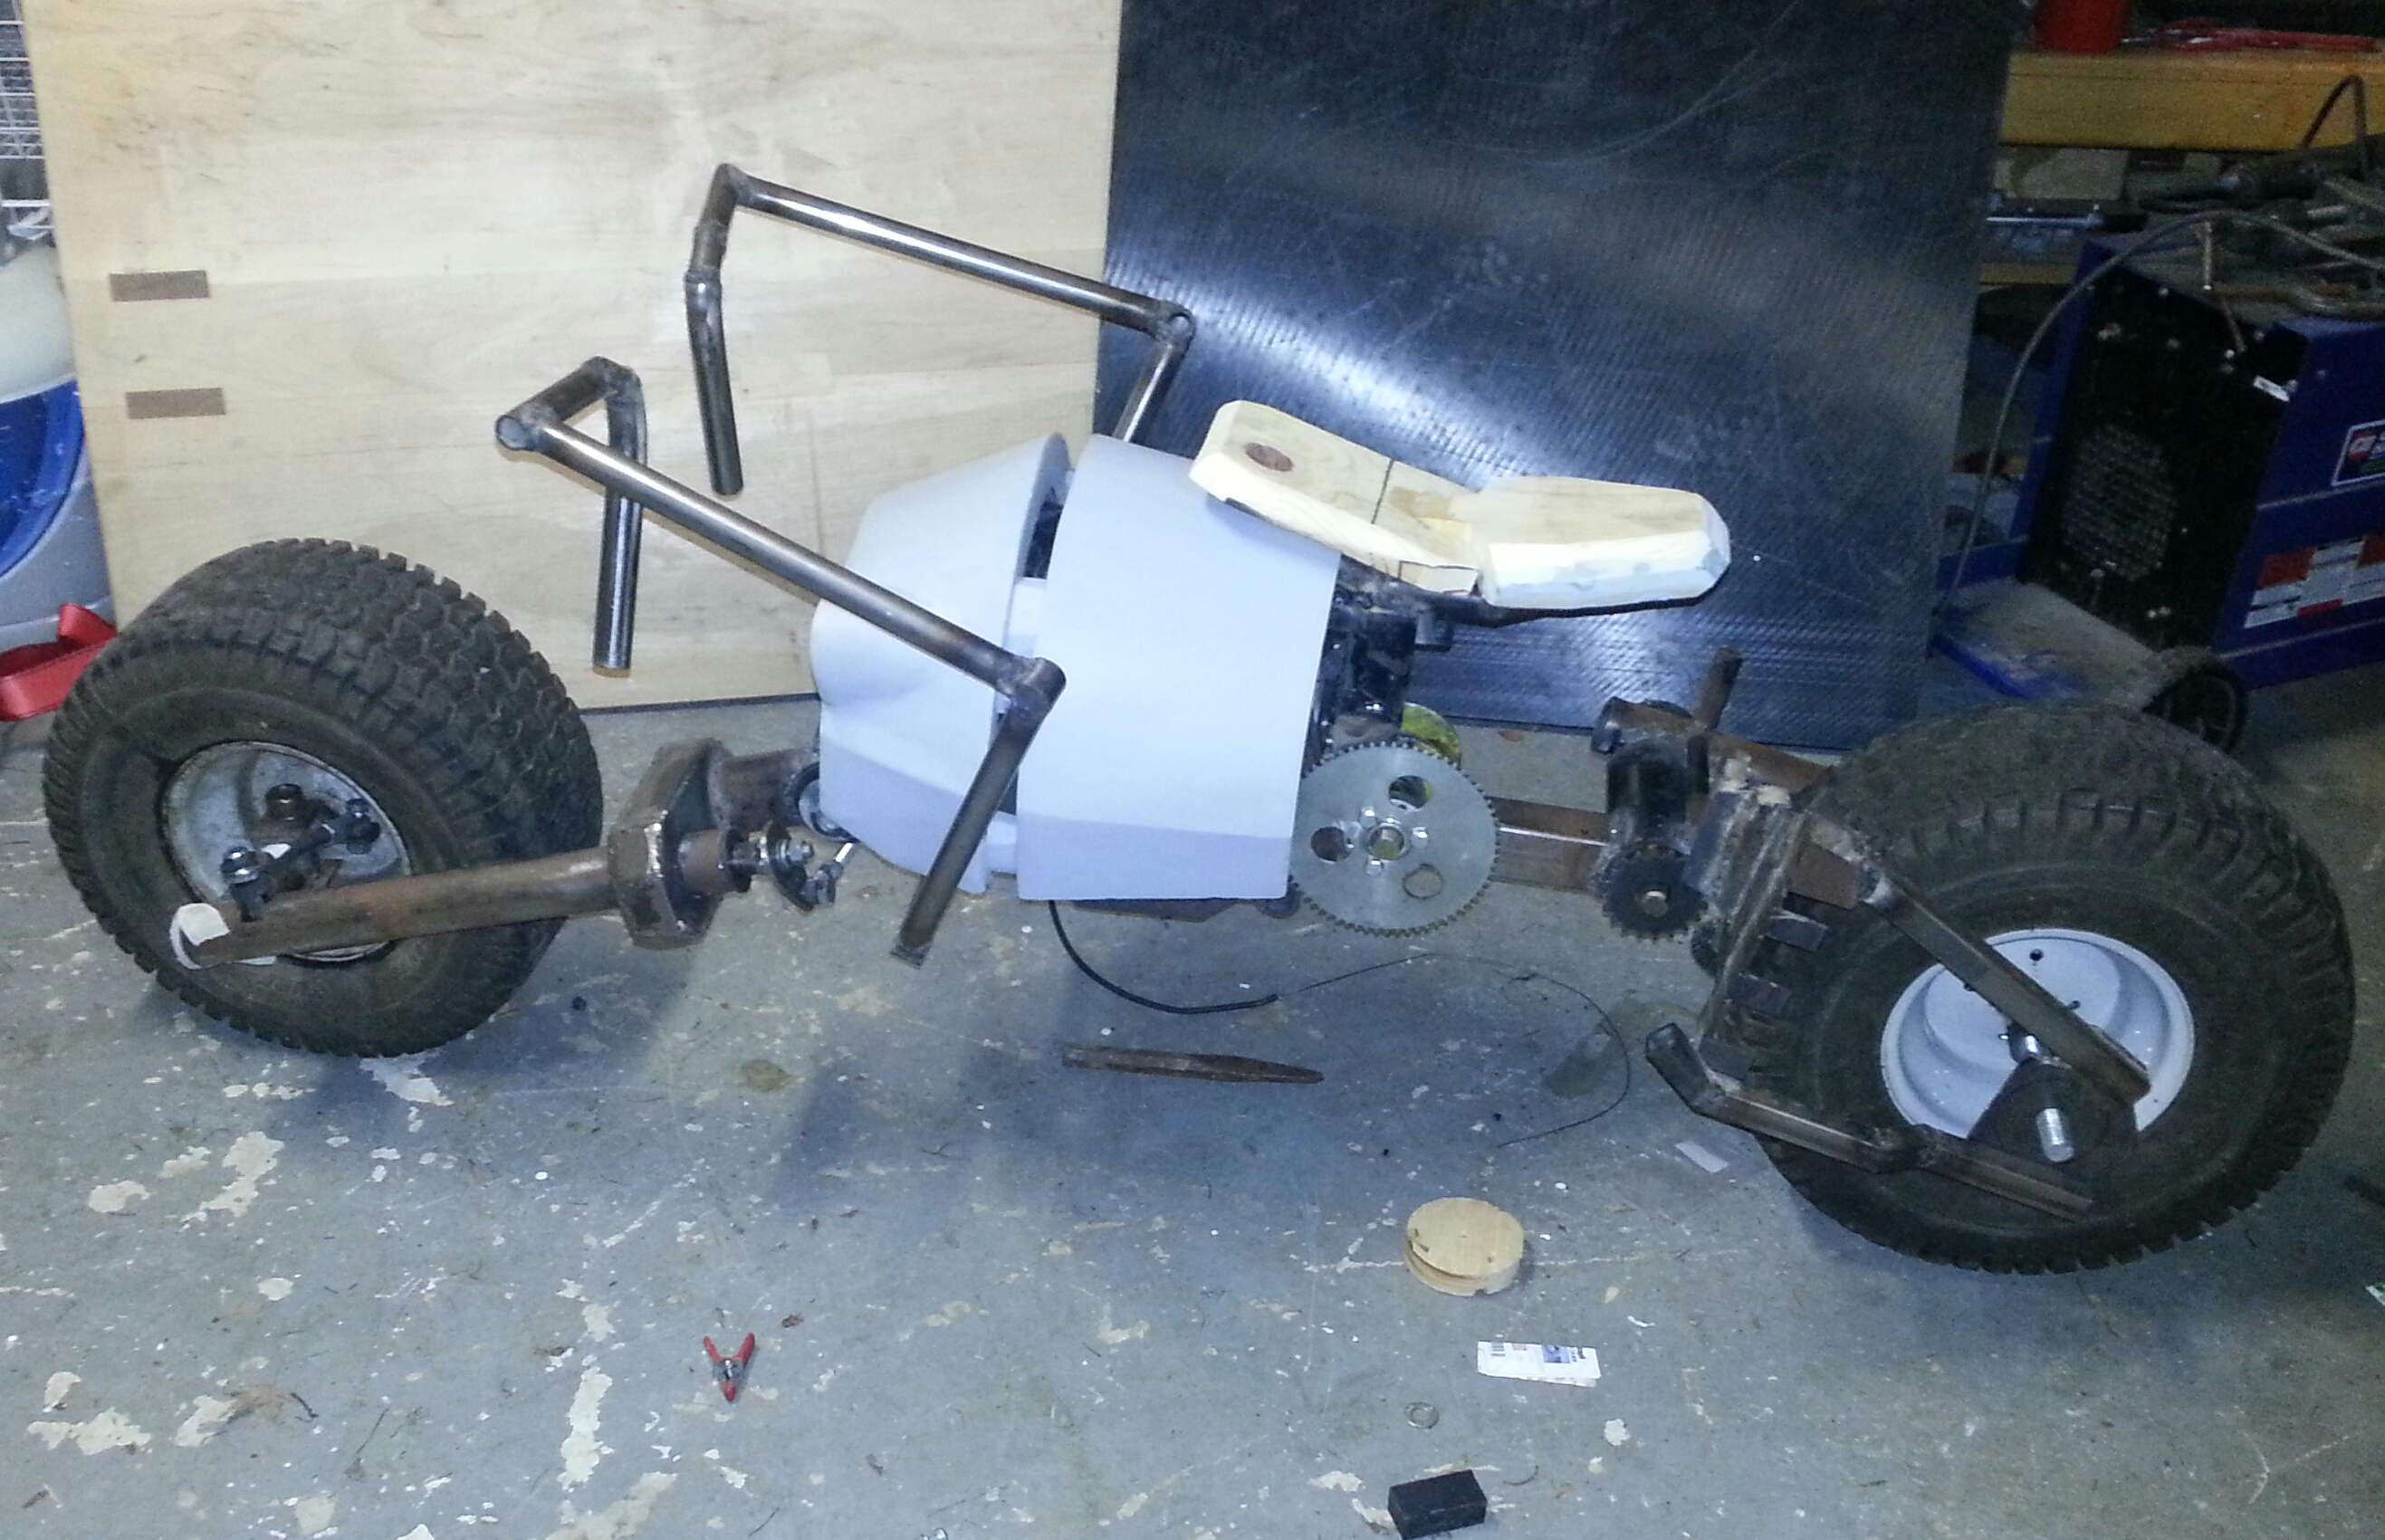
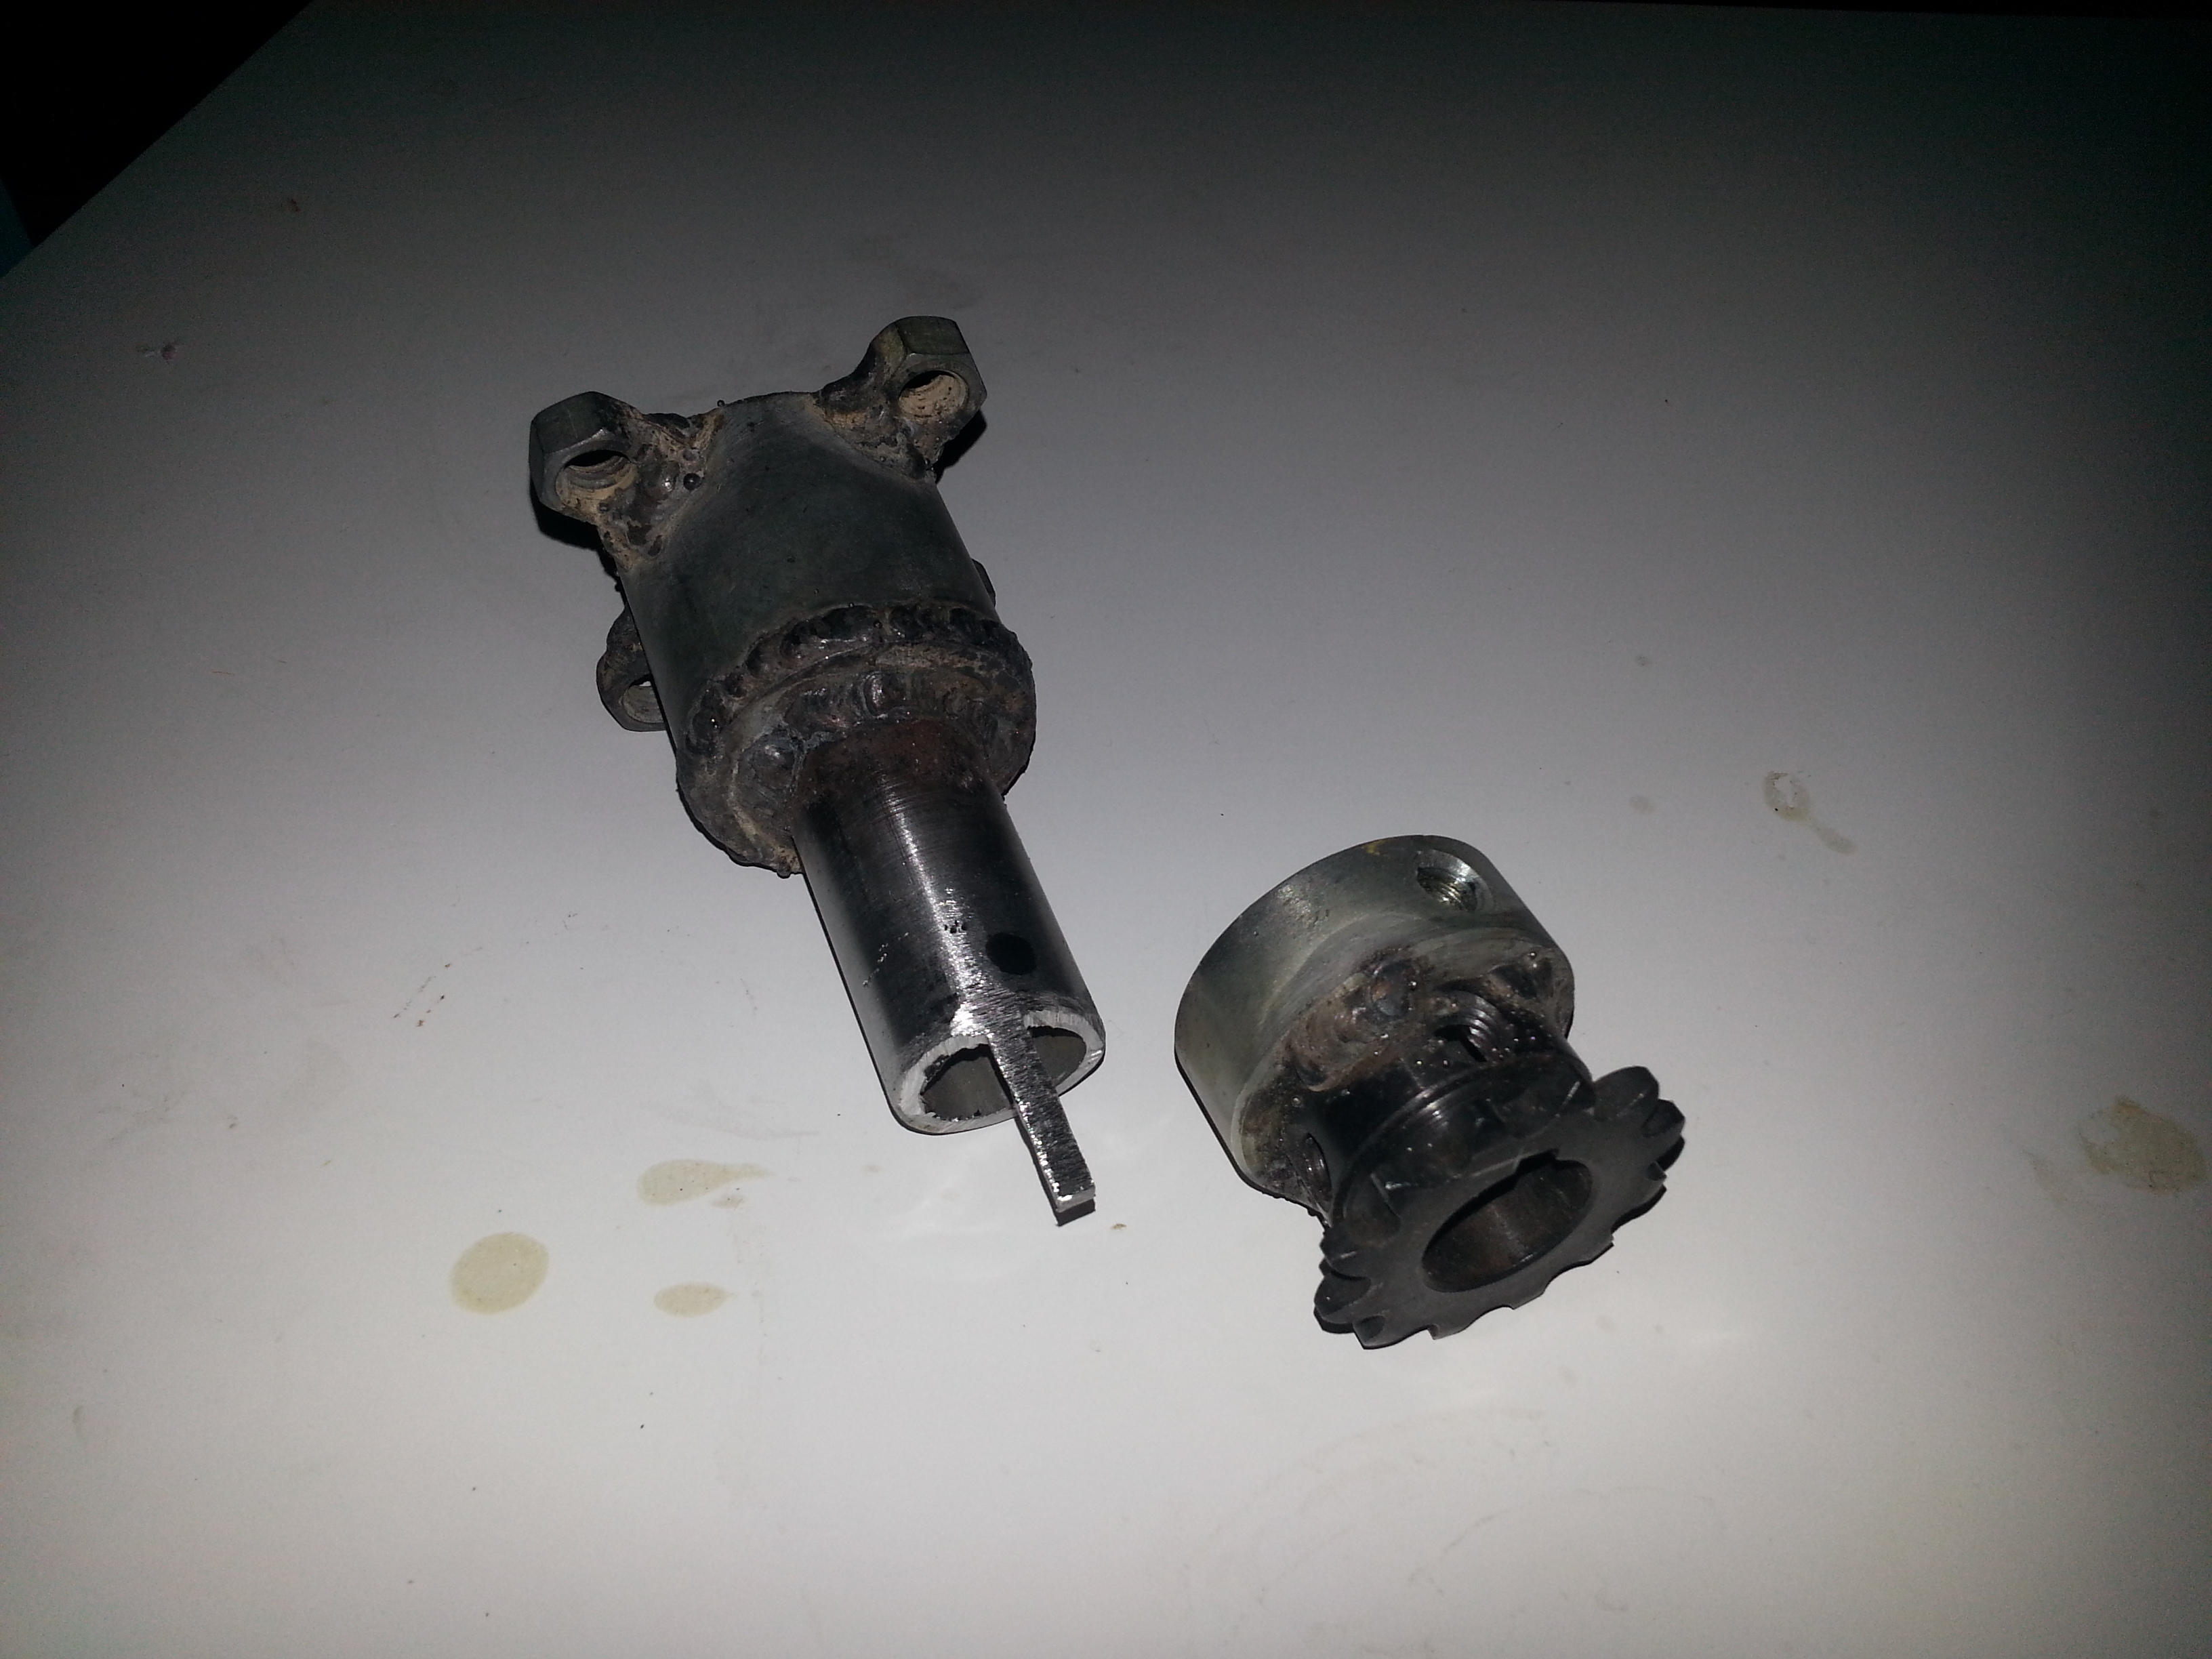
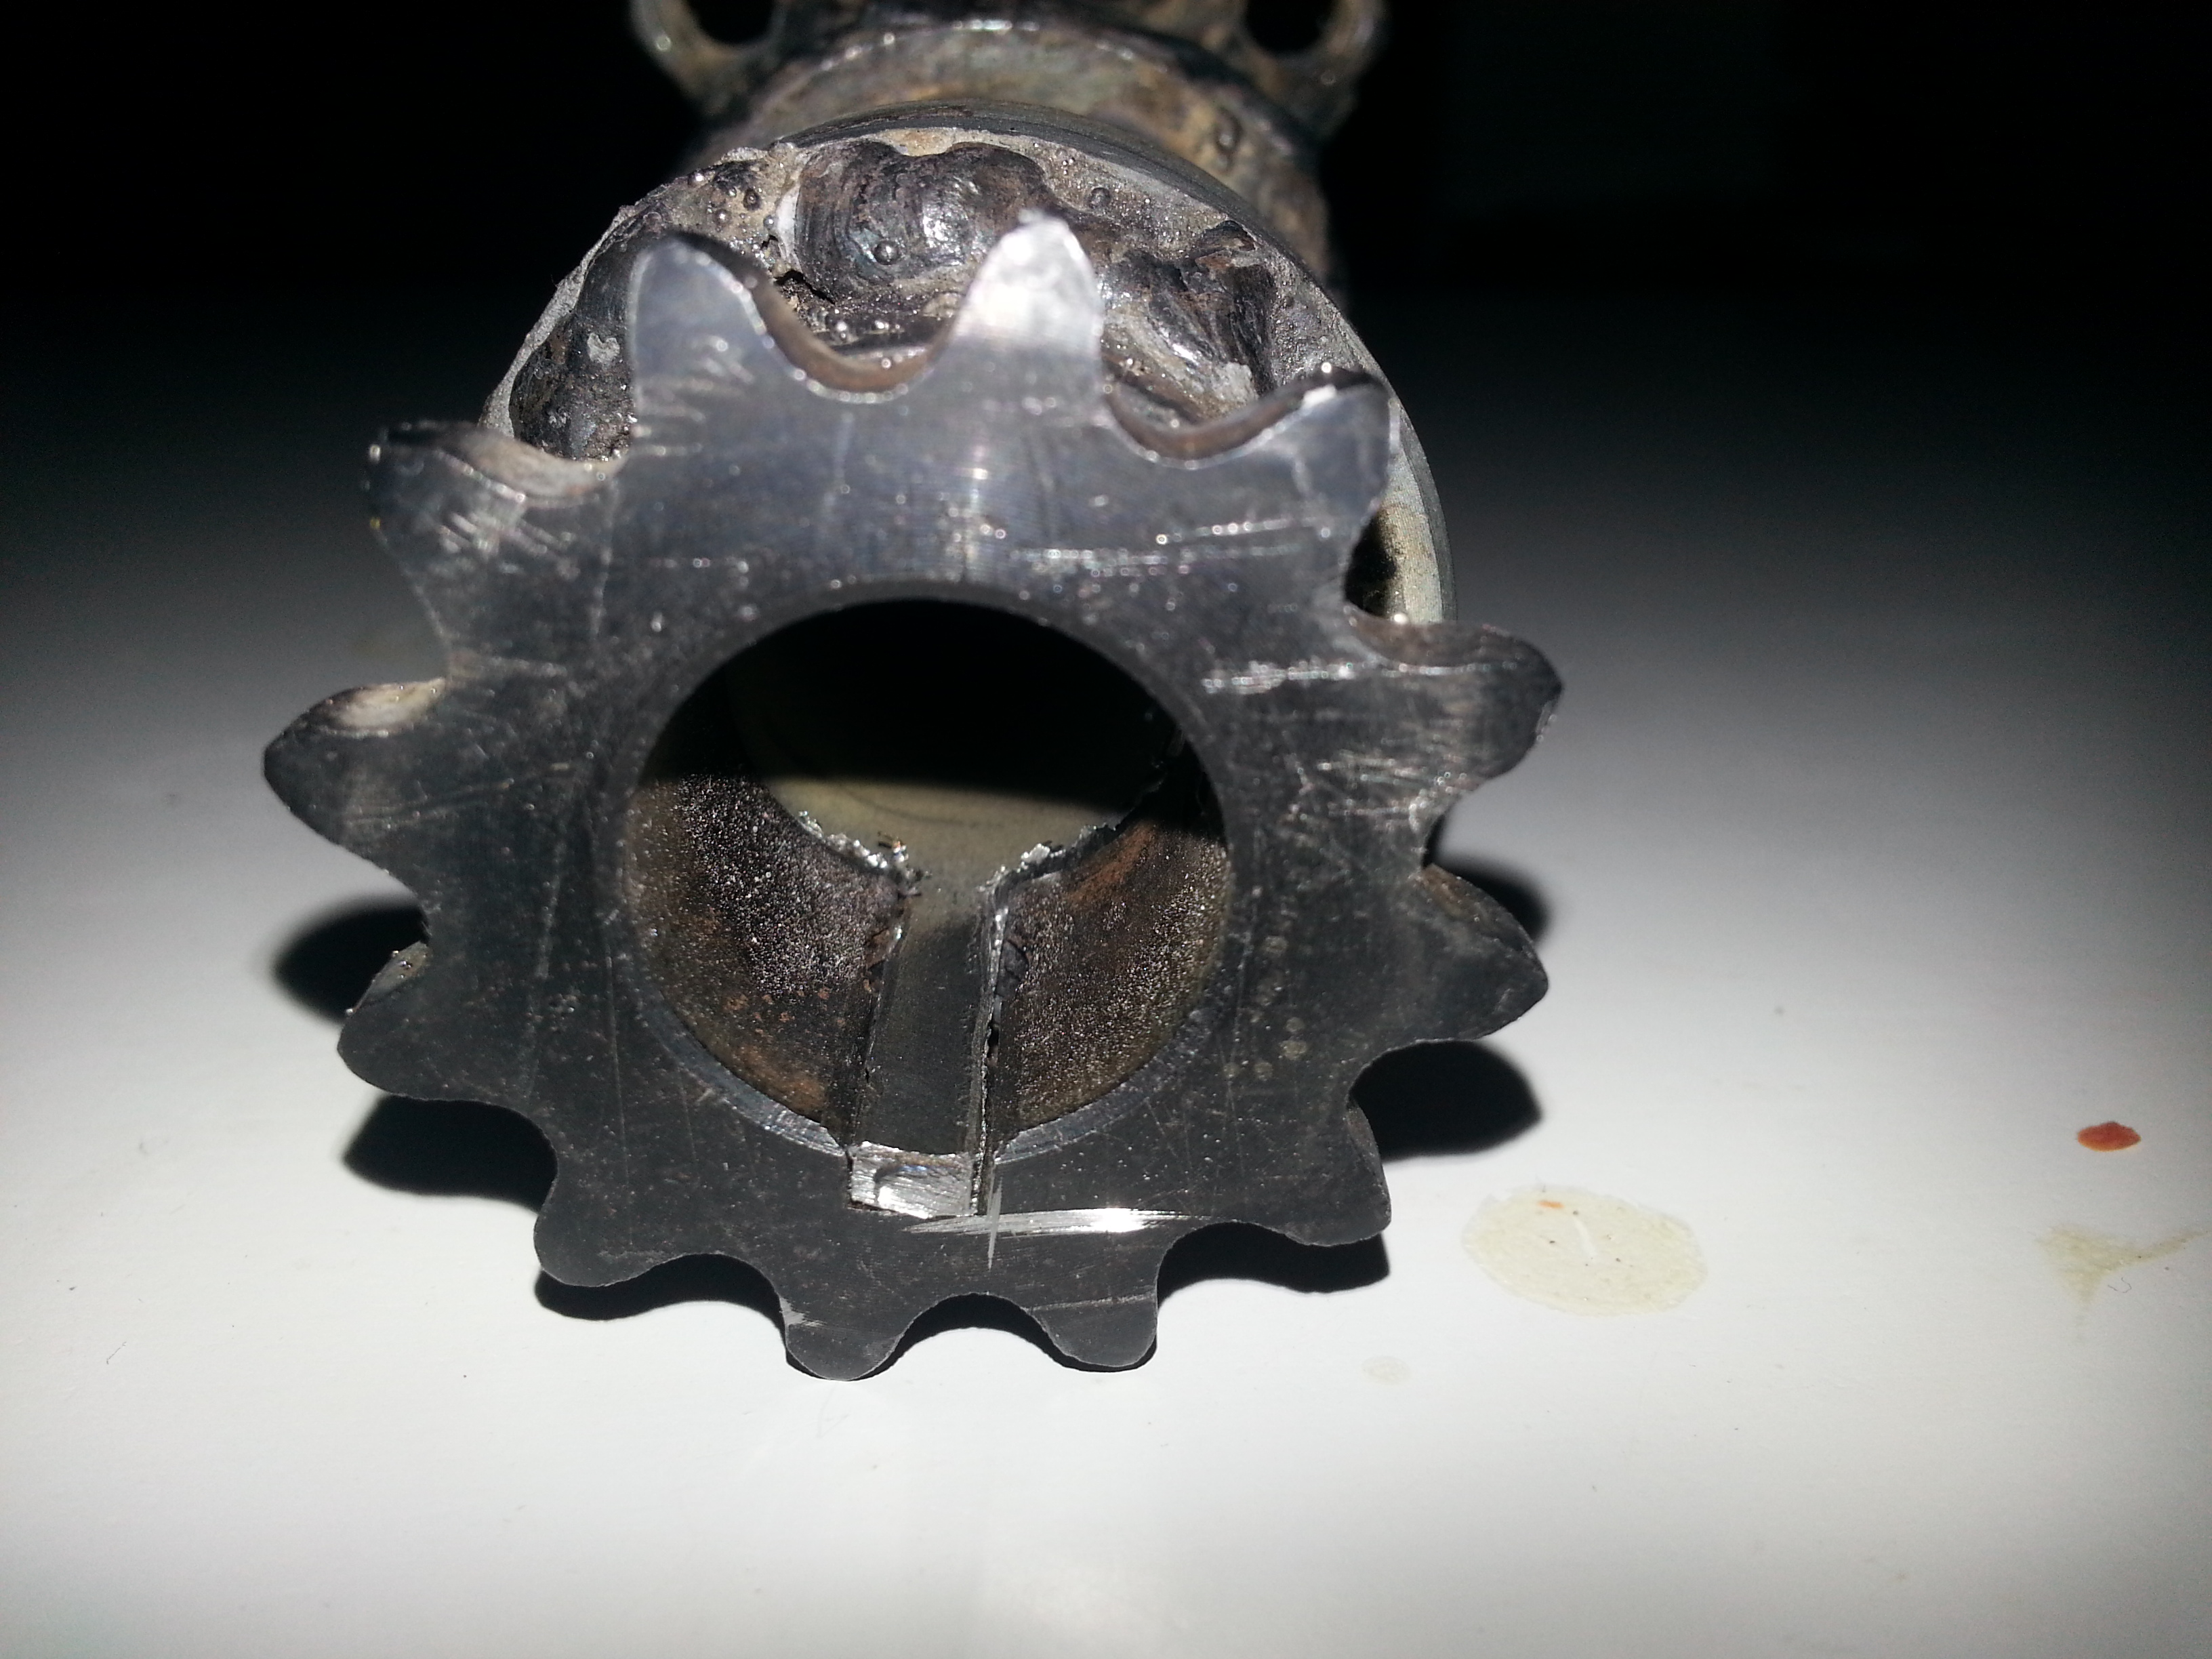
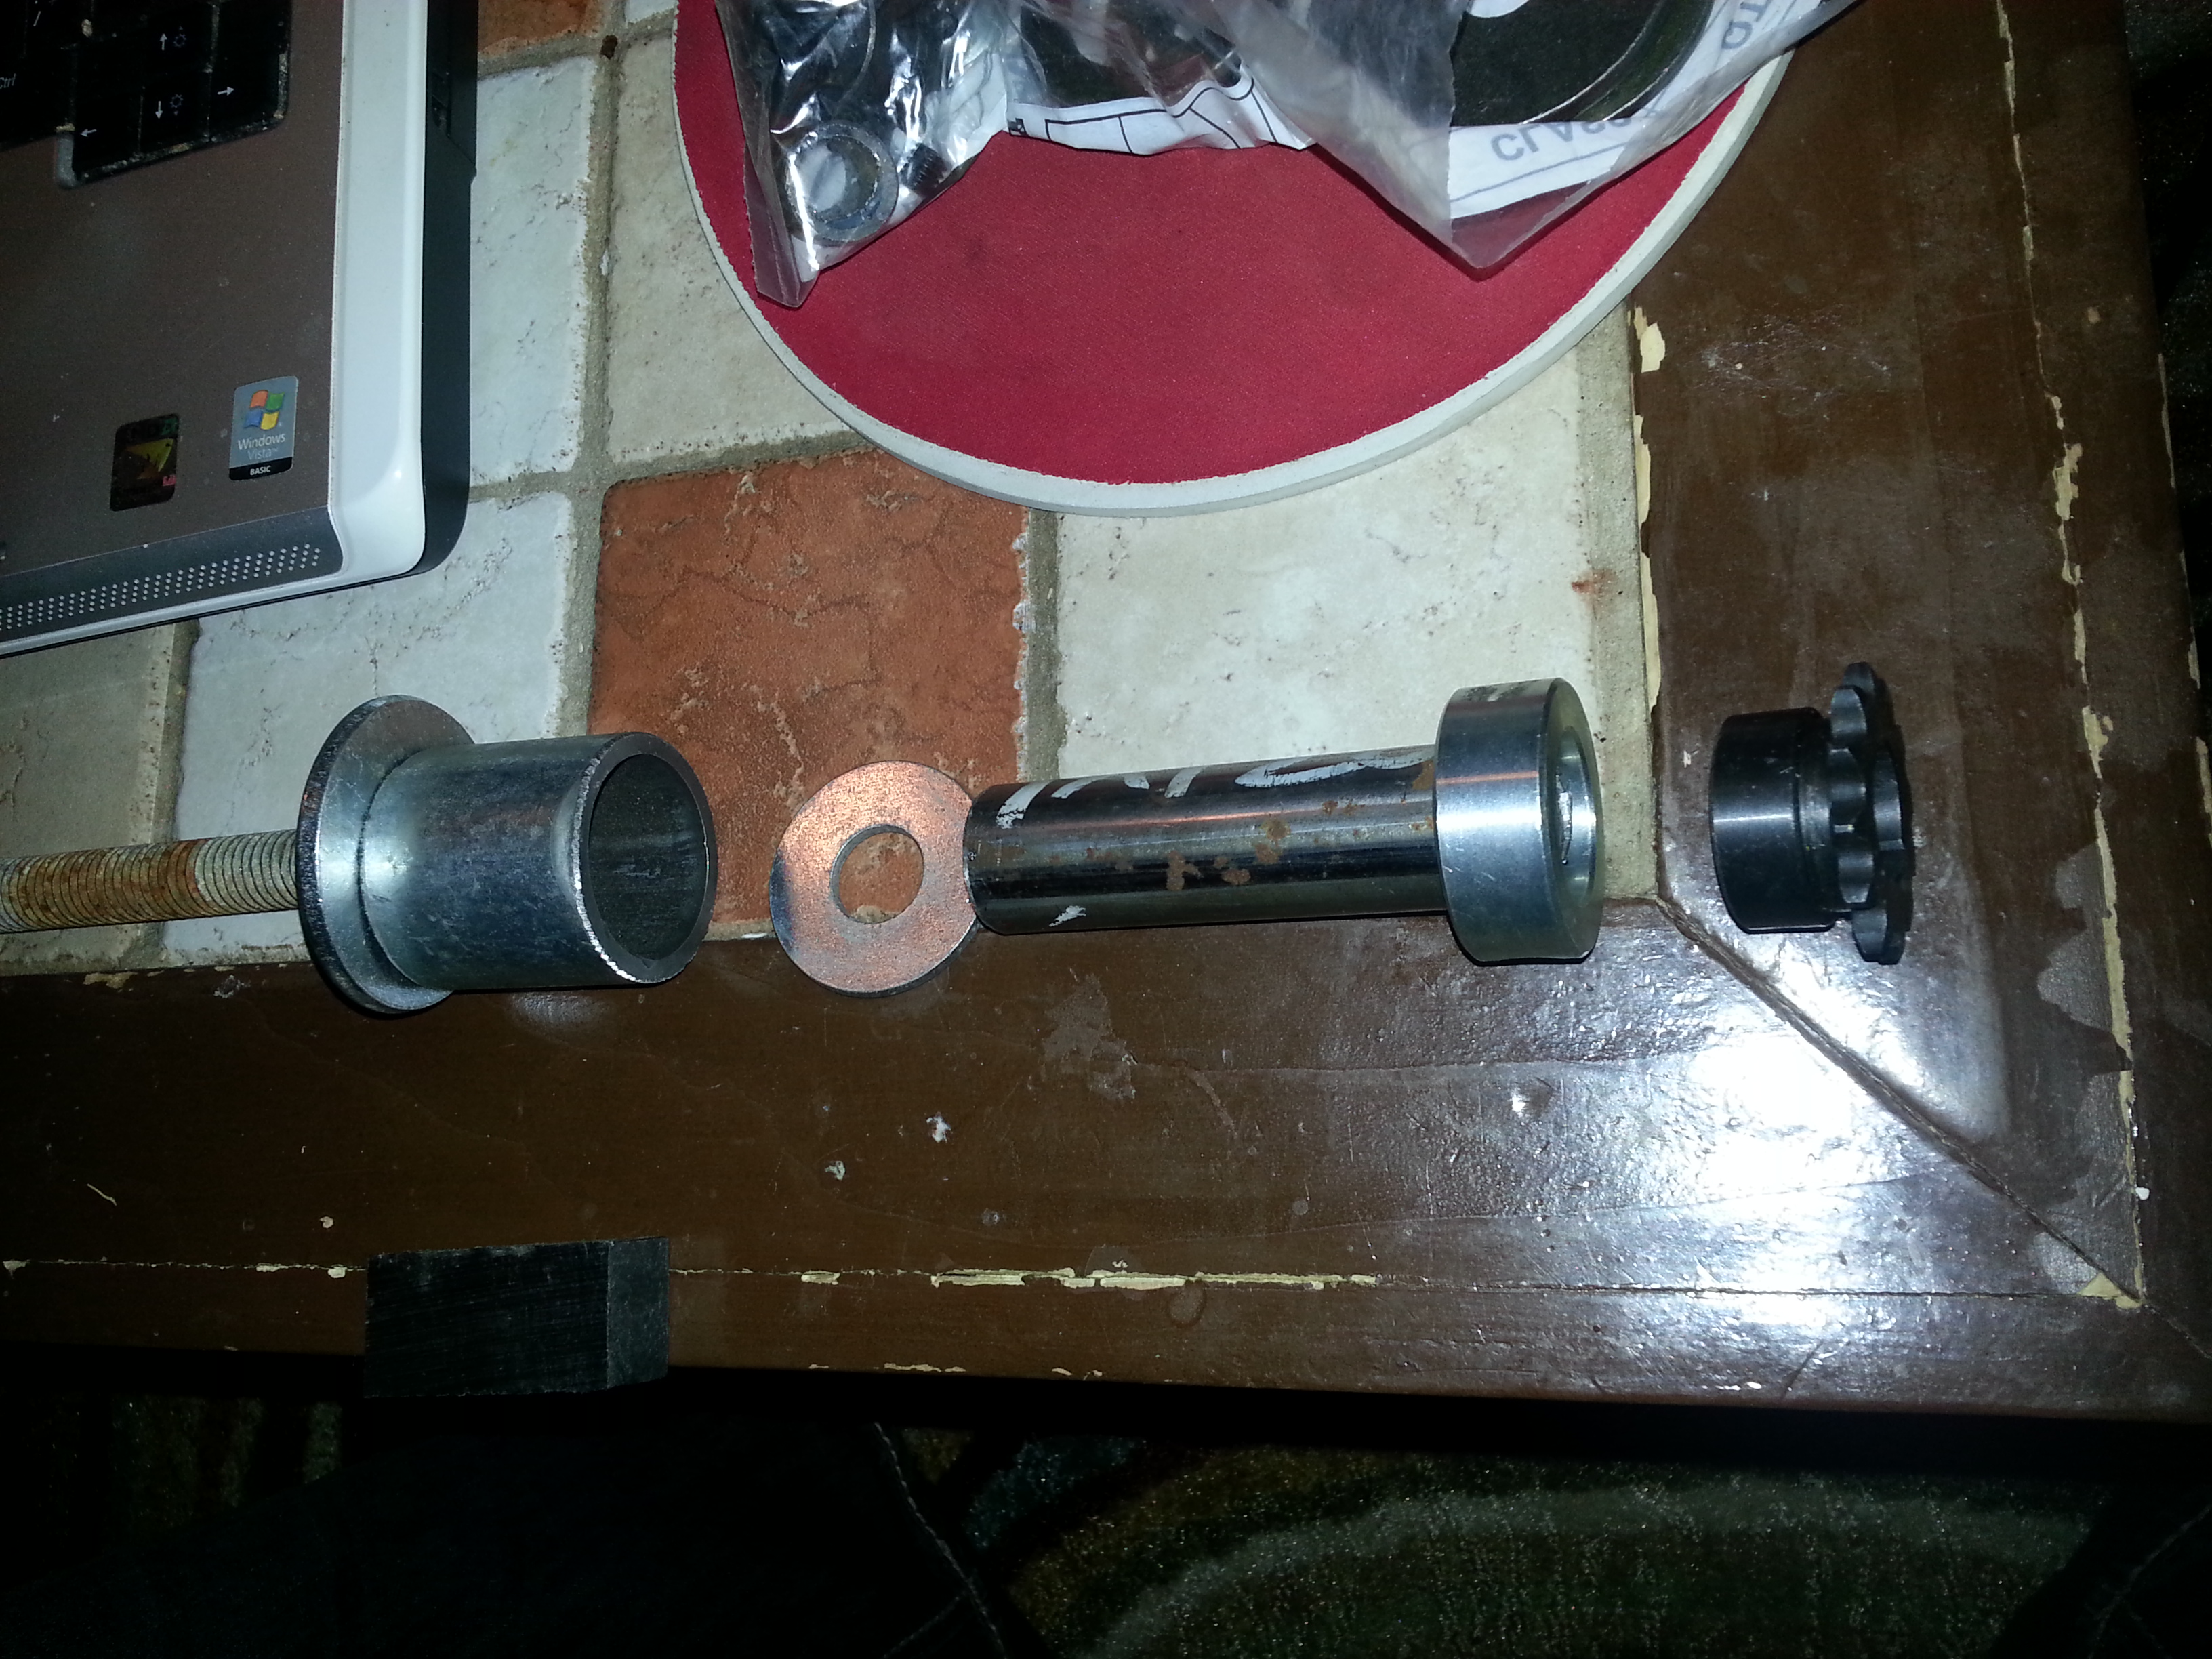
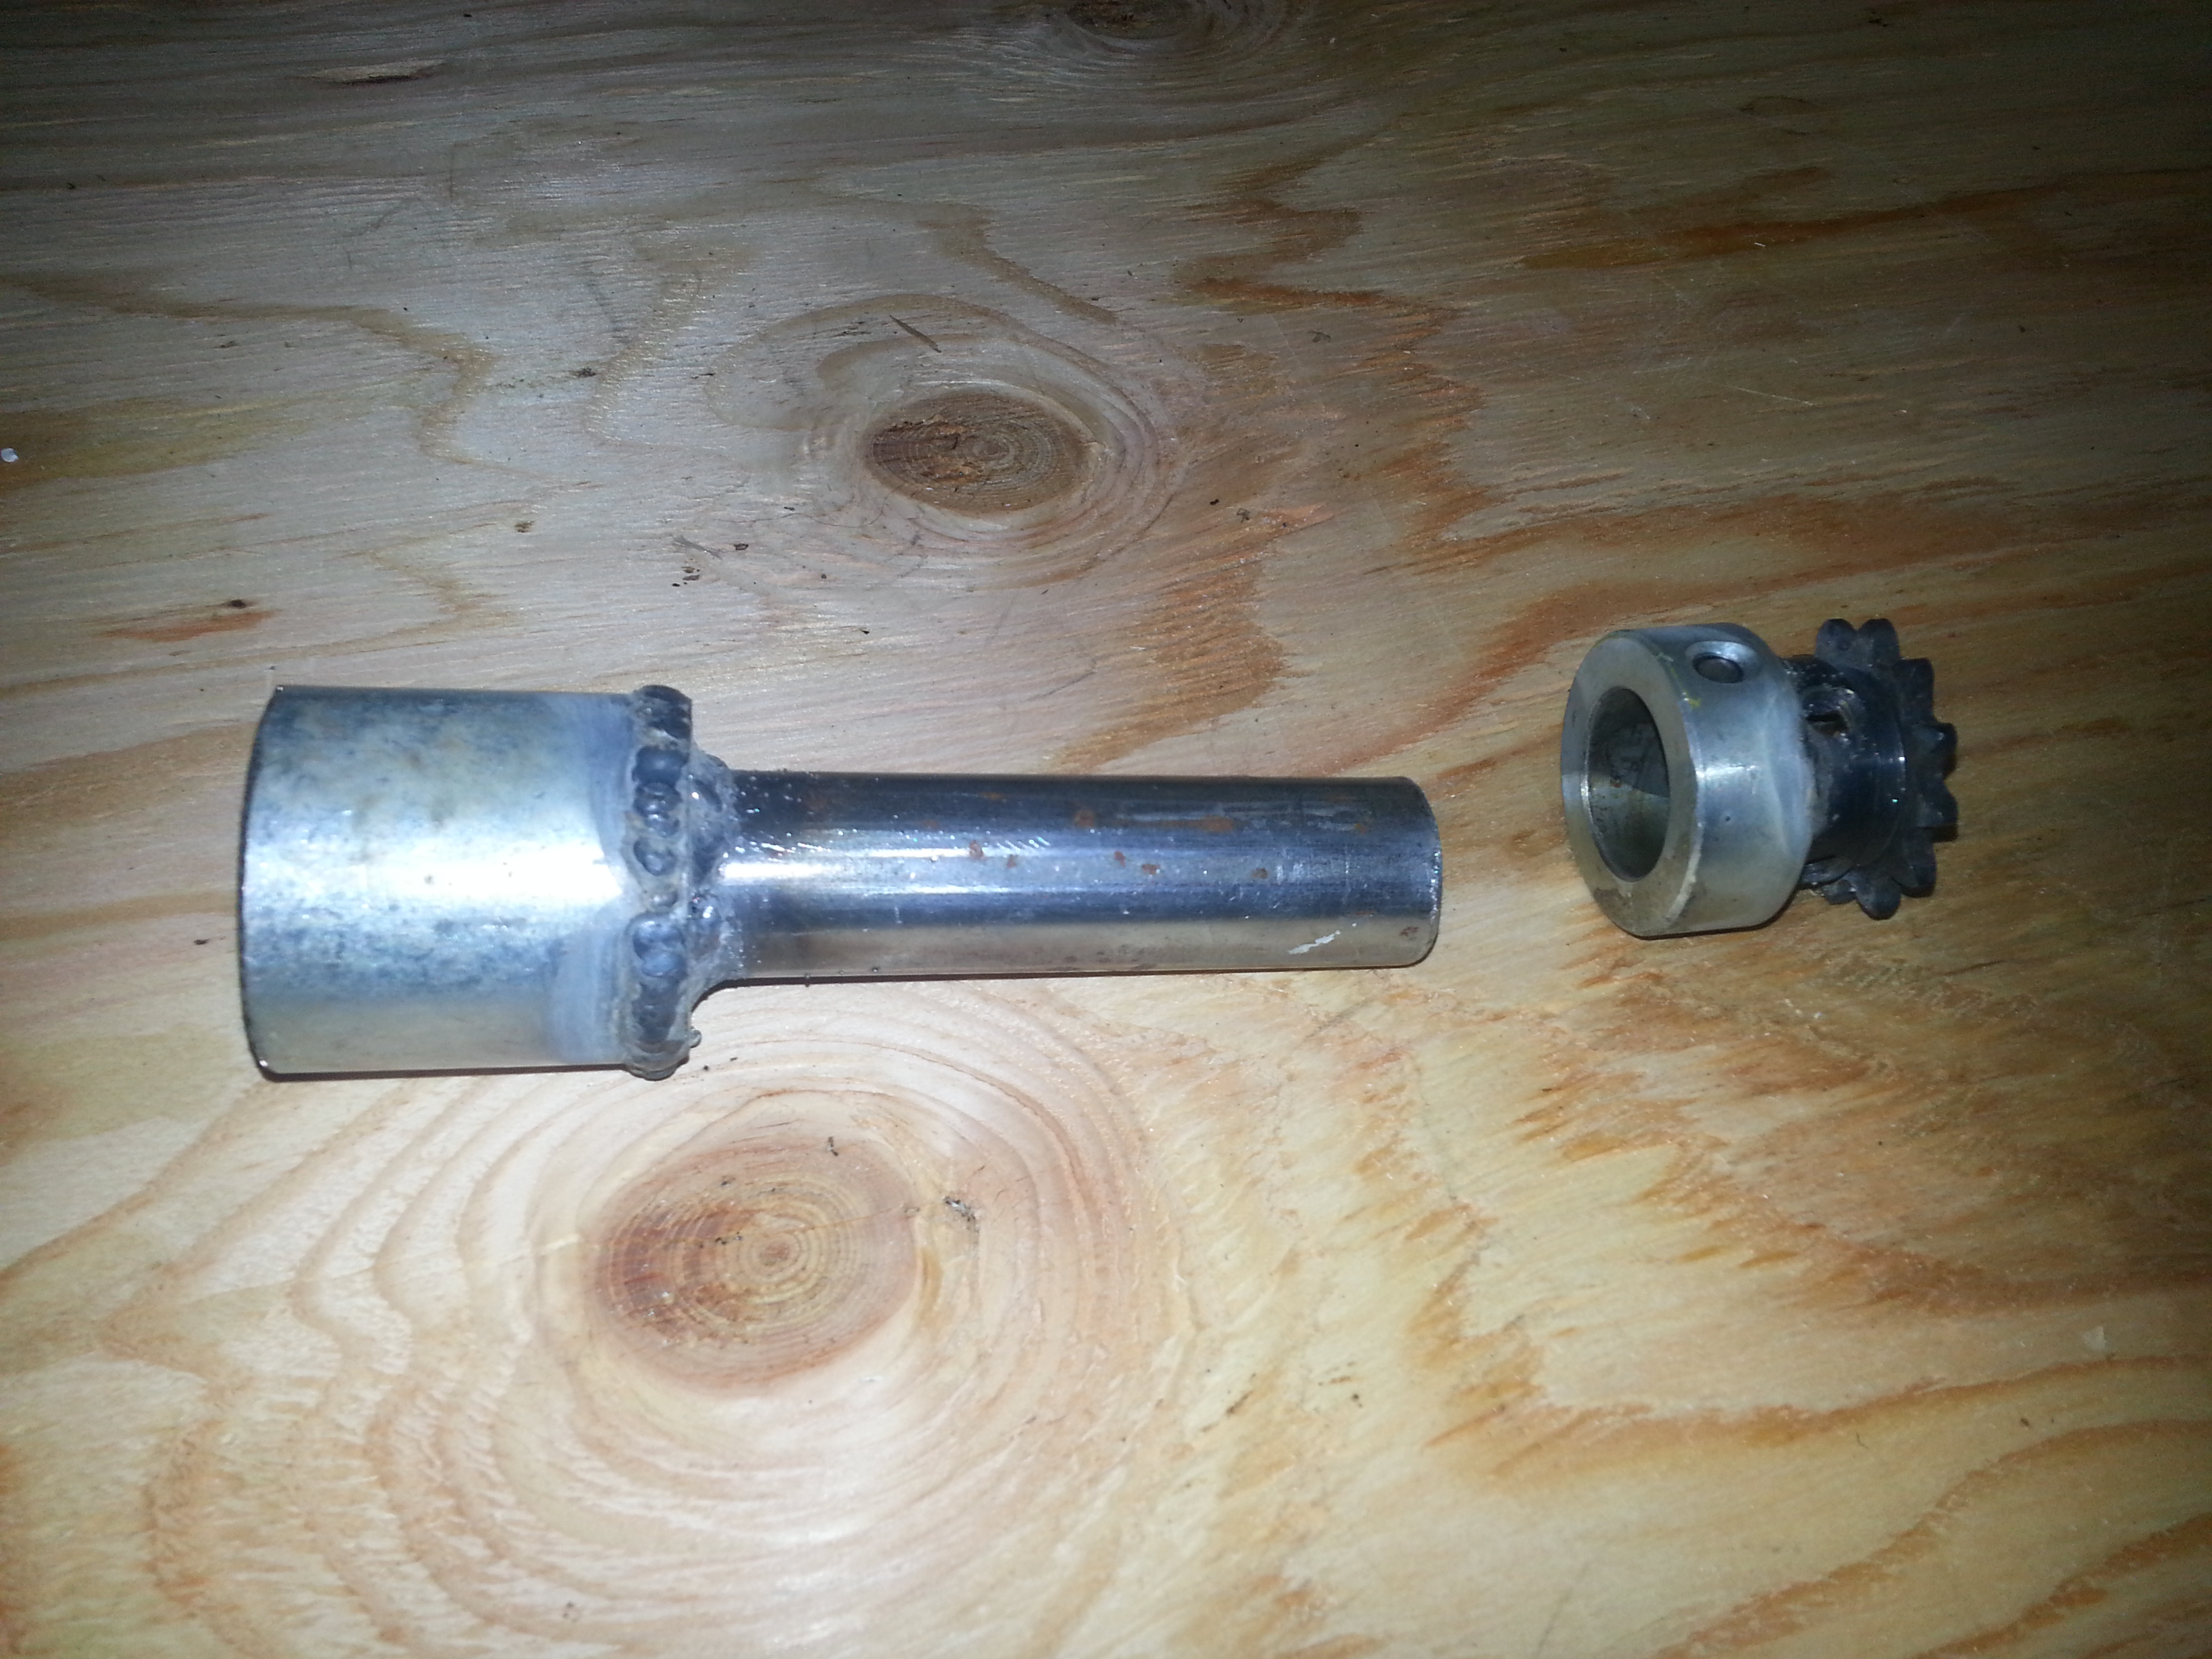
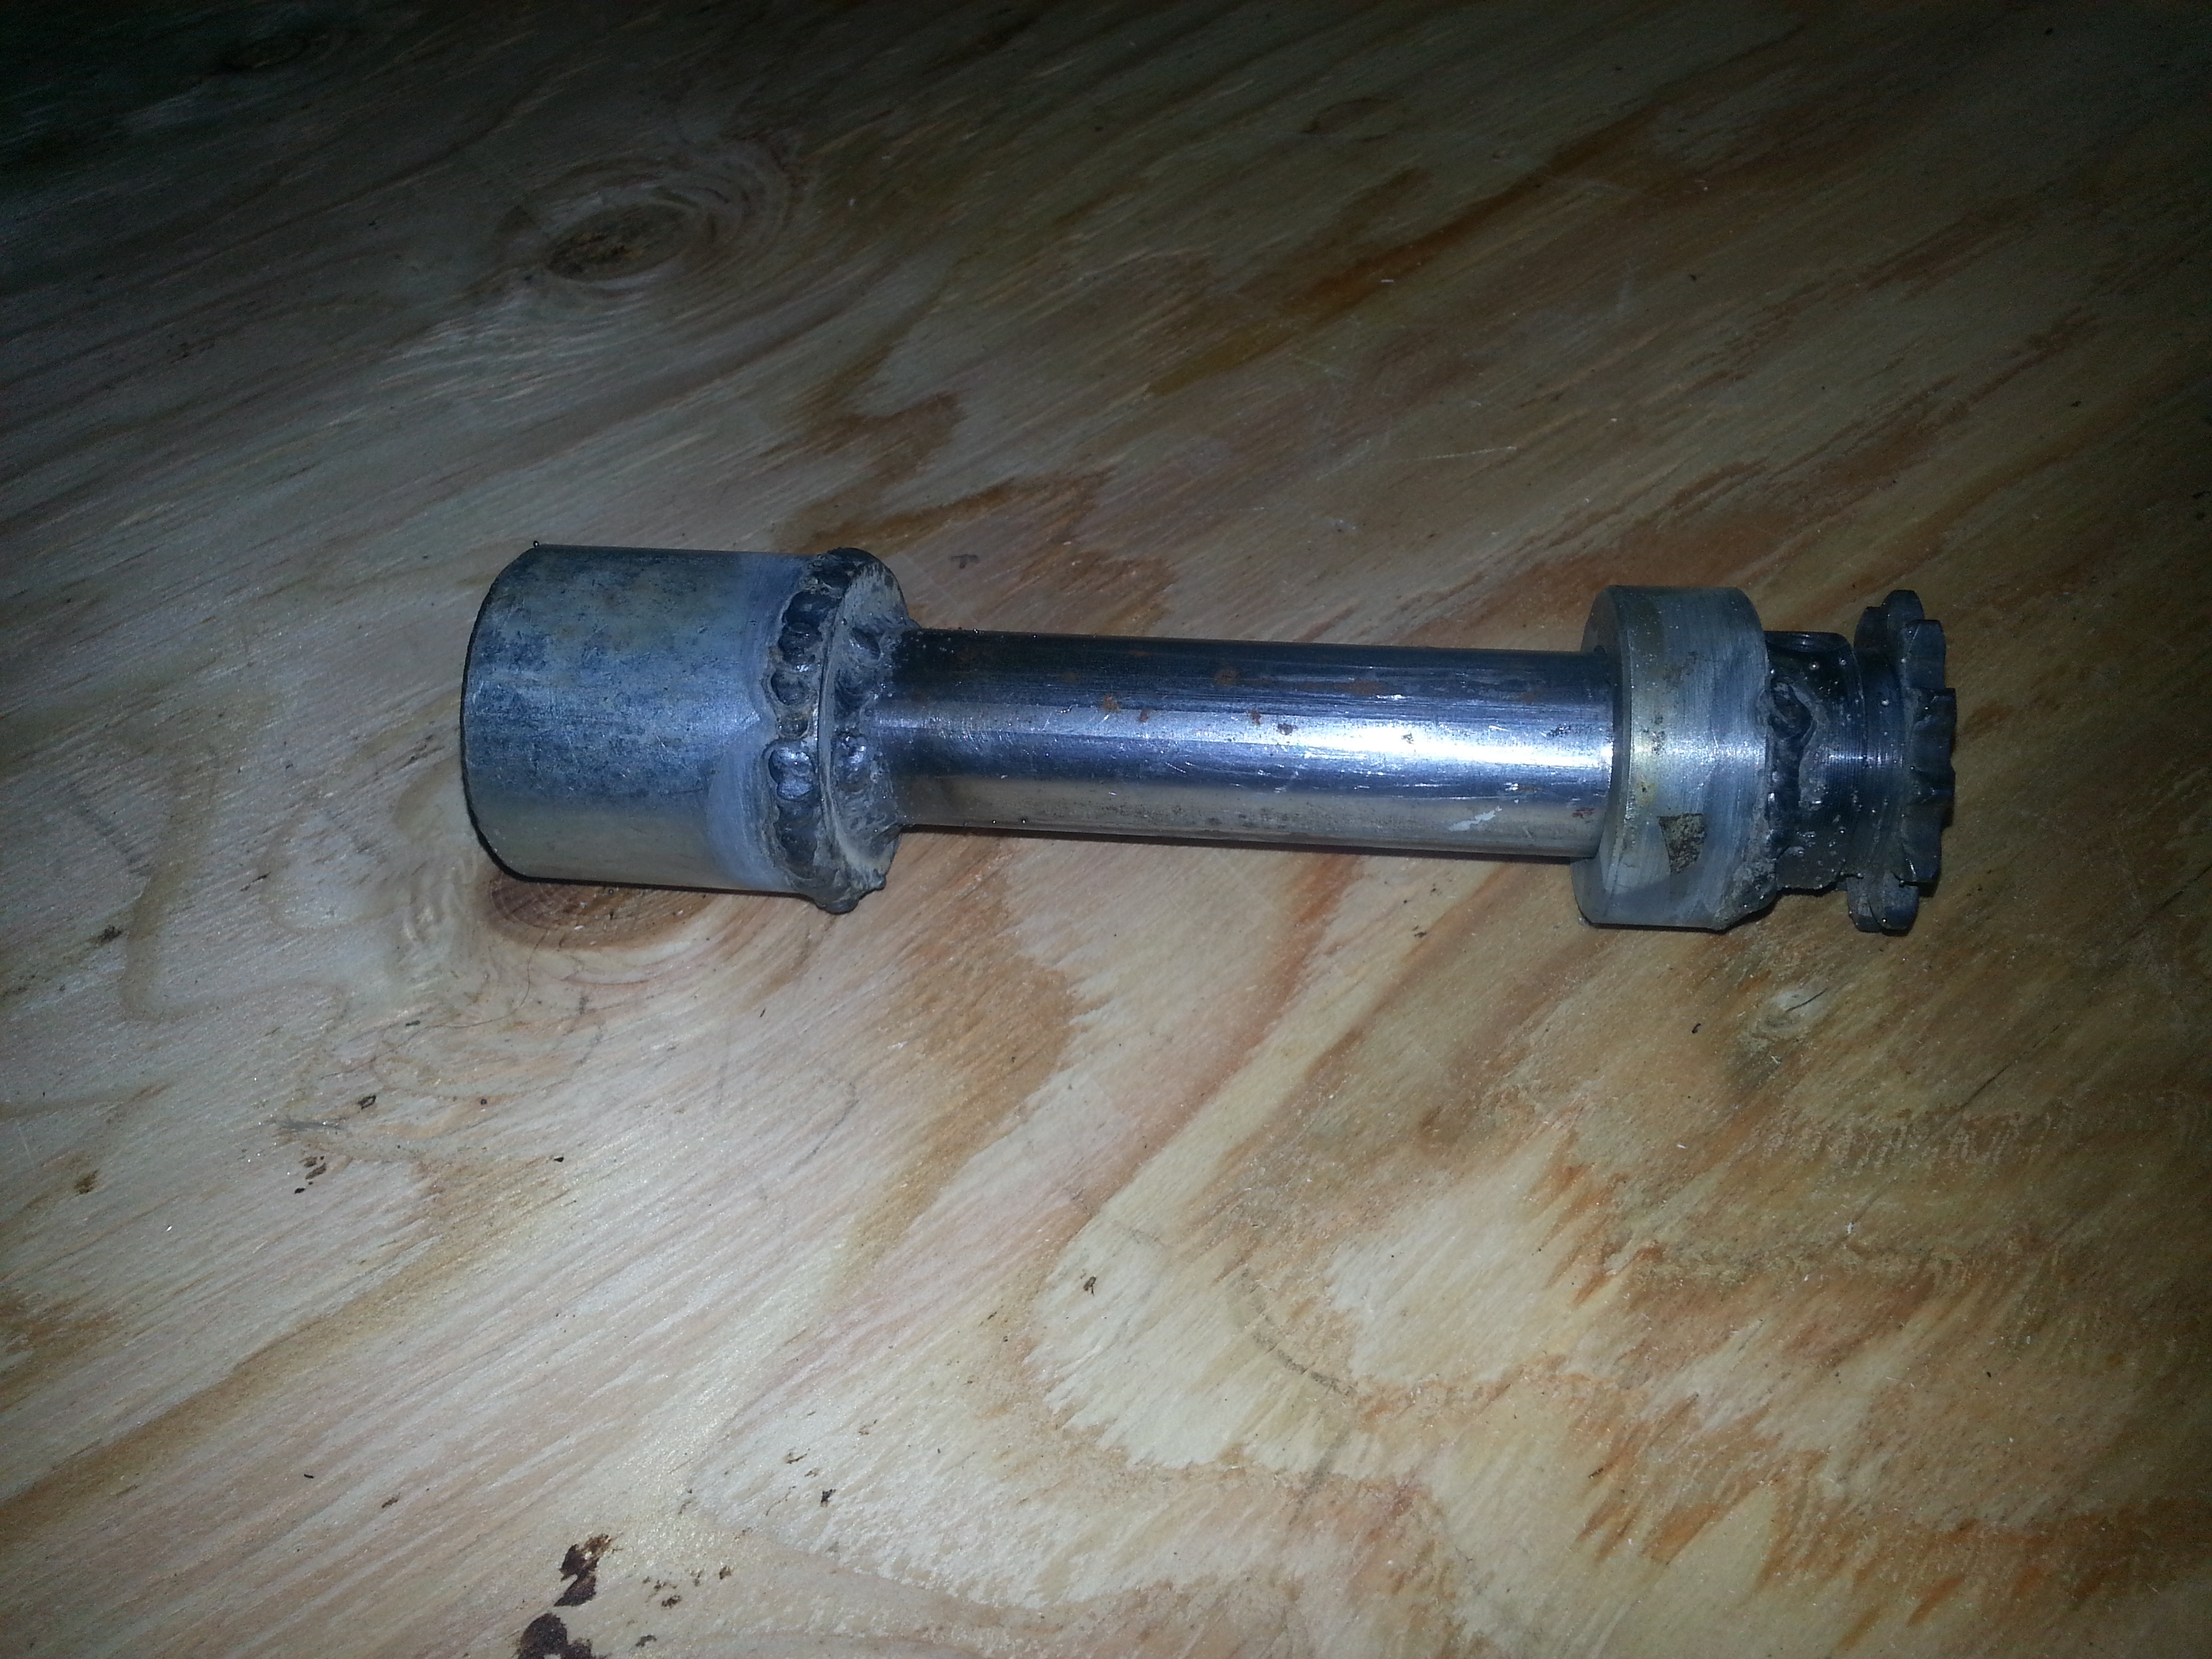
Did some work on the drivetrain, trying to get closer to testing the motor, chains, sprockets, jackshafts, bearings, gearing, rear hub, etc. I made the front jackshaft, which has the big sprocket driven by the motor, then turns a small sprocket which then drives the sprocket on the rear jackshaft. This front jackshaft is made from a 3/4 bolt, which I had to grind a groove into for the keyway, for the sprocket keys. It’s ready to install.
20140616_215832

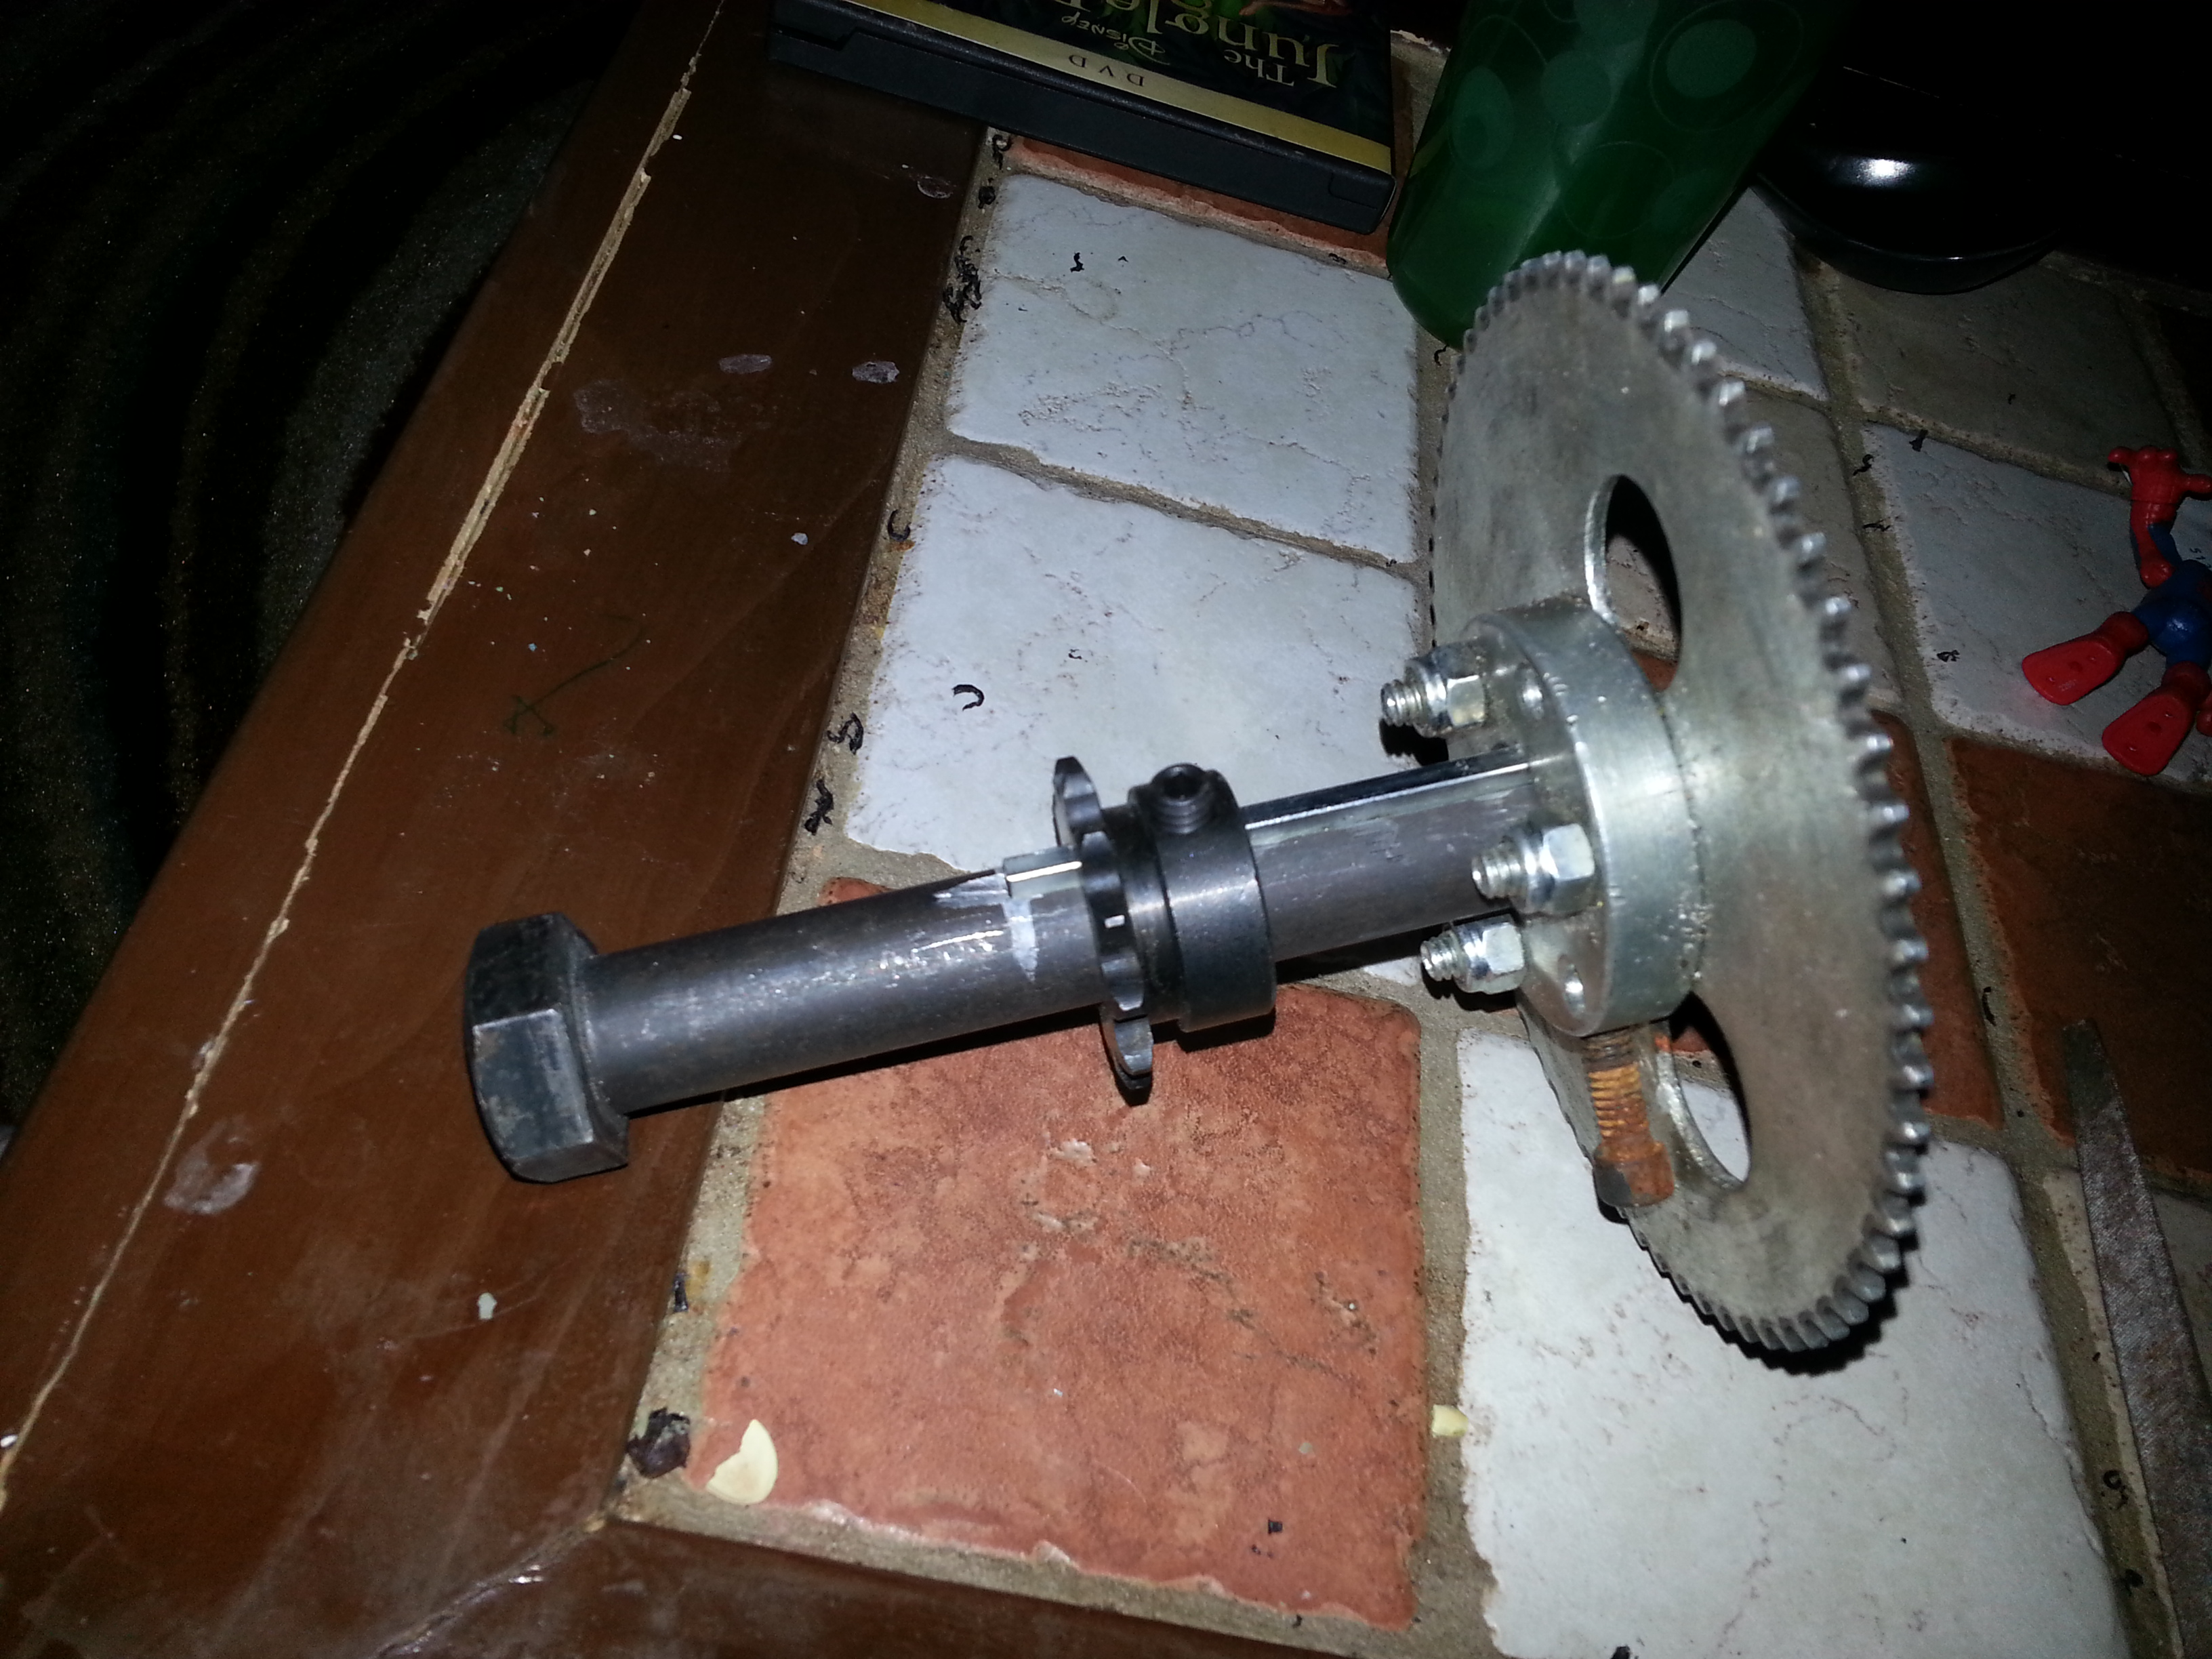
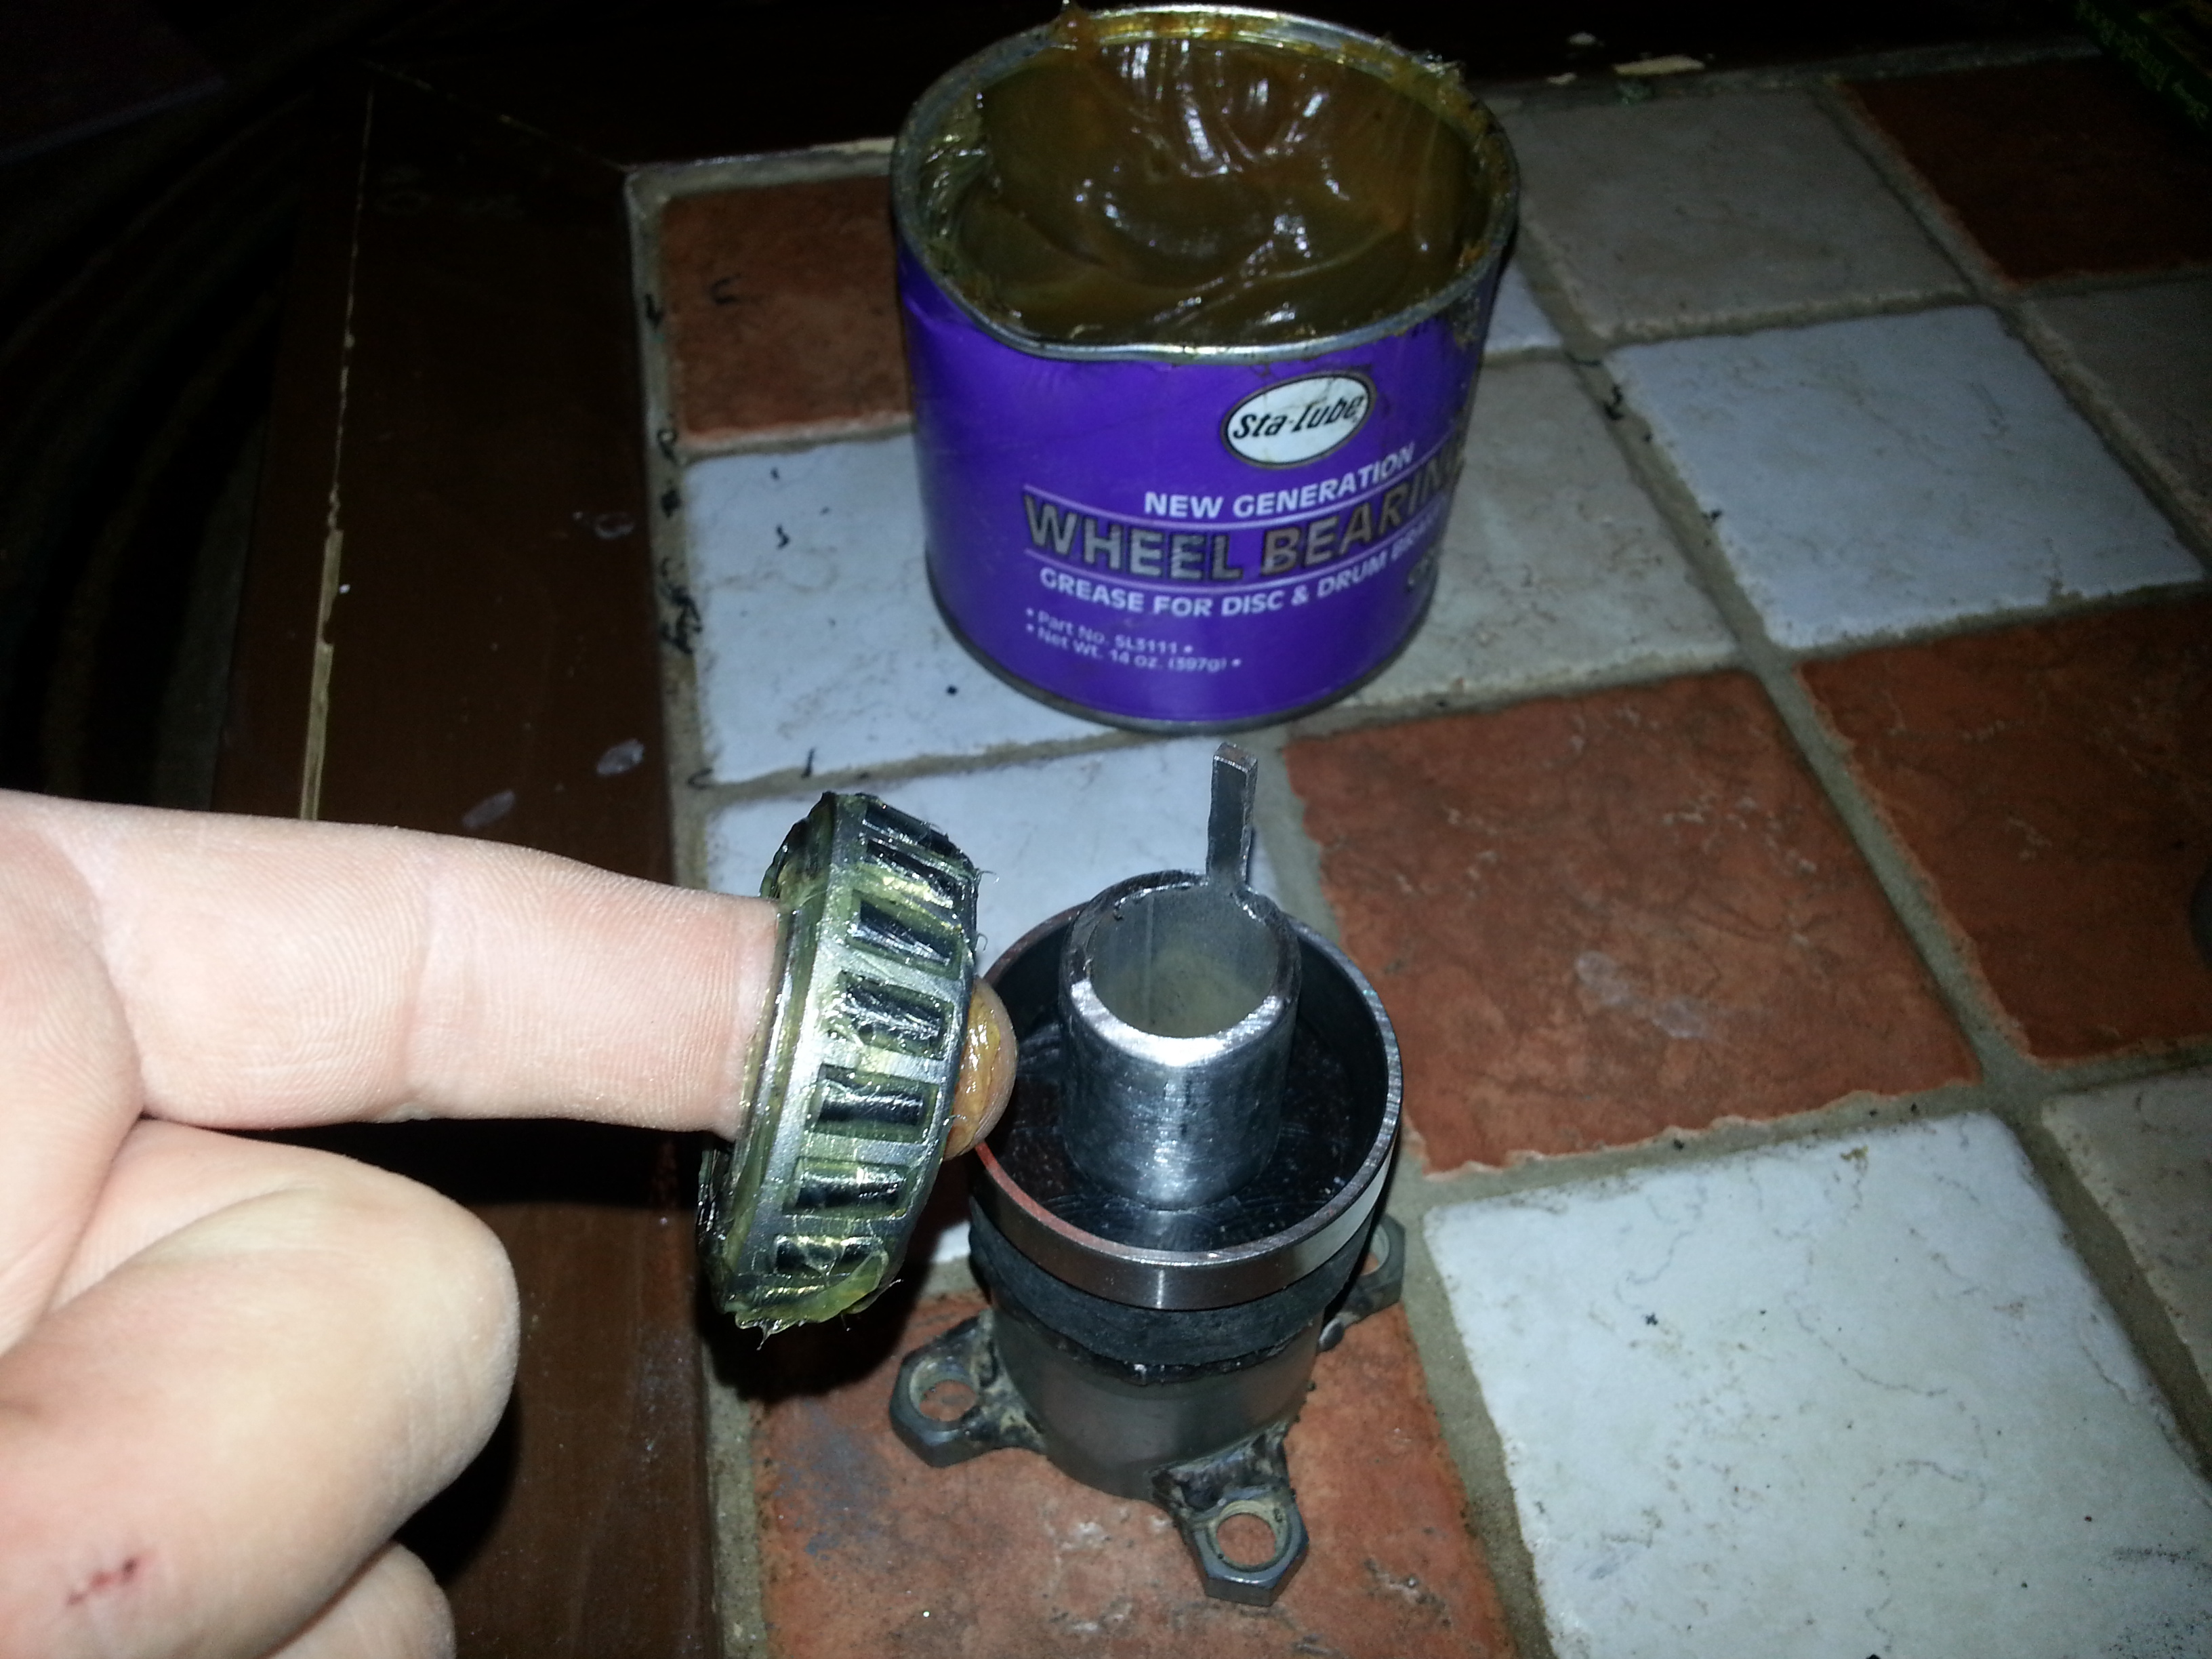
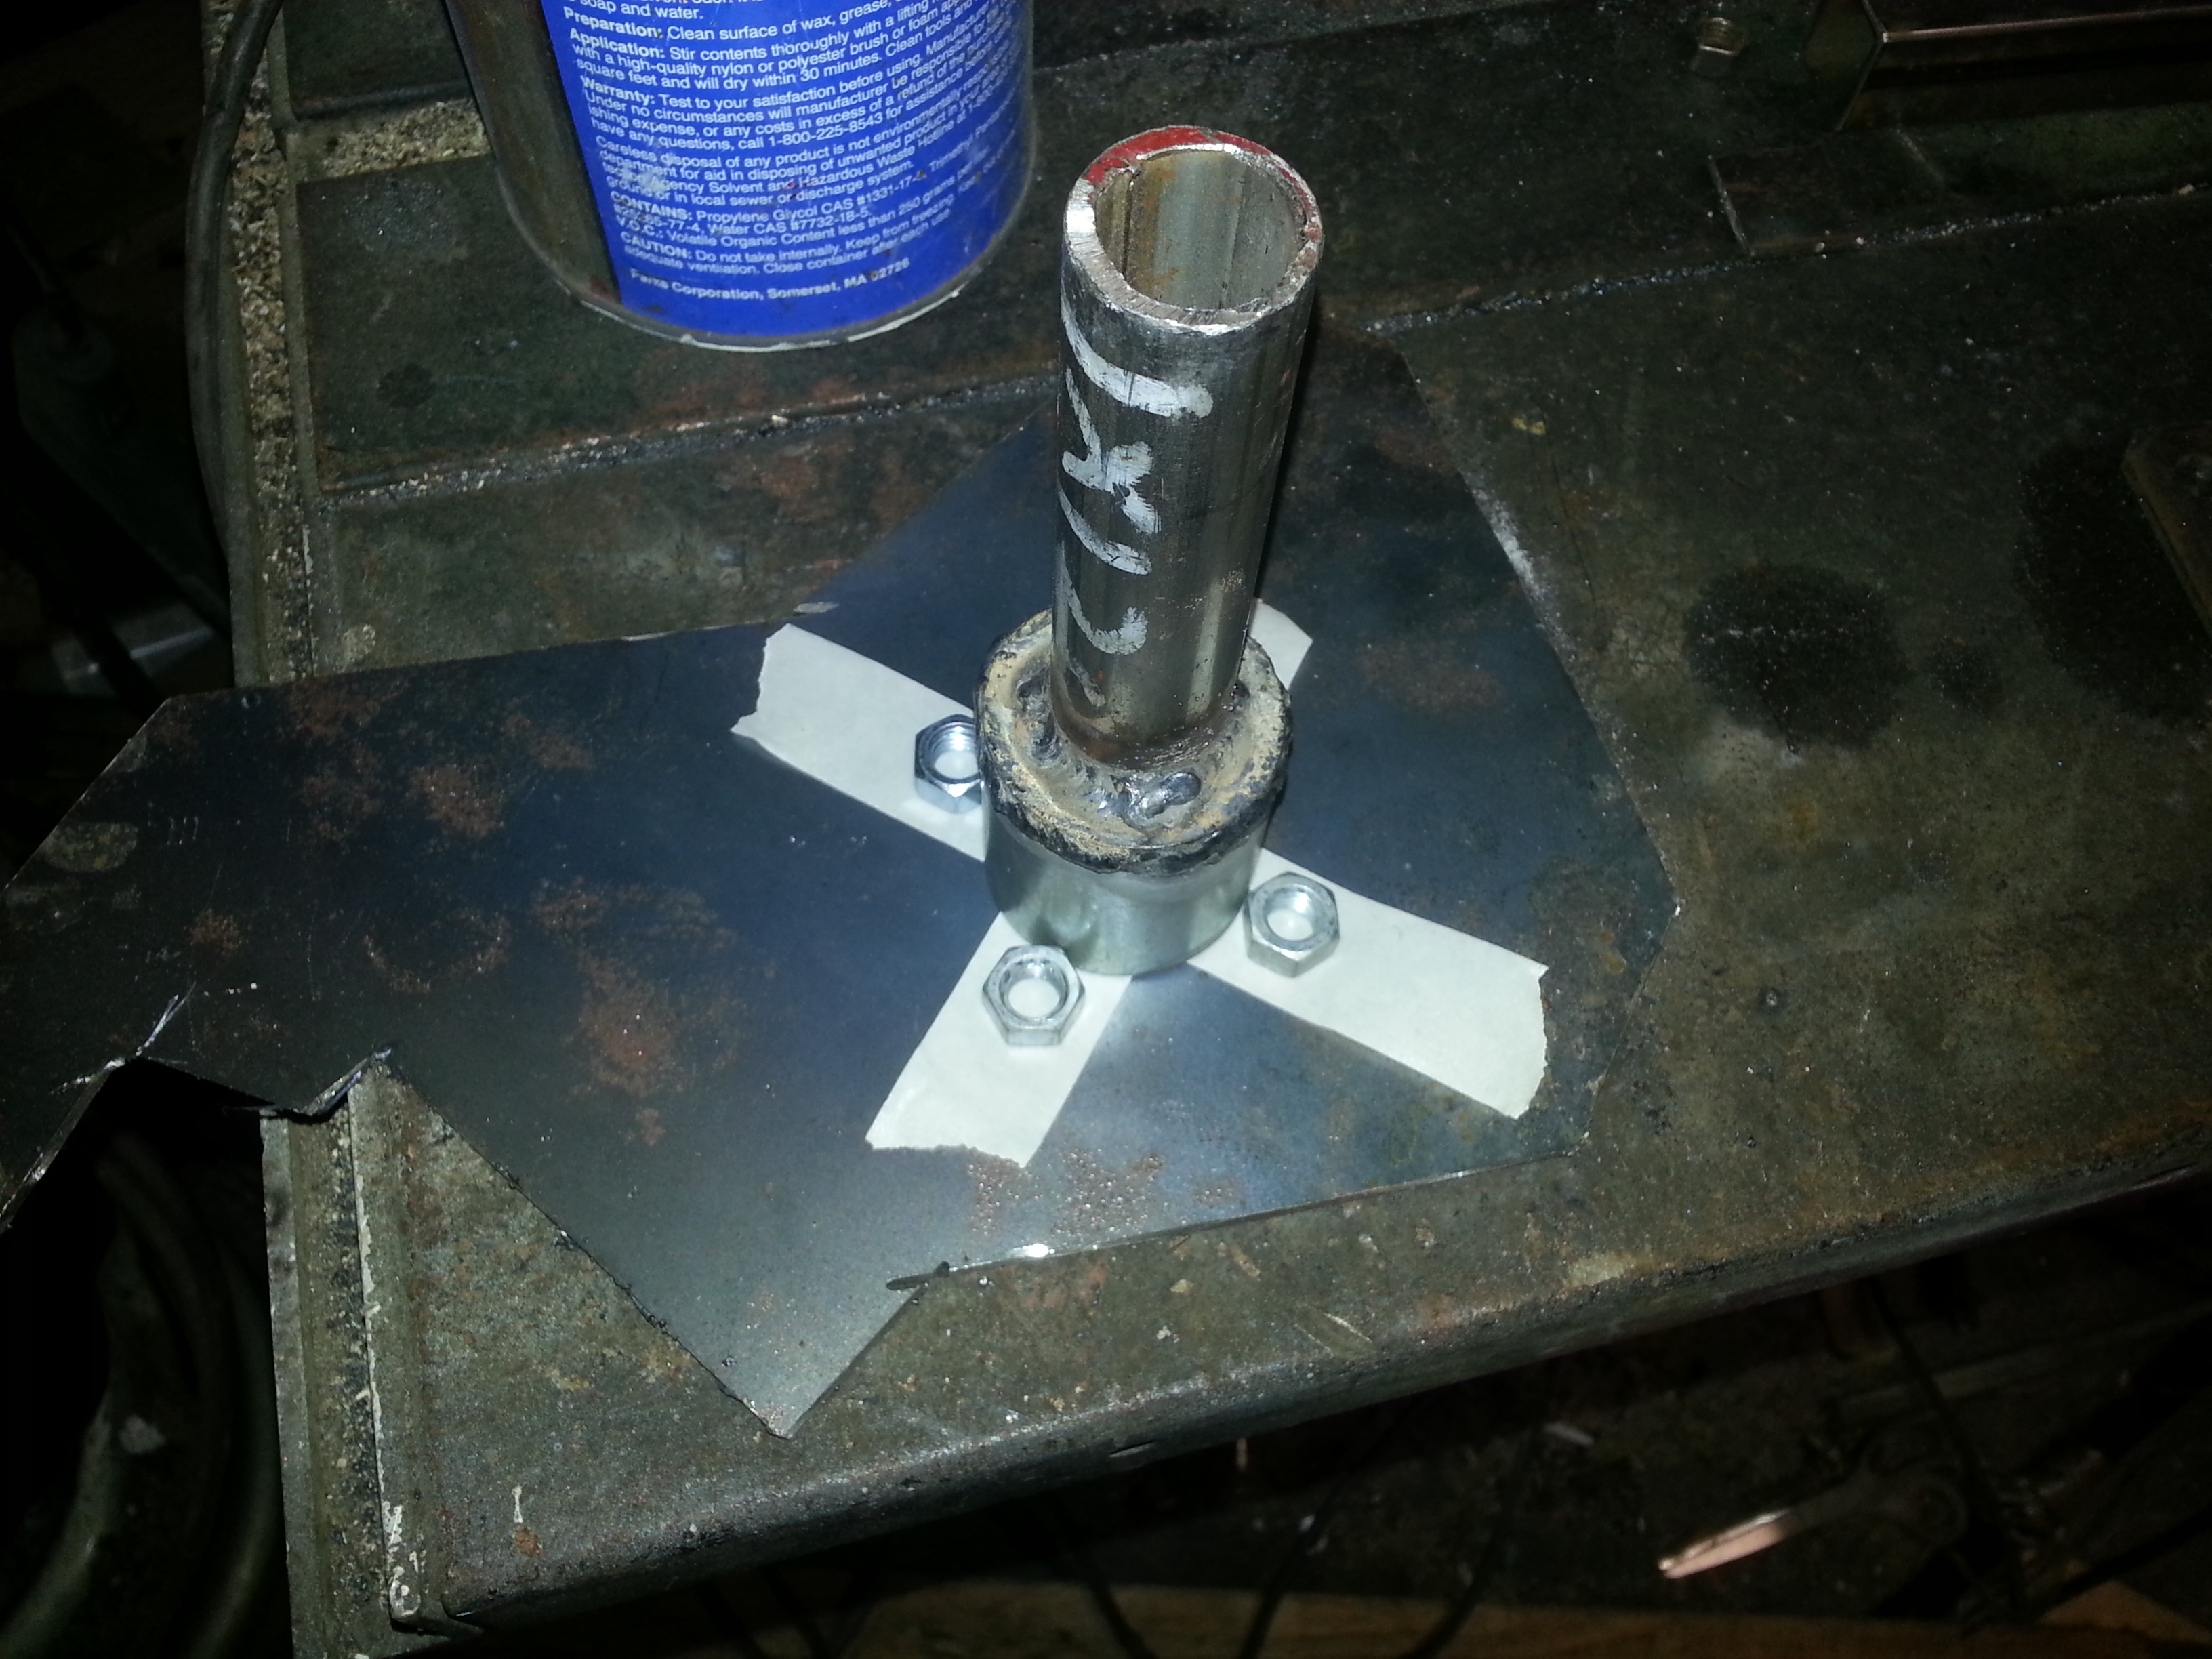
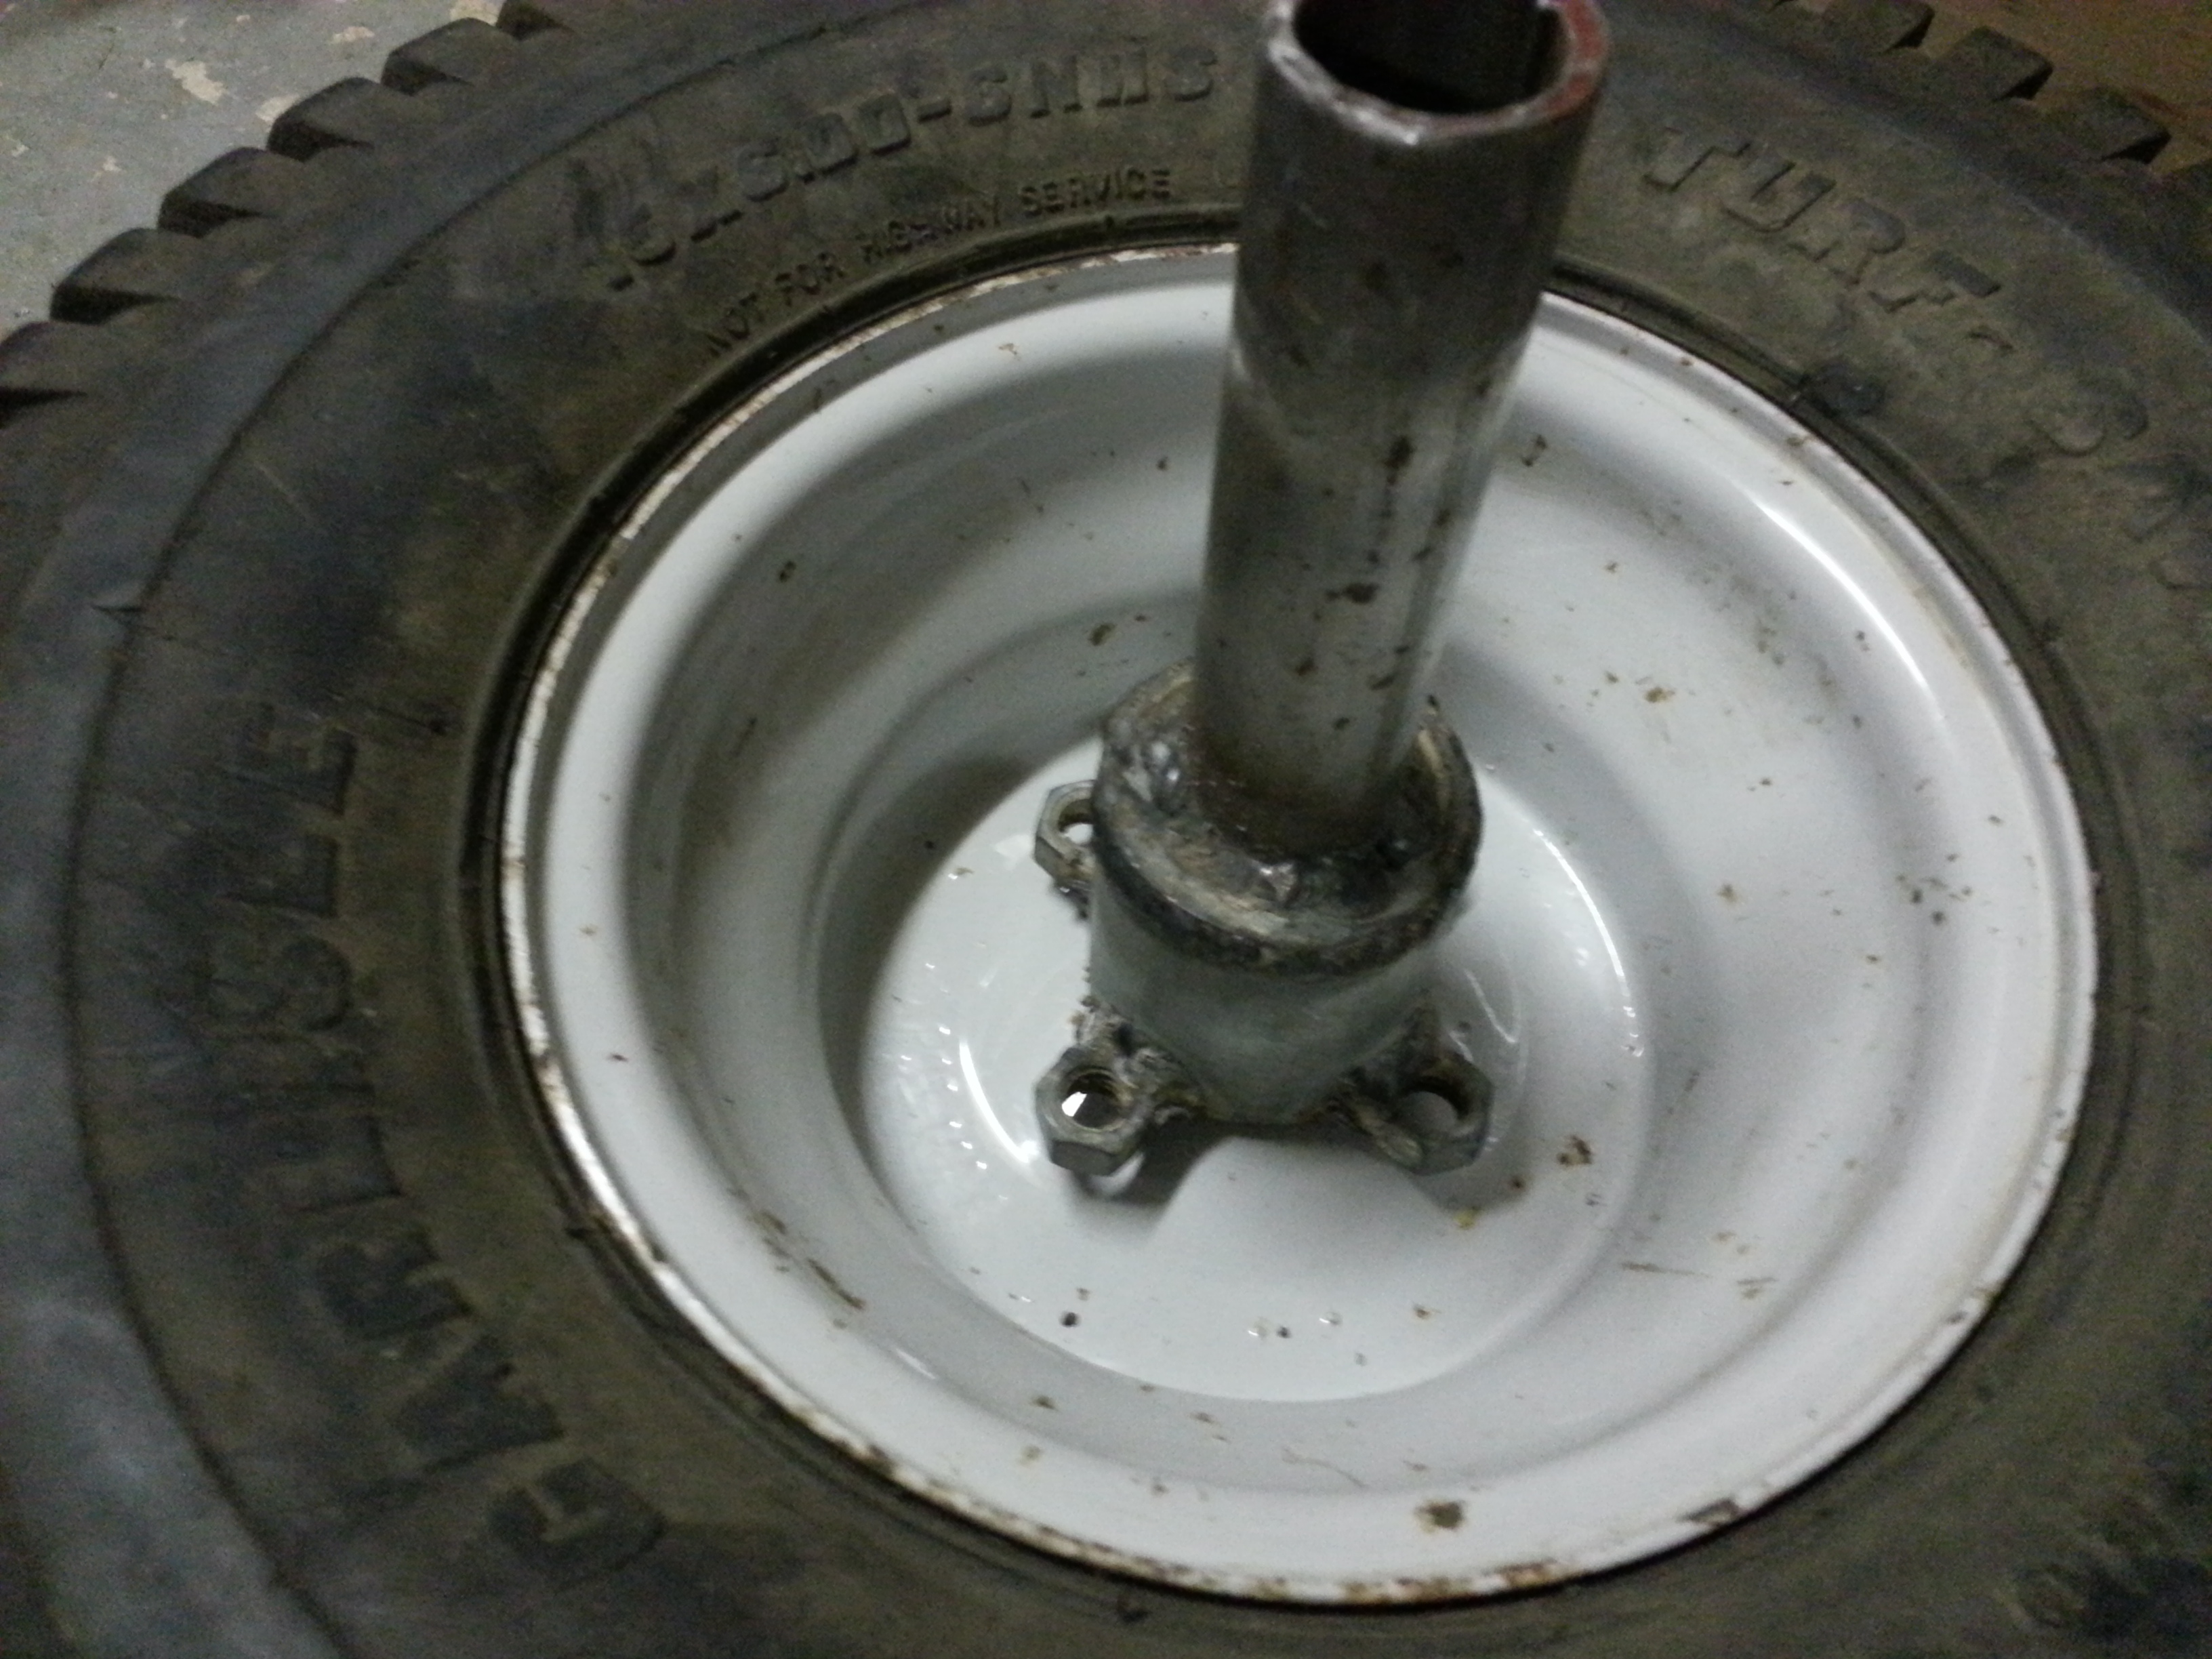
I also made one final spacer (black UHMW) for the rear hub, which helps holds the wheel bearing/race together. I greased the bearing, and assembled the rear hub. It’s finally ready for install into the rear frame tube, so I can cut that rear chain to length etc.
20140617_011702
20140617_011936
20140617_012447

Sorry about the long “Brake”

I’ve had the classic Brakes Blues. I like making stuff move, not making it stop! Anyways, got a few things done, or at least planned.

First off, I needed a way to keep the rear hub and sprocket centered inside the rear frame tube, so I had to go to the big guns. A friend of mine, Keith, from way back in school is now a machinist. I got a wheel bearing to go around the 1″ shaft of the hub, and had him make me a nylon sleeve to match the outside of the bearing race, and the inside of the rear frame tube (thanks Keith!!). Here it is sorta layed out:
20140612_231000
20140612_230348

Next I am workin on the rear brakes. The wheel is so small, it’s hard to get a caliper inside of it. So I’m making a sort of hub to go on the other side of the wheel, which will hold the brake rotor. In this pic, a bike sprocket is showing where the brake rotor will be.
Gonna weld the big washers to the piece of tube, have it bolt to the wheel with the same bolts that hold the hub on the other side.
20140612_230921

Seat meet engine cover

I made the mount to support the front of the engine cover so it’s in its final position. I layed some wax paper on the engine cover, put body filler on the bottom of the front half of the seat, and smashed it on to create the curve of the engine cover.
20140506_213929

After 2 more applications of some body filler and a little sanding it’s lookin pretty good, ready for some final sanding and small area filling.
20140506_235228
20140506_235220

Primed for action

I got a little tired of the raw steel look of the frame, so I sanded the light surface rust and sprayed a coat of primer to see what areas need some clean up before paint. And just cause it looks cool.
20140427_153716-1

I cut the access hole in the back of the frame, to where I can put the chain on the rear sprocket. The hub ended up the perfect length, with the sprocket centered as seen, and the wheel also centered on the frame. Need to make a few wheel spacers and get the bearings installed where the hub goes into the frame tube.
20140427_15411520140427_15412120140427_154110

Next up I need to cut the chain to length to go around those sprockets.

More seat

Got a little more done on the seat, doing some sanding, shaping, some body filler and set everything up to see how it’s looking.

Here you can see the seat compared to the real one I’m using as a reference.
20140422_213550-1

Fitting the seat:
seatFitting

And here’s how it’s looking, which can also be seen on the Current State page.
20140423_004642-1

Seat, and more body work

Started making the seat out of wood, to then make a silicon mold out of, and then be able to cast the seat in hard rubber.
20140417_224643

Also, still getting the engine cover smoother and smoother, ever so gradually..
20140414_213152

I also cut the hub shaft to length, and left a piece on the end to act as a keyway, in addition to the setscrew and probably another small keyway with standard removeable key
20140415_22040520140415_220454

More body filling

While doing random small stuff like centering shafts in the center of tubes, I’ve been working more on the body lines and smoothing of the engine cover. First thickened epoxy, sanding, some primer to see the low spots, then starting the body filler..
20140408_213600
20140411_184903
20140411_19122520140411_191232

Starting the seat

Engine cover is still getting body filler and sanded. I drilled the holes in the back for it to attach to the seat post. Next need to figure out some more mounting locations. You can also see where the pull starter will be sorta hidden, yet still in a good spot to pull it.

20140403_213709 20140403_213732
20140403_213910

I also started mocking up the seat with foam.  Going to be more refined and made of rubber later, but getting an idea of how big I want it.

20140403_213817

Some misc body work

Been spending some time on the engine cover, in the front where it has a bump out shape, over the monoshock. I used a cup to make the shape, covered it wax paper, layed cloth over it, then tore the cup out, added a ledge, etc etc. Lots of nights of doing a little here, a little there, each time, adding some thickened epoxy where needed. Almost ready to mount to the frame, and then smooth and perfect it with body filler.

20140324_234230
20140328_204321

I also welded some nuts onto the rear hub piece, marked the hole locations on the wheel, and will drill the holes soon so I can attach the hub to the wheel.
20140325_002615
20140328_204935

Rear Drive hub

While laying fiberglass, and letting it harden, I have been working on the rear drive hub. It’s terribly hard to explain the many difficulties in designing it, as well as building it, but oh well, here goes. First, it needs to bolt to the rear wheel, then go inside the rear frame tube, yet still be supported by a bearing, have a sprocket that can come off, and the whole thing needs to have the 5/8 rear axle bolt go through it, yet it can’t touch that axle, cause the hub spins, the axle doesn’t. The sprocket is welded to a collar which slides onto the 1″ pipe of the left side of the hub. I had to have everything on a 3/4 axle to weld them together, so it will all clear the 5/8 axle later. The pictures can do the talking I guess.

20140315_002124
20140317_005714
20140317_005654
RearDriveHubDiagram

Also, here is where I am at on the fiberglass Engine Cover:
20140315_215448
20140316_111535

eE48v on Steering test